Dark Souls 3 Gettin Ppd Again
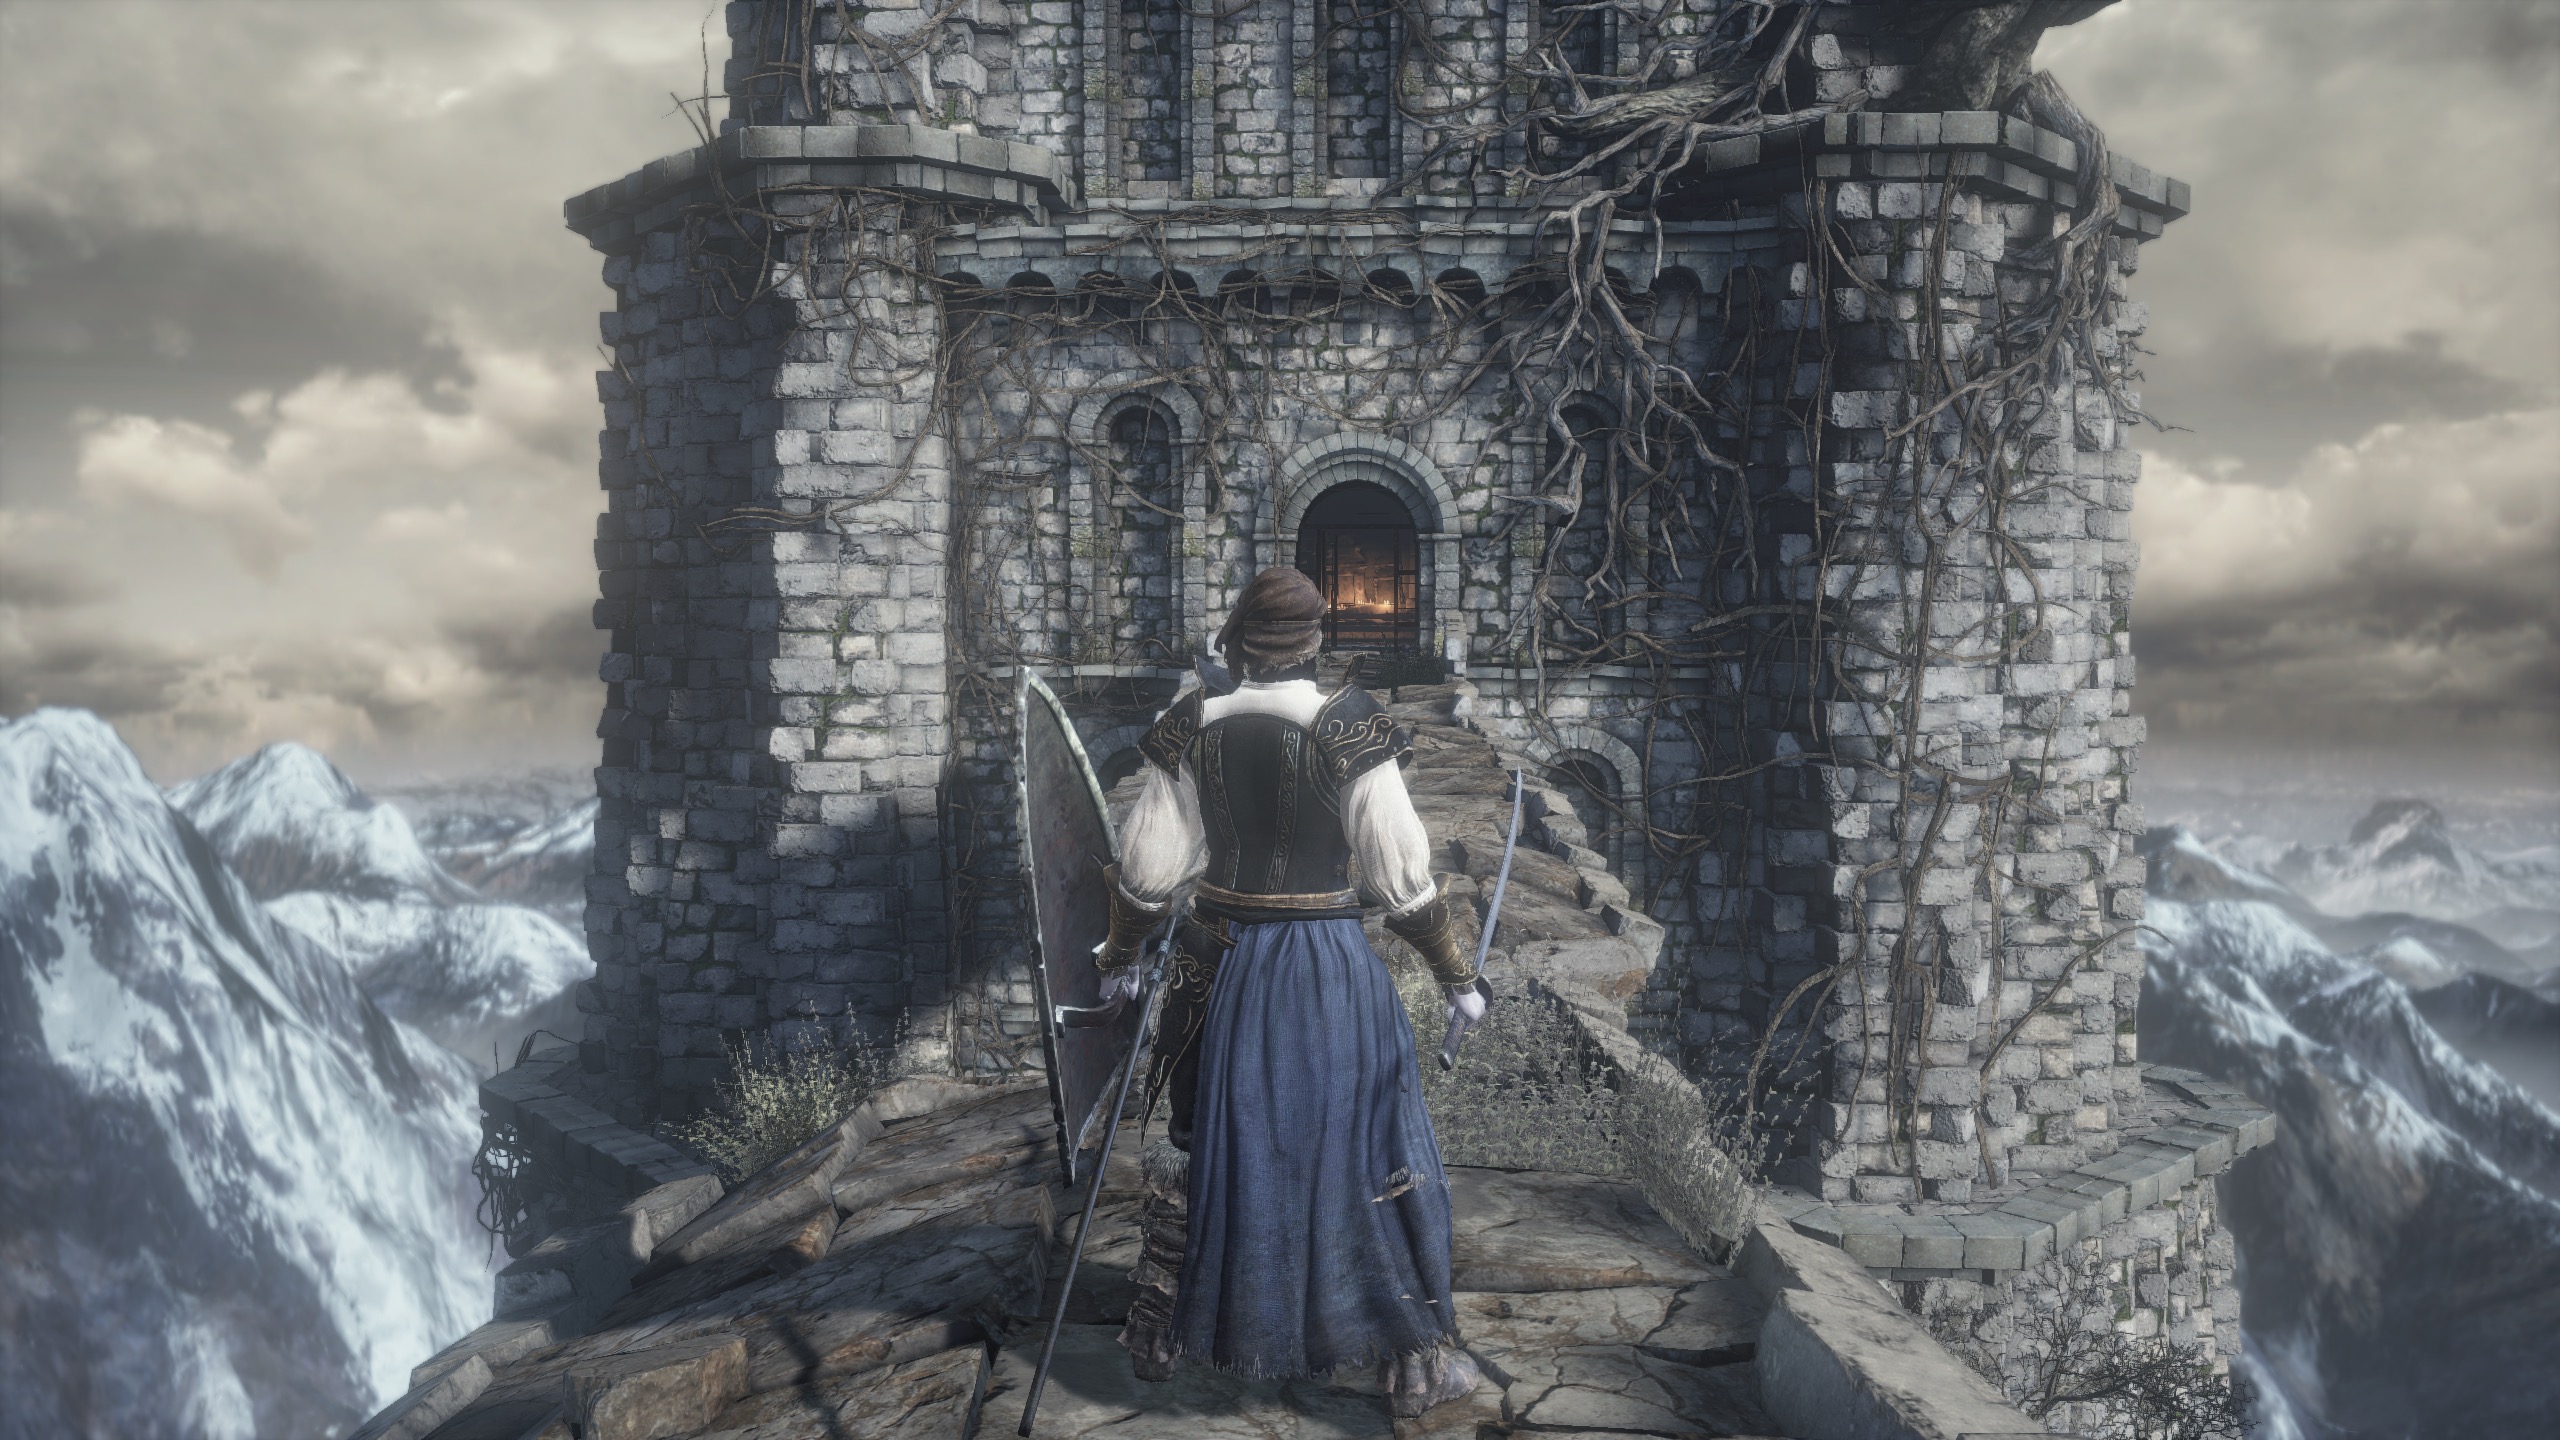
Firelink Shrine is a large circular building with paths that interleave like spaghetti. When you arrive — and the next several times you return — you're likely to be confused. The good news is that you'll be able to understand it in short order. The better news is that you'll understand it better and faster using the map above.
NPCs abound in Firelink Shrine, and if you're ever unsure of where a merchant, a friend, an enemy or a creepy old man child lord thing is hanging out (or who's missing), consult the map above and our section on non-playable characters below.
Firelink Shrine consists of three interconnected areas: the area within the walls of the shrine itself, the area outside of the shrine accessible from the moment you arrive there and a third area accessible when you purchase an item.
When you arrive at the Shrine, speak to the woman near the bonfire, the Fire Keeper, to level up. Head down the long, straight tunnel that runs underneath where you walked in, and you'll meet Andre, a blacksmith who will help you upgrade your weapons and estus flask.
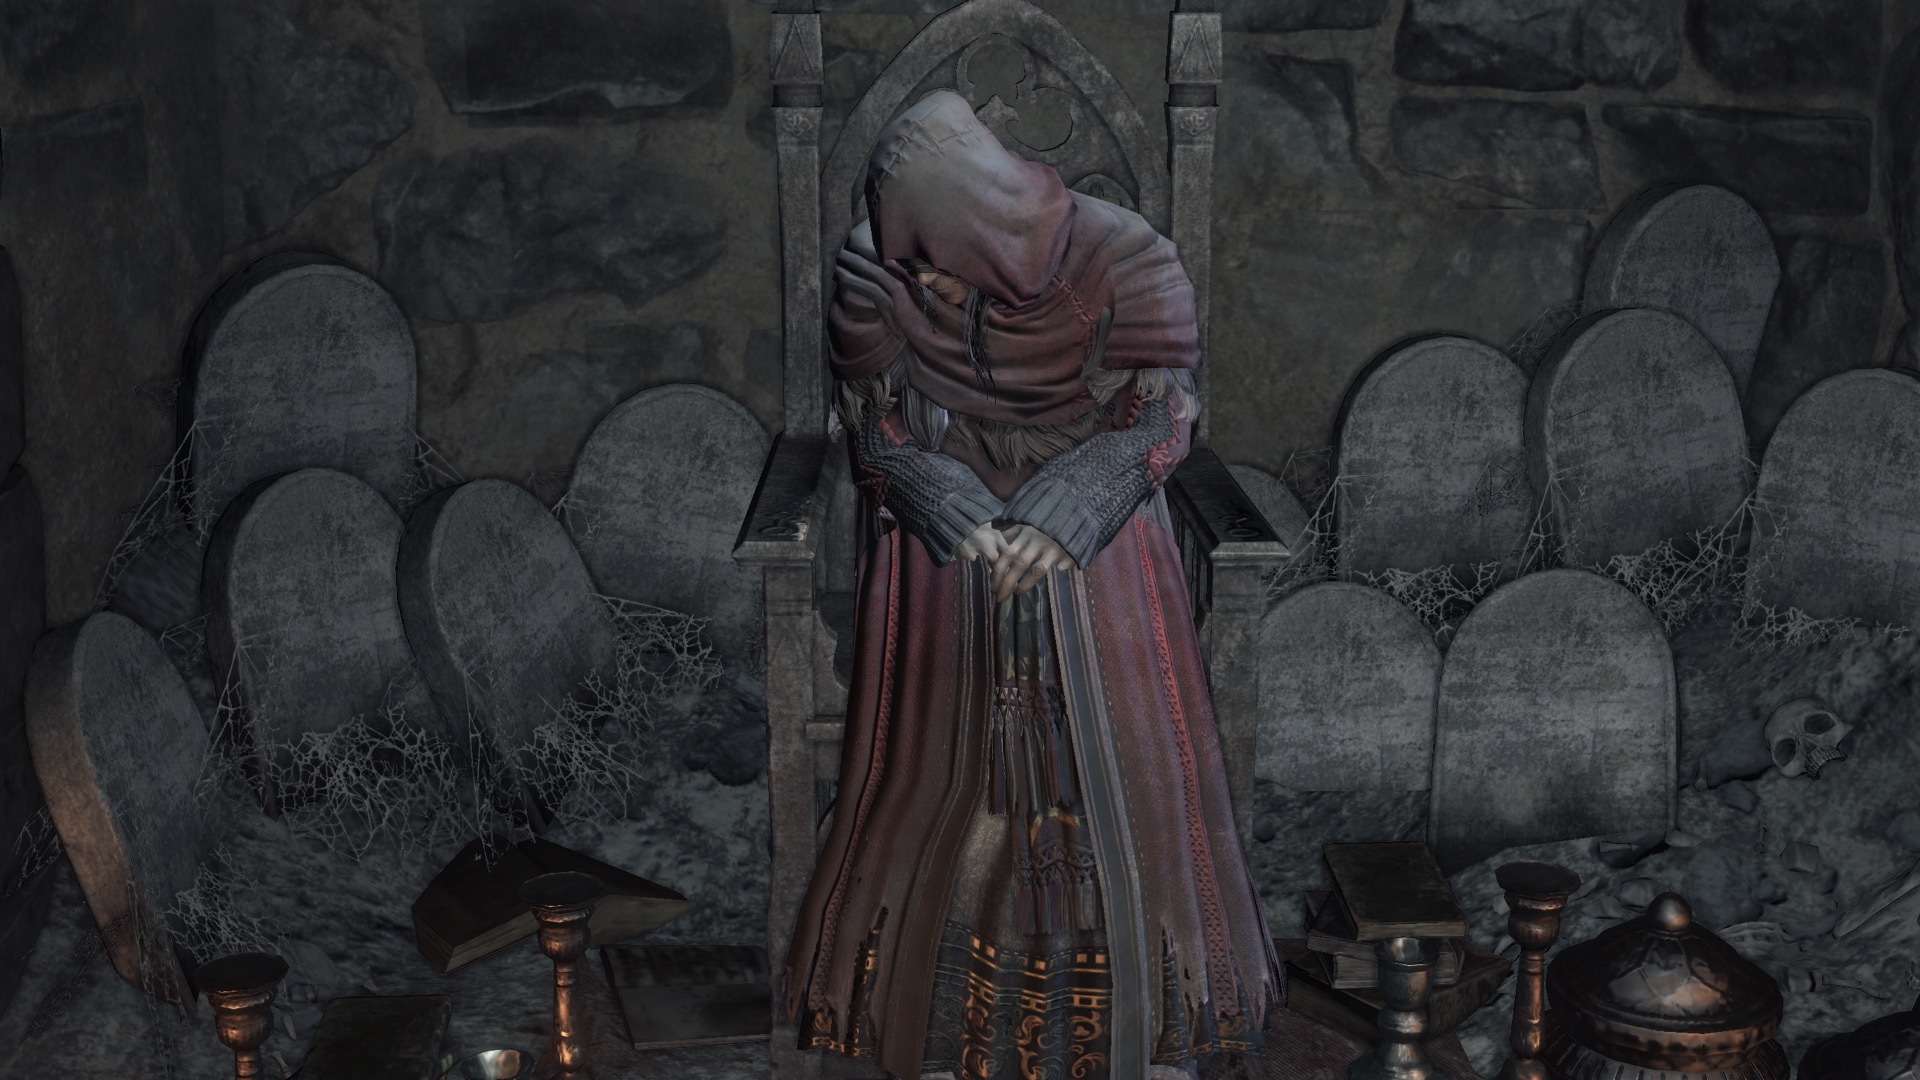
On your way to Andre, you'll find an old woman sitting in a chair. She's the Shrine Handmaid, and she serves as a Firelink Shrine's general store, selling a wide assortment of consumable items and even some armor.
There's another non-playable character, Ludleth of Courland, sitting in the second throne from the left. Speak to him to hear some creepy and cryptic information, though there's little you can do with that information right now.
The final NPC, Leonard the Ringfinger, is leaning next to the largest throne in the room, and he has some ideas about how you should spend your time. Speak to him, and he'll give you five Cracked Red Eye Orbs, which allow you to invade other Dark Souls 3 players' worlds, if you're inclined to be a troublemaker.
After leveling up and talking to the NPCs, head to the pile of dust in the center of Firelink Shrine. Approach it, and you'll be prompted to insert the Coiled Sword you received from defeating Iudex Gundyr. Do that, and you'll create the Firelink Shrine bonfire.
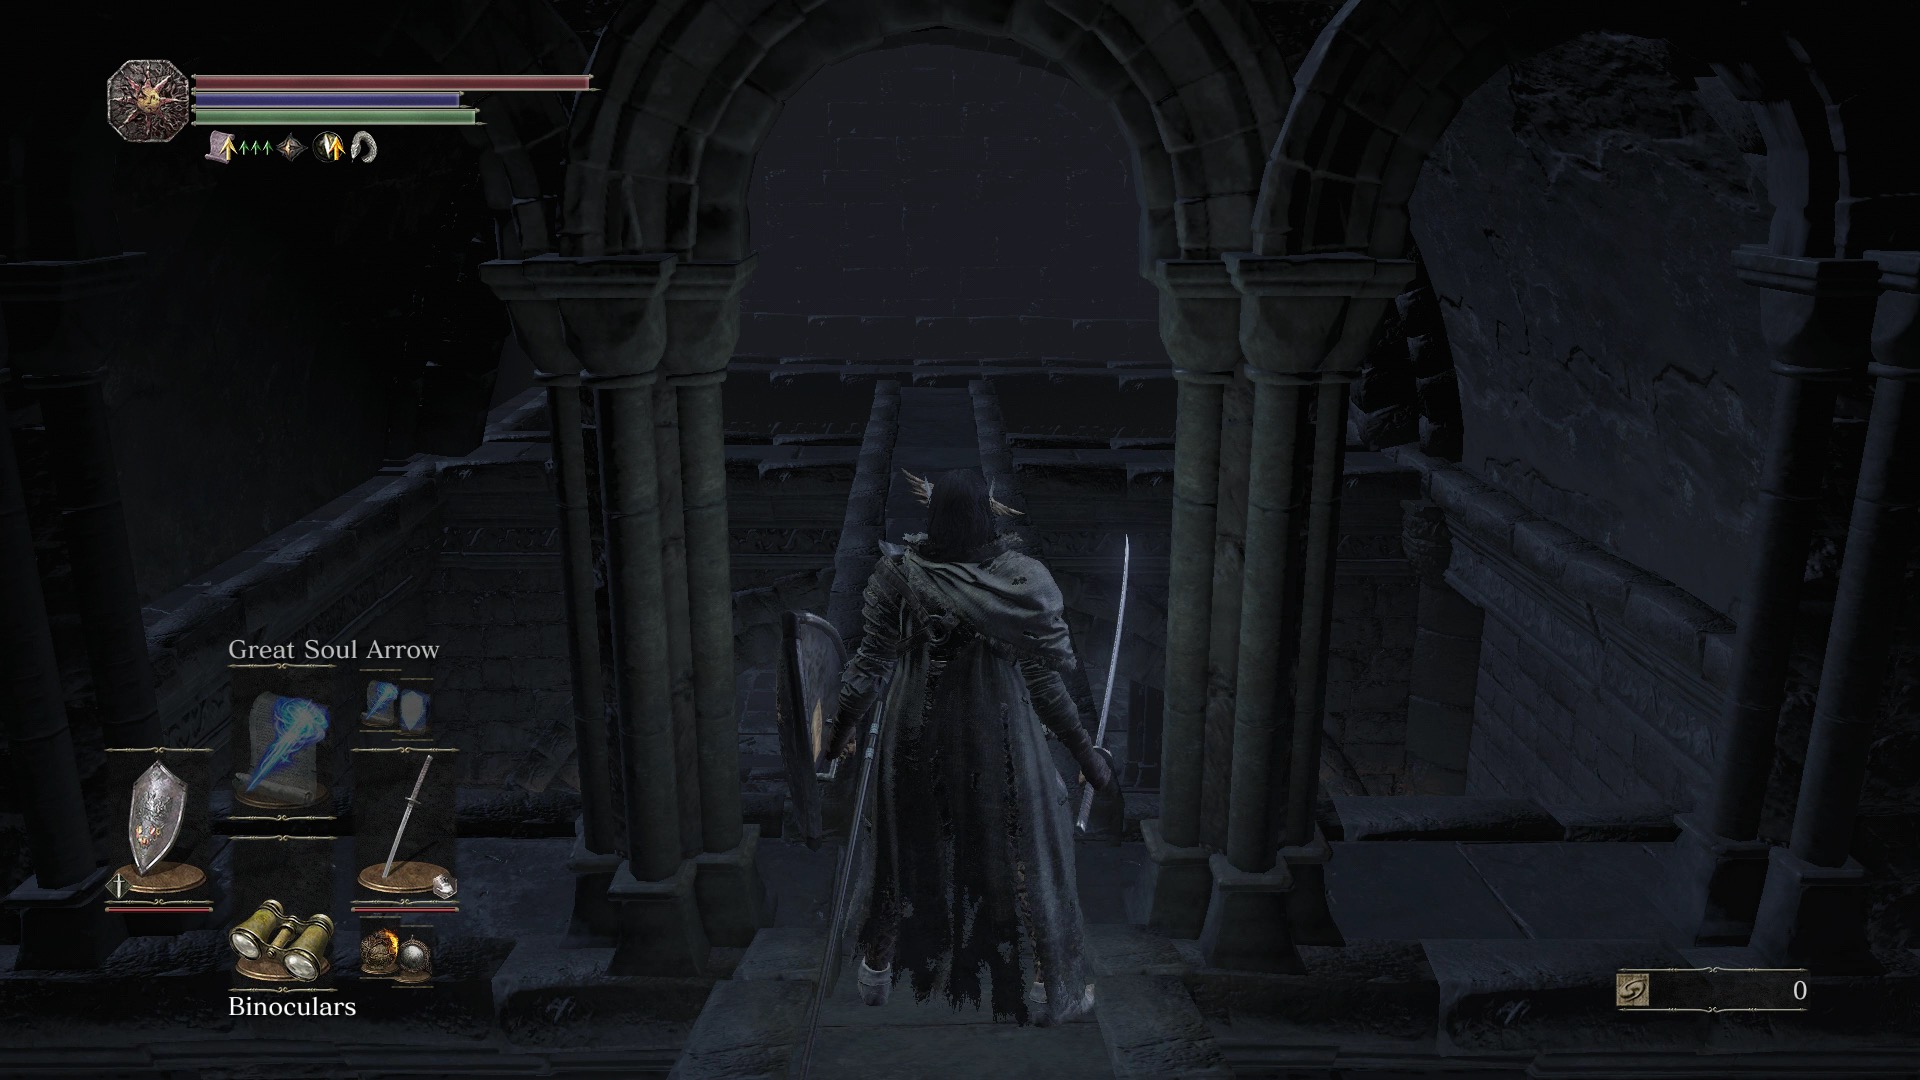
Firelink Shrine is Dark Souls 3's hub, and resting at a bonfire allows you to invoke the Travel menu. At the beginning of the game, that menu lets you warp to the other bonfires you've lit and one area you haven't — High Wall of Lothric, your next destination on the game's critical path.
Firelink Shrine characters
Firelink Shrine is filled with non-playable characters, many of whom can help you on your journey through the Kingdom of Lothric. The following is a list of the NPCs who appear or pass through this area, in chronological order.
In other words, if you'd rather not know who's coming, don't scroll down too far. On the other hand, if you'd like to make sure you've corralled everyone, then scroll away.
Hawkwood
Hawkwood is Dark Souls 3's resident forlorn and crestfallen knight. For many hours, he'll do little more than repeat his complaints. Be sure to follow his initial dialogue to its conclusion to receive the Collapse gesture.
Fire Keeper
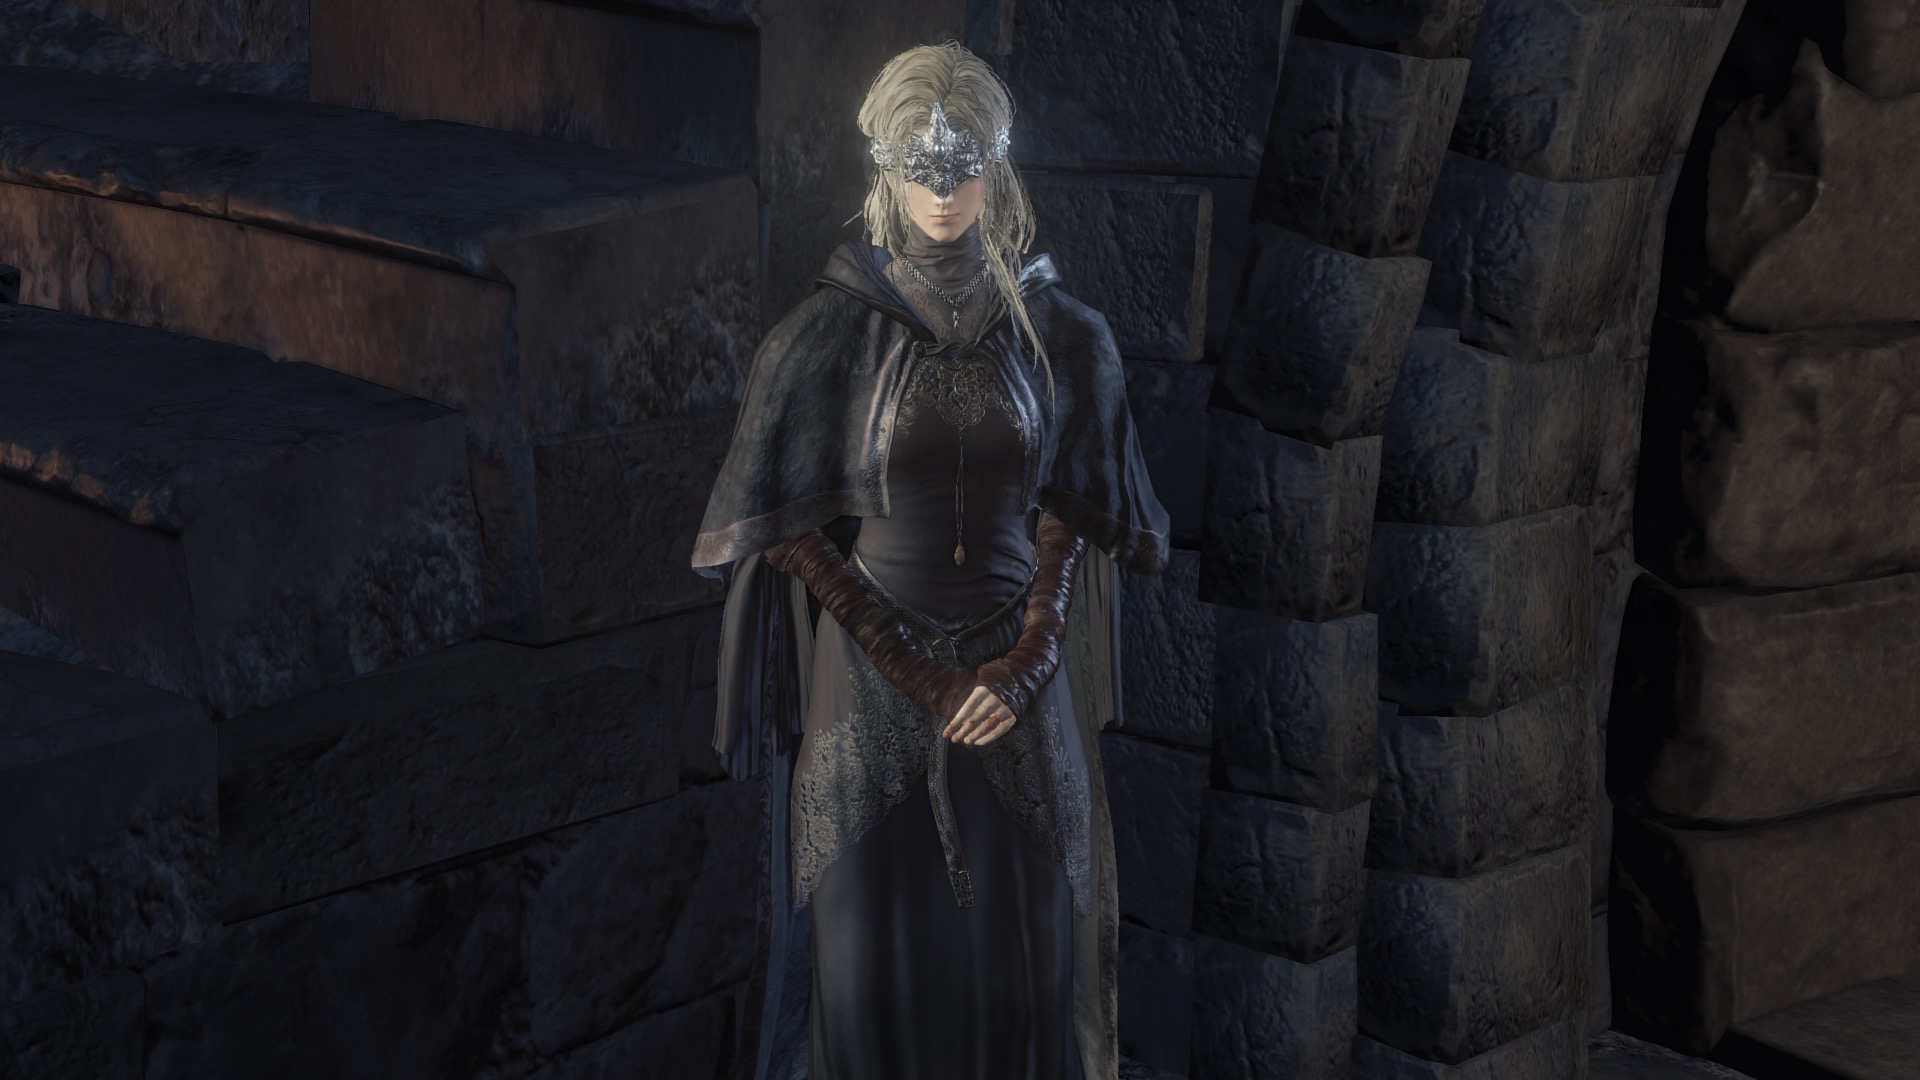
Levels up your character. Later, can heal the Dark Sigil.
Shrine Handmaid
Firelink Shrine's dedicated merchant, who sells consumable items and armor. If you give her Umbral Ash — items hidden throughout Dark Souls 3 — she'll sell you a wider selection of items.
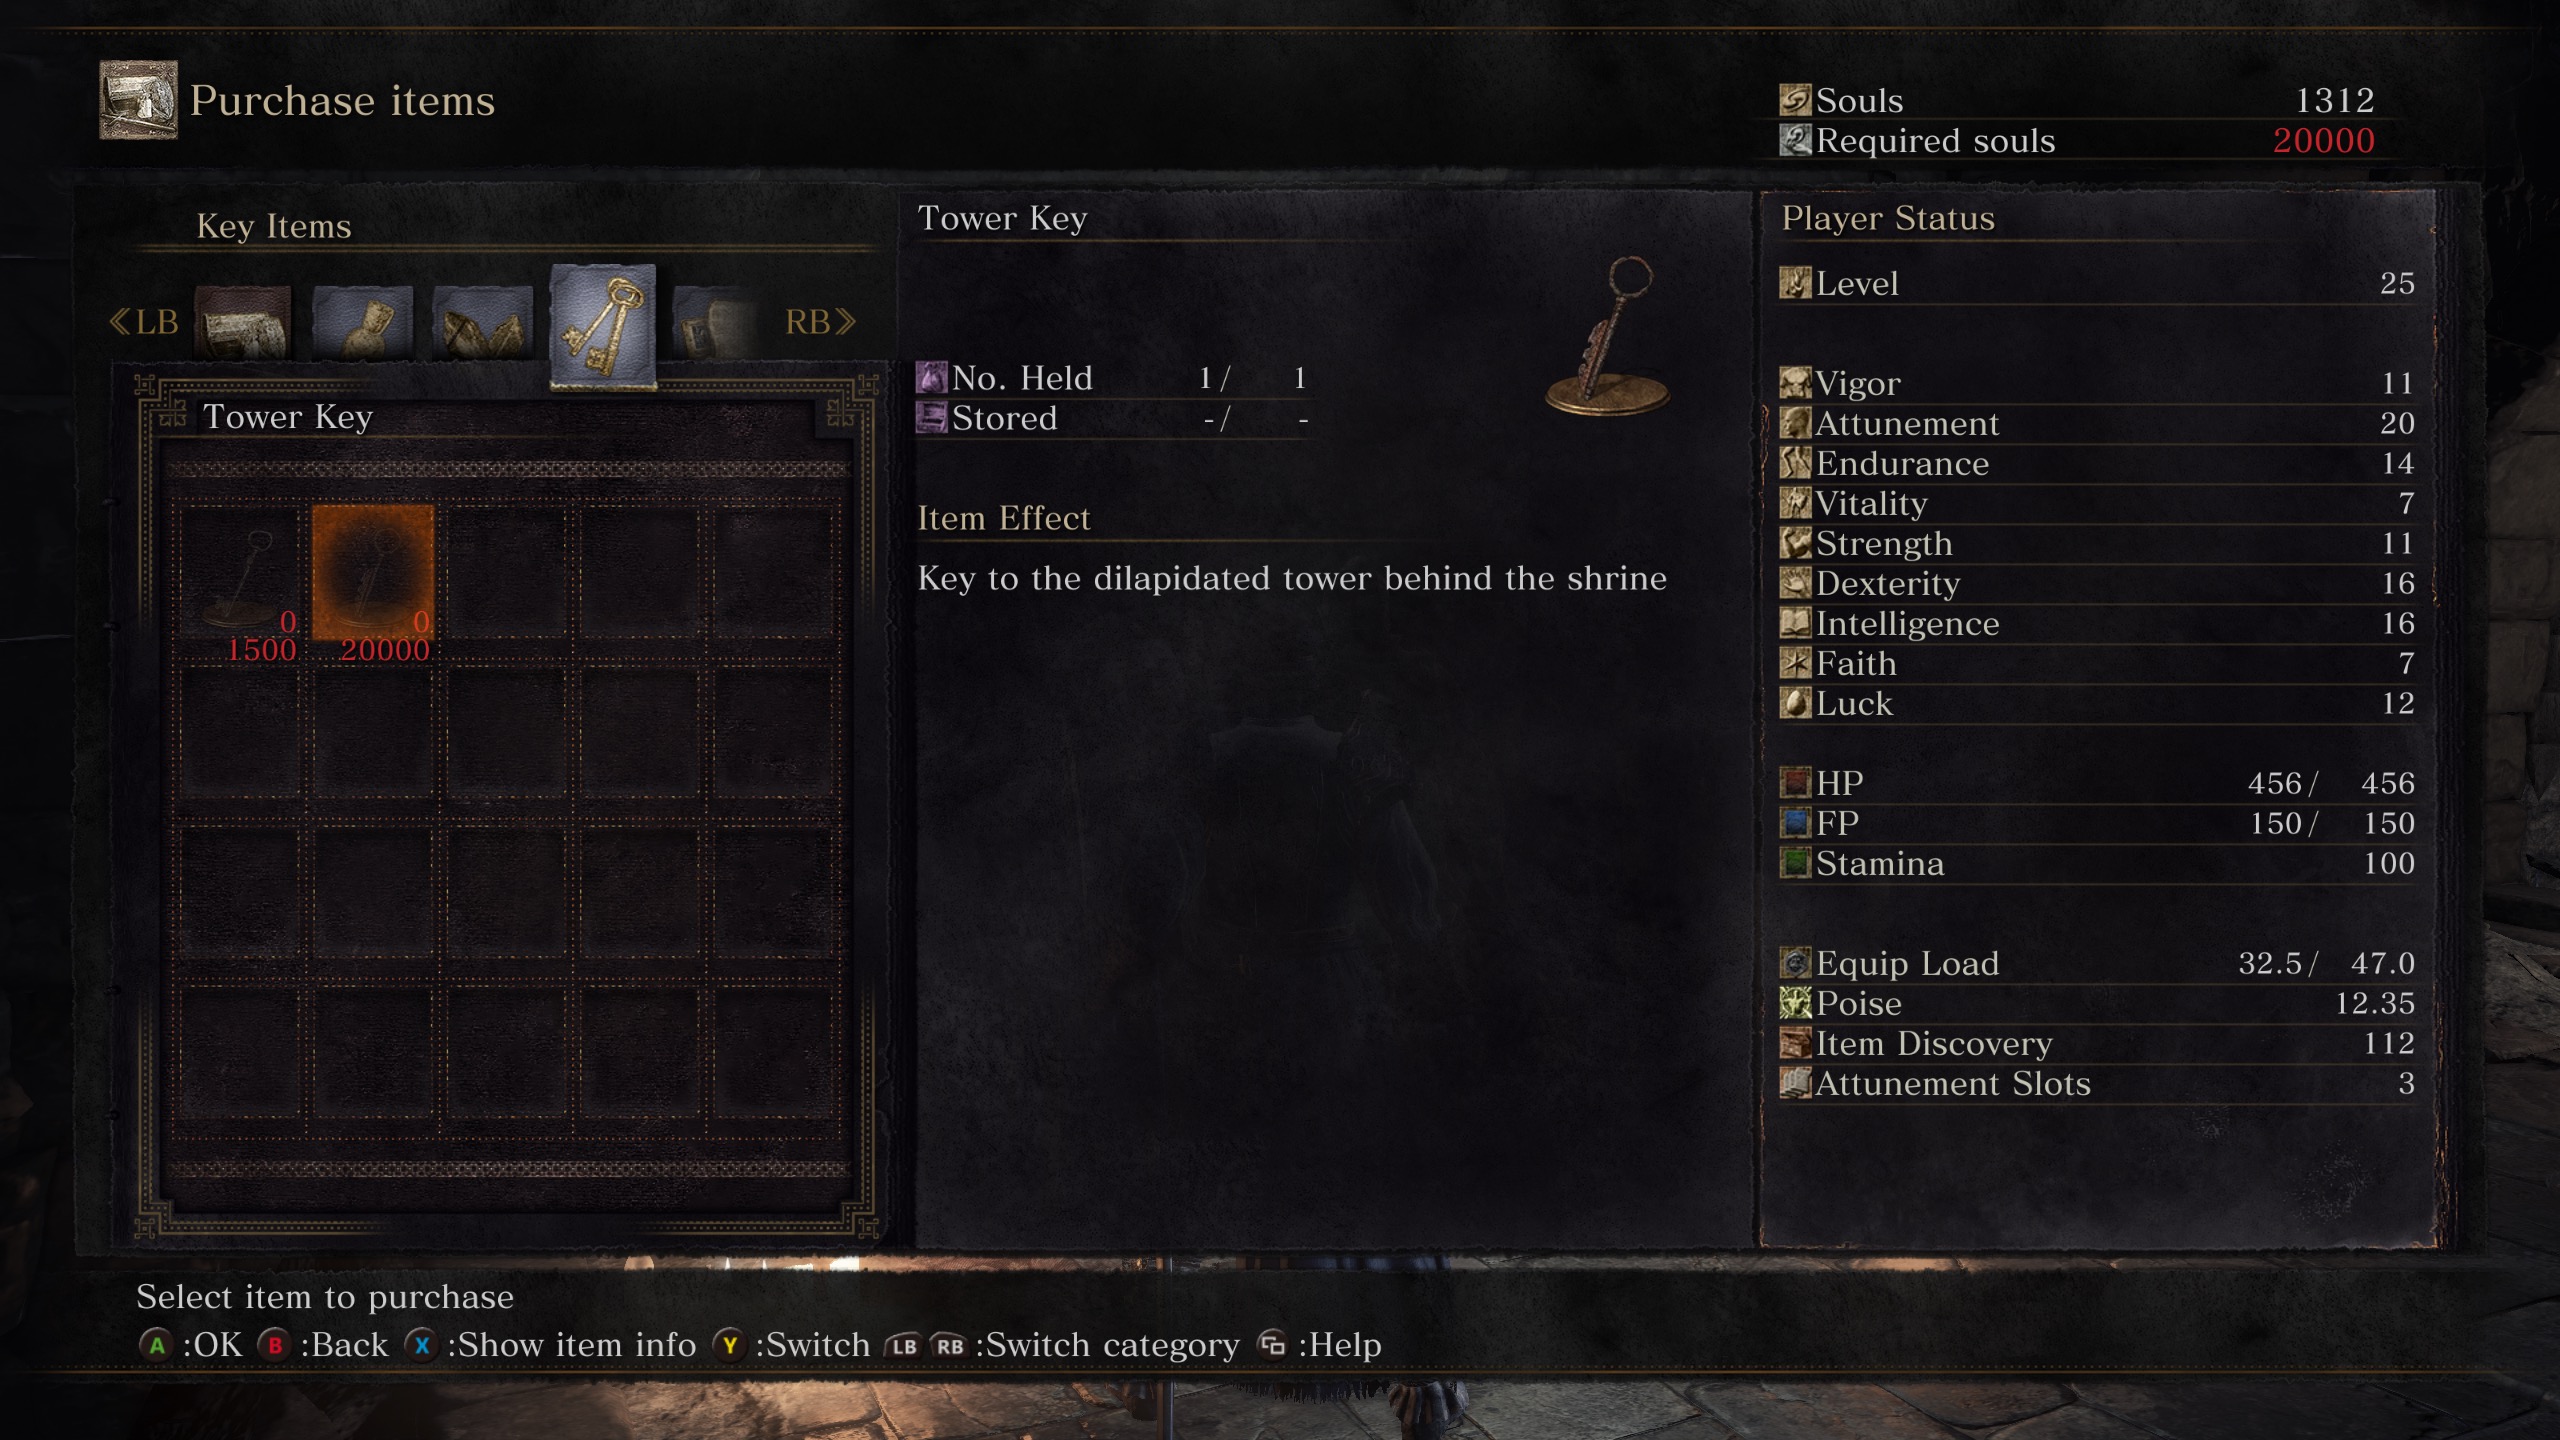
You can take a break from level upgrading and save up 20,000 souls to purchase a tower key from the Shrine Handmaid. This will give you access to the Tower, other previously inaccessible areas of the shrine and a number of useful items. See our tower walkthrough for more information.
Andre

Firelink Shrine's blacksmith, who can upgrade your weapons, shields with Gems and Coal and your Estus Flask with Estus Shards. The items are scattered around Dark Souls 3.
Ludleth of Courland
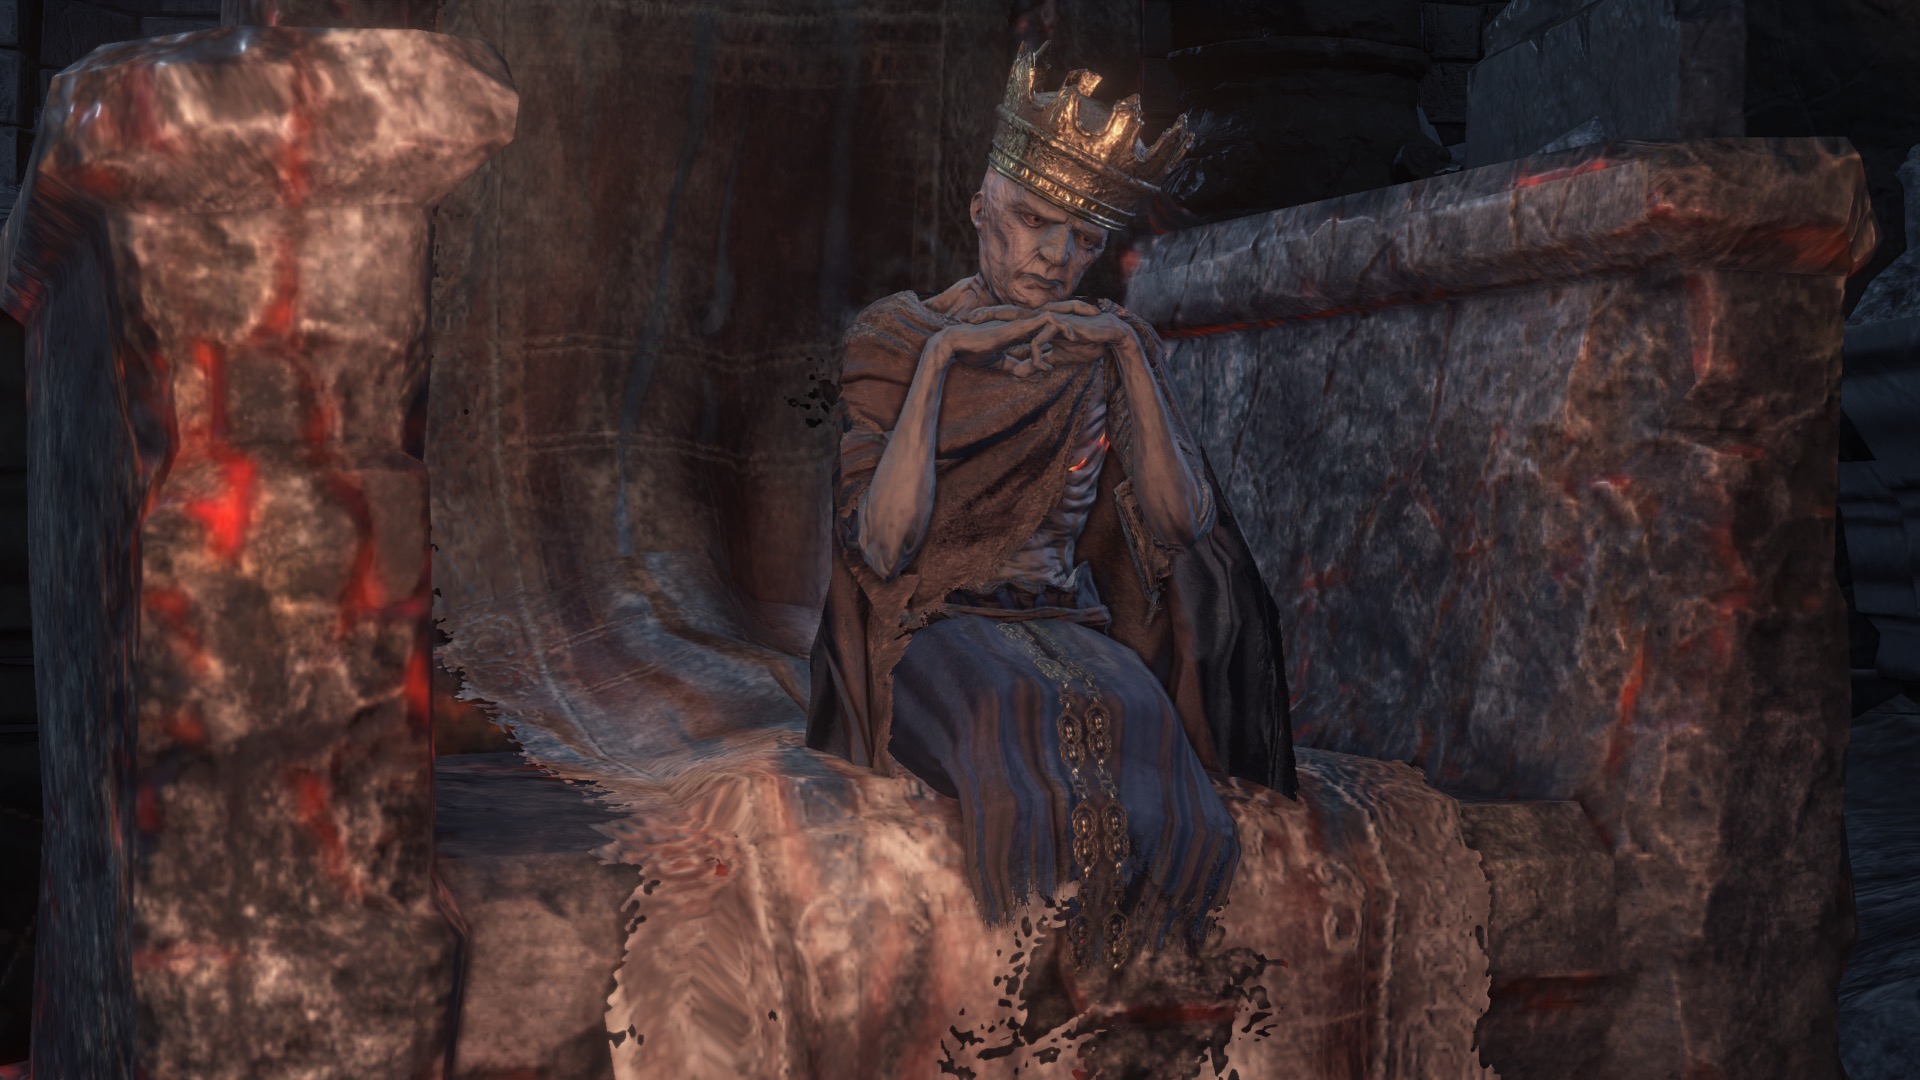
The only NPC to occupy a throne, Ludleth of Courland can take the souls you receive from defeating bosses and turn them into weapons, rings, miracles, weapons and pyromancies. In Dark Souls 3, this process is called transposition.
Greirat of the Undead Settlement

The first time you visit Firelink Shrine, you'll find a handful of NPCs. Greirat is the first NPC you can bring to Firelink. See our guide to the High Wall of Lothric to learn how to find and free him. When he arrives at Firelink Shrine, he'll act much like the Shrine Handmiad, selling a wide variety of items.
Be sure to check back with him often, even if you're not into buying anything. He'll occasionally offer to leave Firelink Shrine, perform his thievery and return with new items for sale.
Leonhard the Ringfinger
At the beginning of the game, you'll find Leonard leaning against the largest throne in Firelink Shrine. Talk to him, and he'll give you five Cracked Red Eye Orbs, which allow you to invade and hunt down your fellow Dark Souls 3 players.
Eygon of Carim
You'll first encounter Eygon of Carim in the Undead Settlement, on the path that leads to the lift, where you meet Siegward of Catarina and can travel to the Road of Sacrifices. He doesn't have much to say, and what he has to say isn't nice or particularly helpful. However, if you follow the hidden path in the Undead Settlement, you can free his prisoner, Irina of Carim. Eygon of Carim appears briefly in Firelink Shrine after you fight the Abyss Watchers.
Irina of Carim
Irina wanted to be a Fire Keeper, but for reasons unknown, she's unworthy. She begins the game as Eygon of Carim's prisoner, but you can free her by purchasing the Grave Key from the Shrine Handmaid after finding and giving her Mortician's Ashes. See our guide to the Undead Settlement to learn how to find that umbral ash.
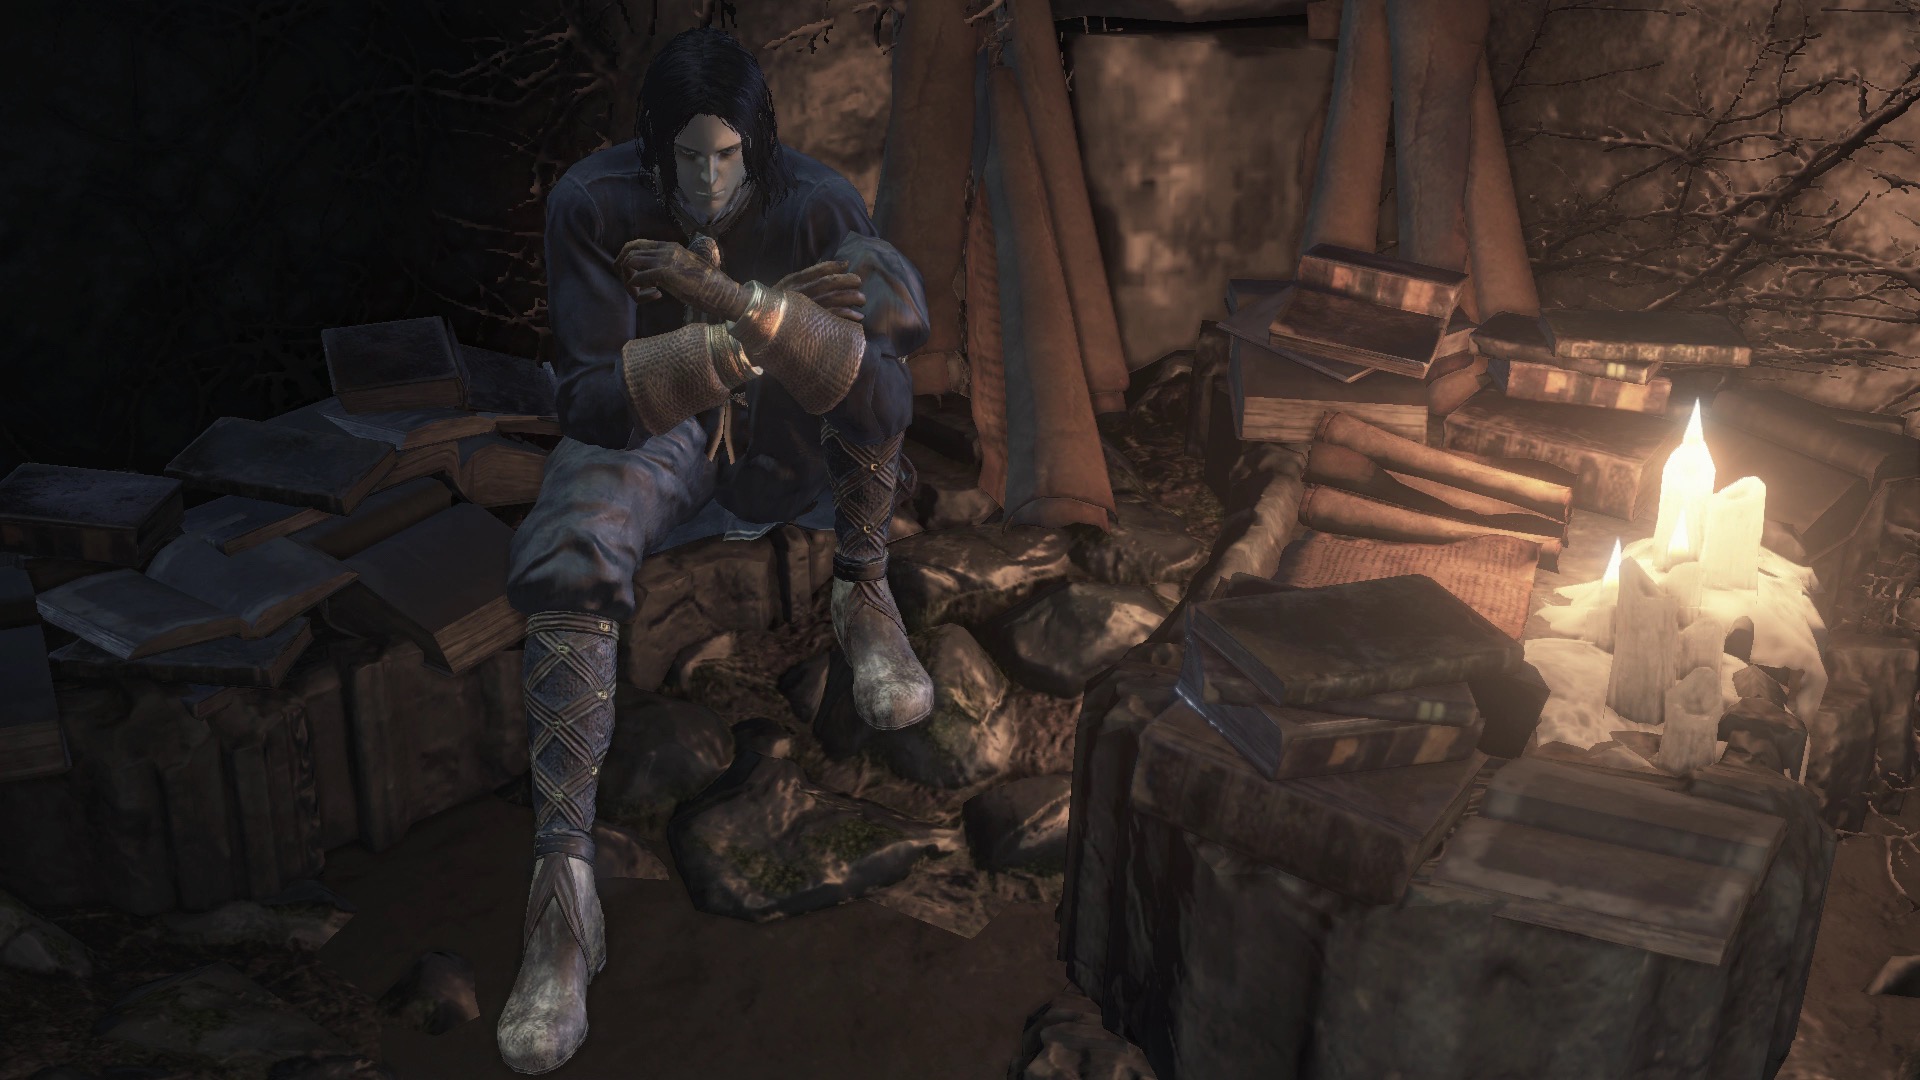
Yoel of Londor
Yoel of Londor can't understand why he isn't dead. You'll find this woeful pilgrim on the bridge beneath the first bonfire in the High Wall of Lothric. Accept his offer, and he'll appear in Firelink Shrine offering to sell you magic and for zero souls but at a cost, level you up.
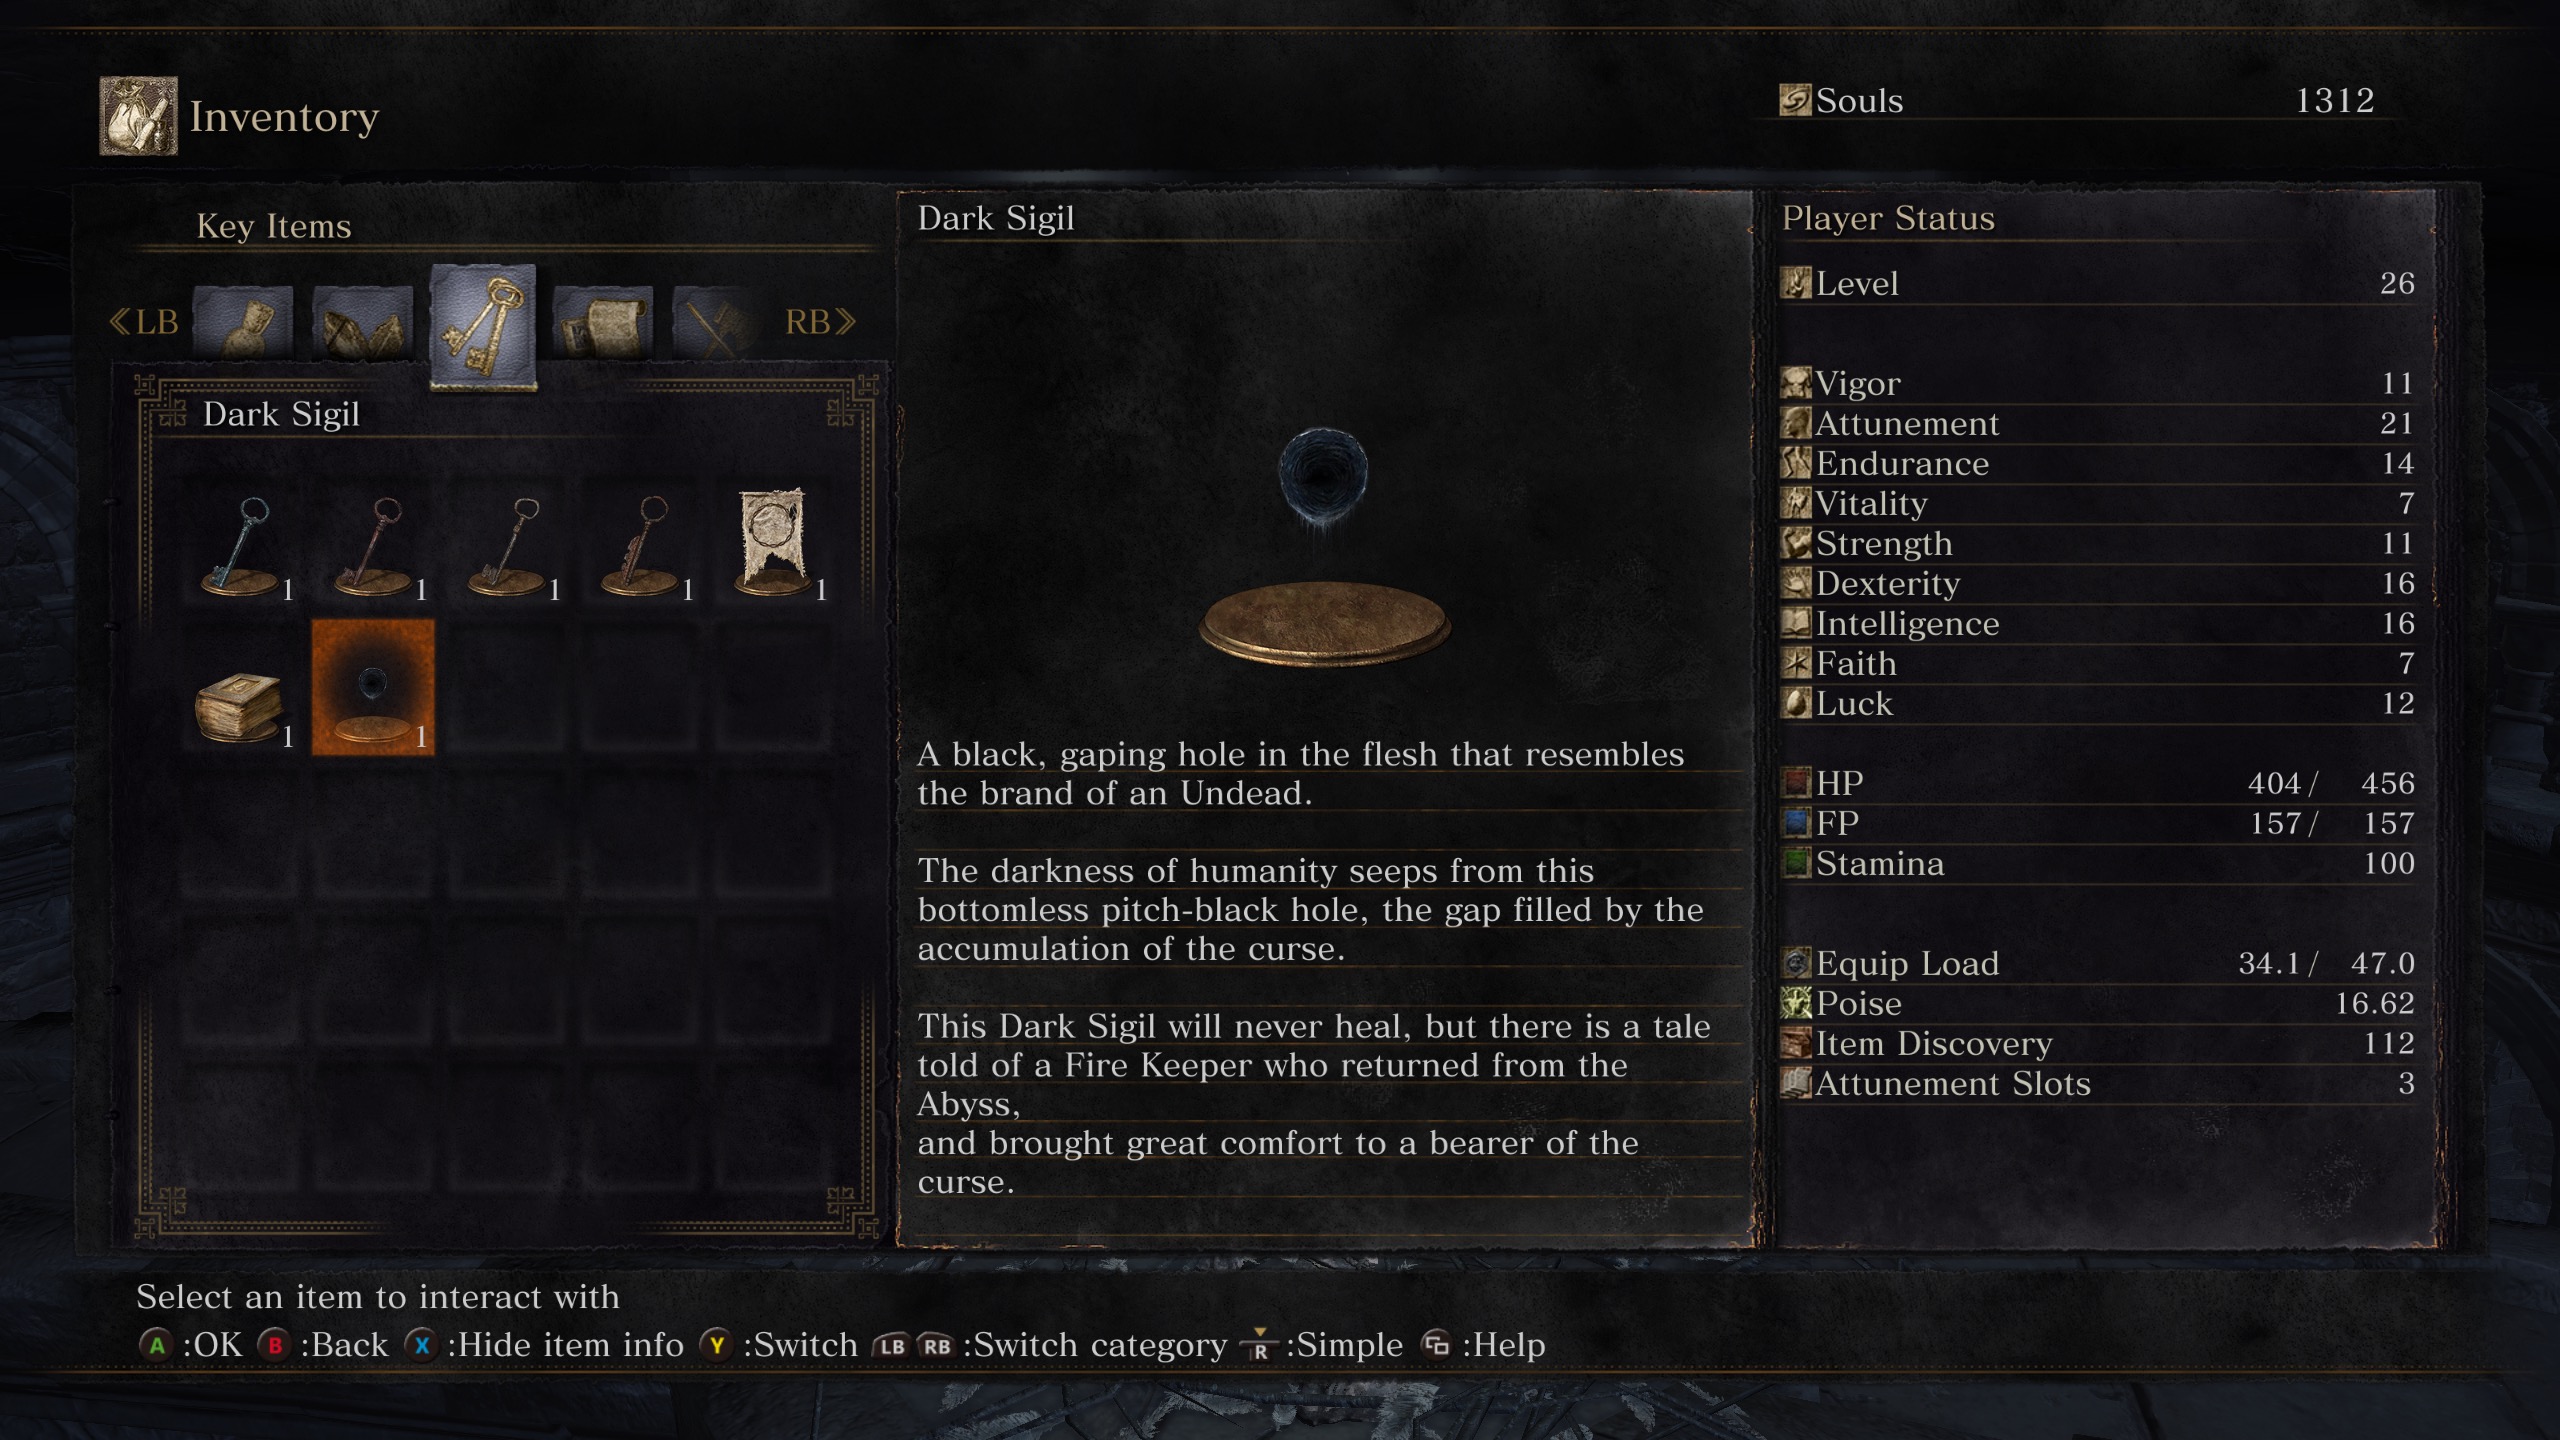
If you choose to level up, you'll receive the Dark Sigil, an item that eventually turns you decrepid and hollow, like a zombie. You can level up a total of five times with Yoel. And then he'll die.
Orbeck of Vinheim
Orbeck of Vinheim is an arrogant ass who has a great redeeming quality: He'll sell you sorceries. You can find him in Faron Keep. Consult our walkthrough for the critical path to Orbeck.
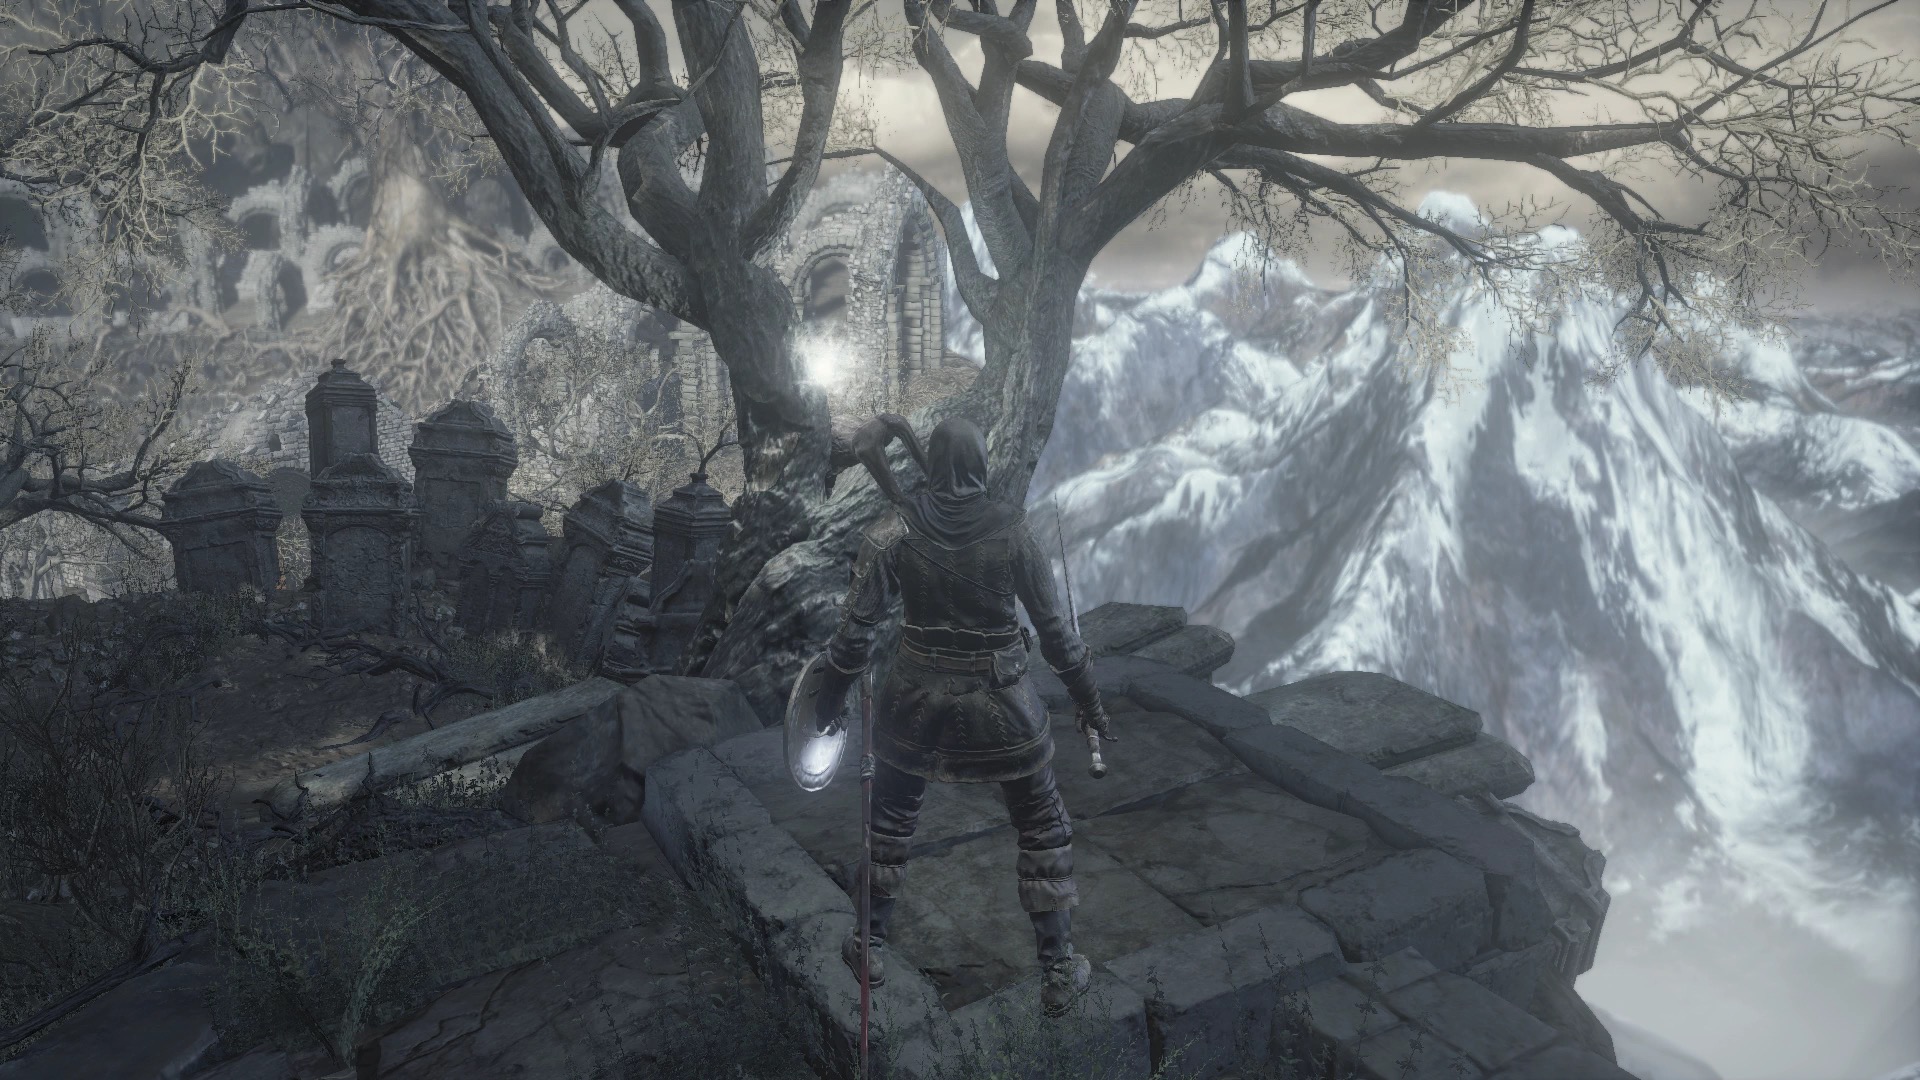
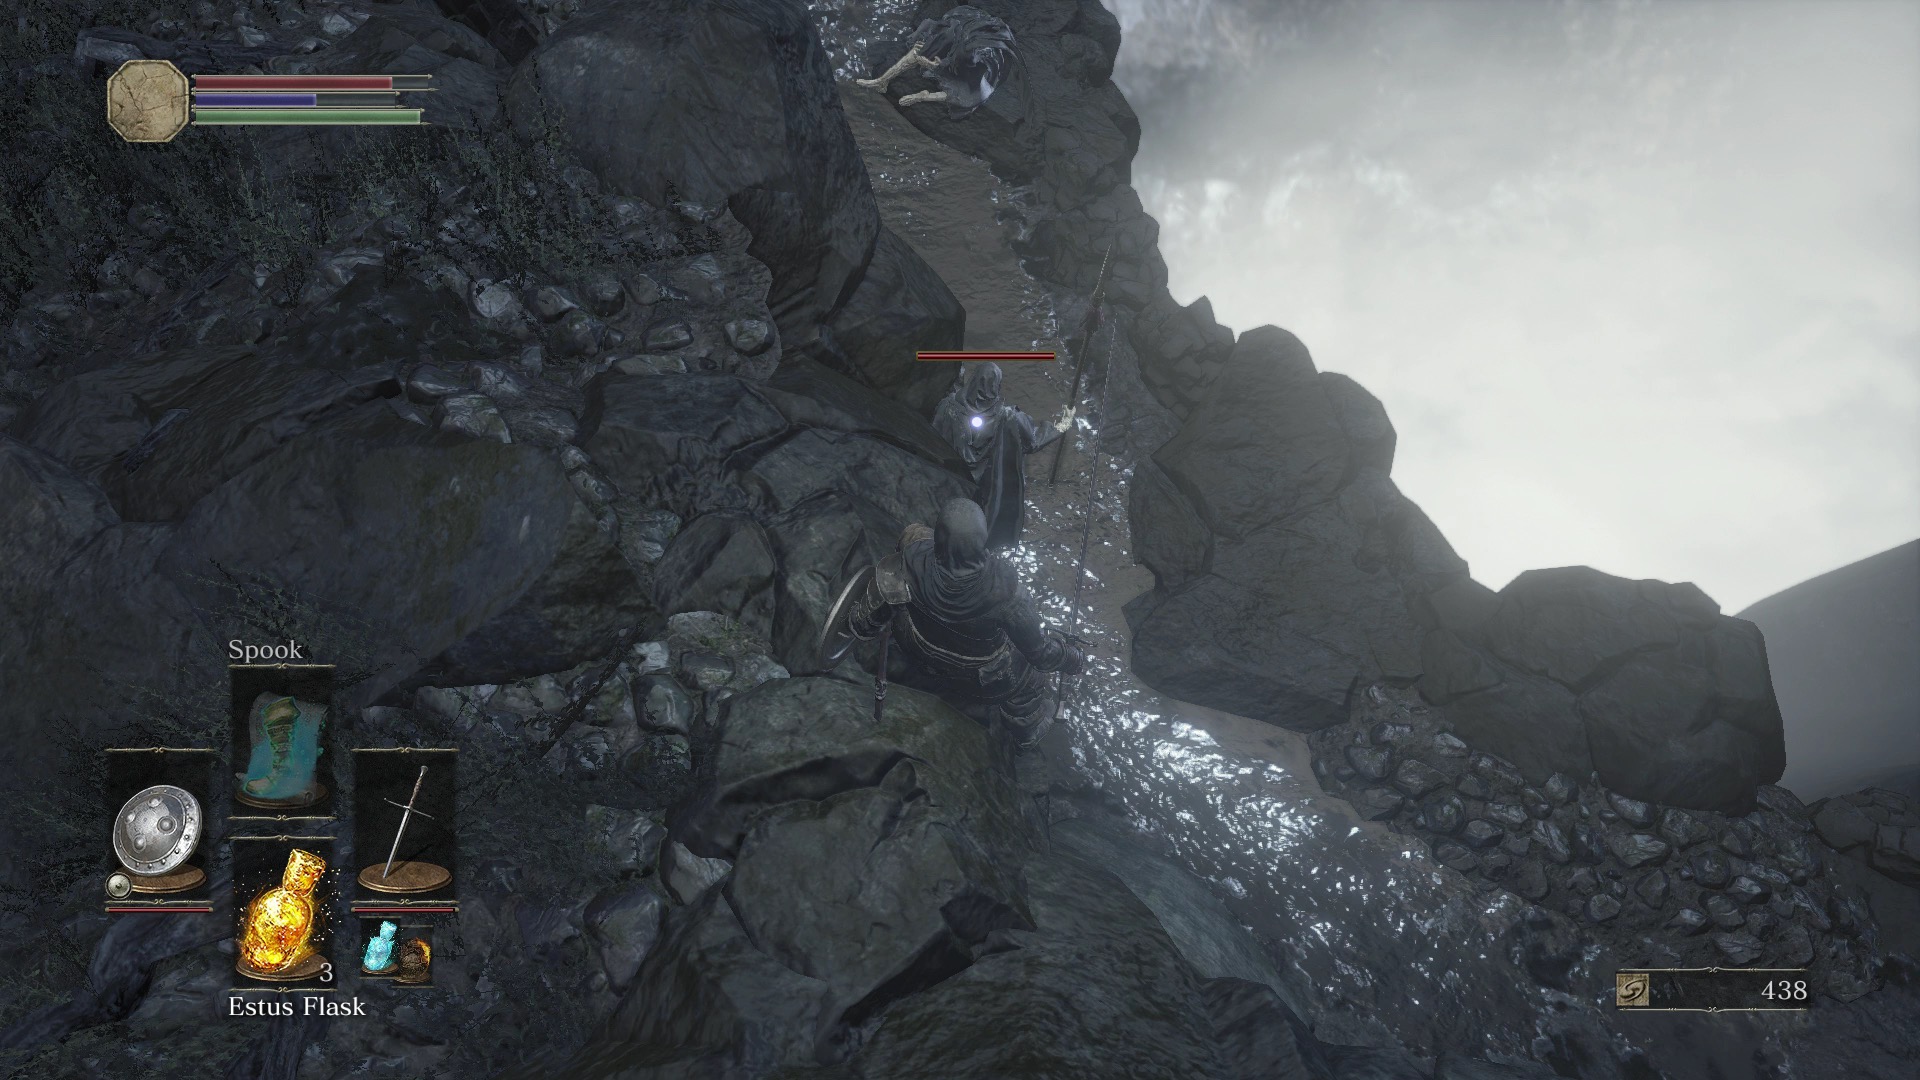
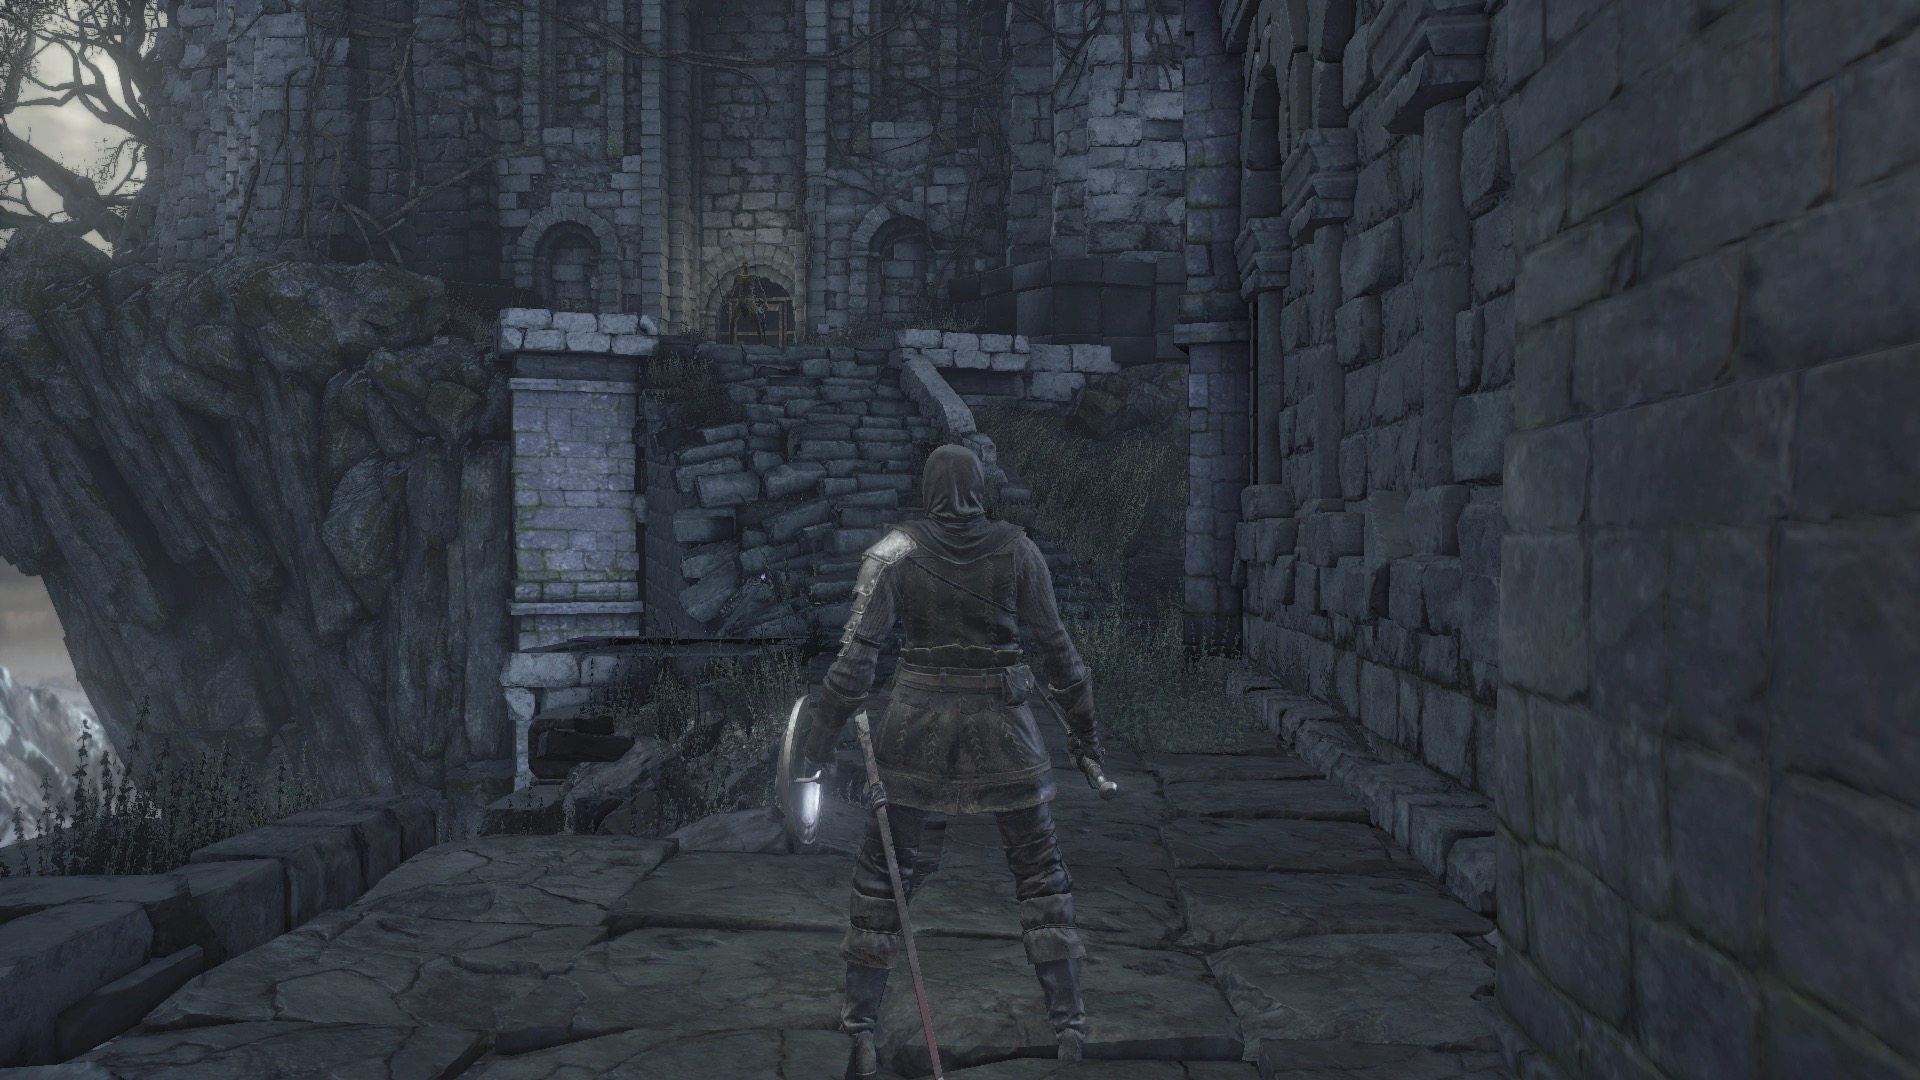
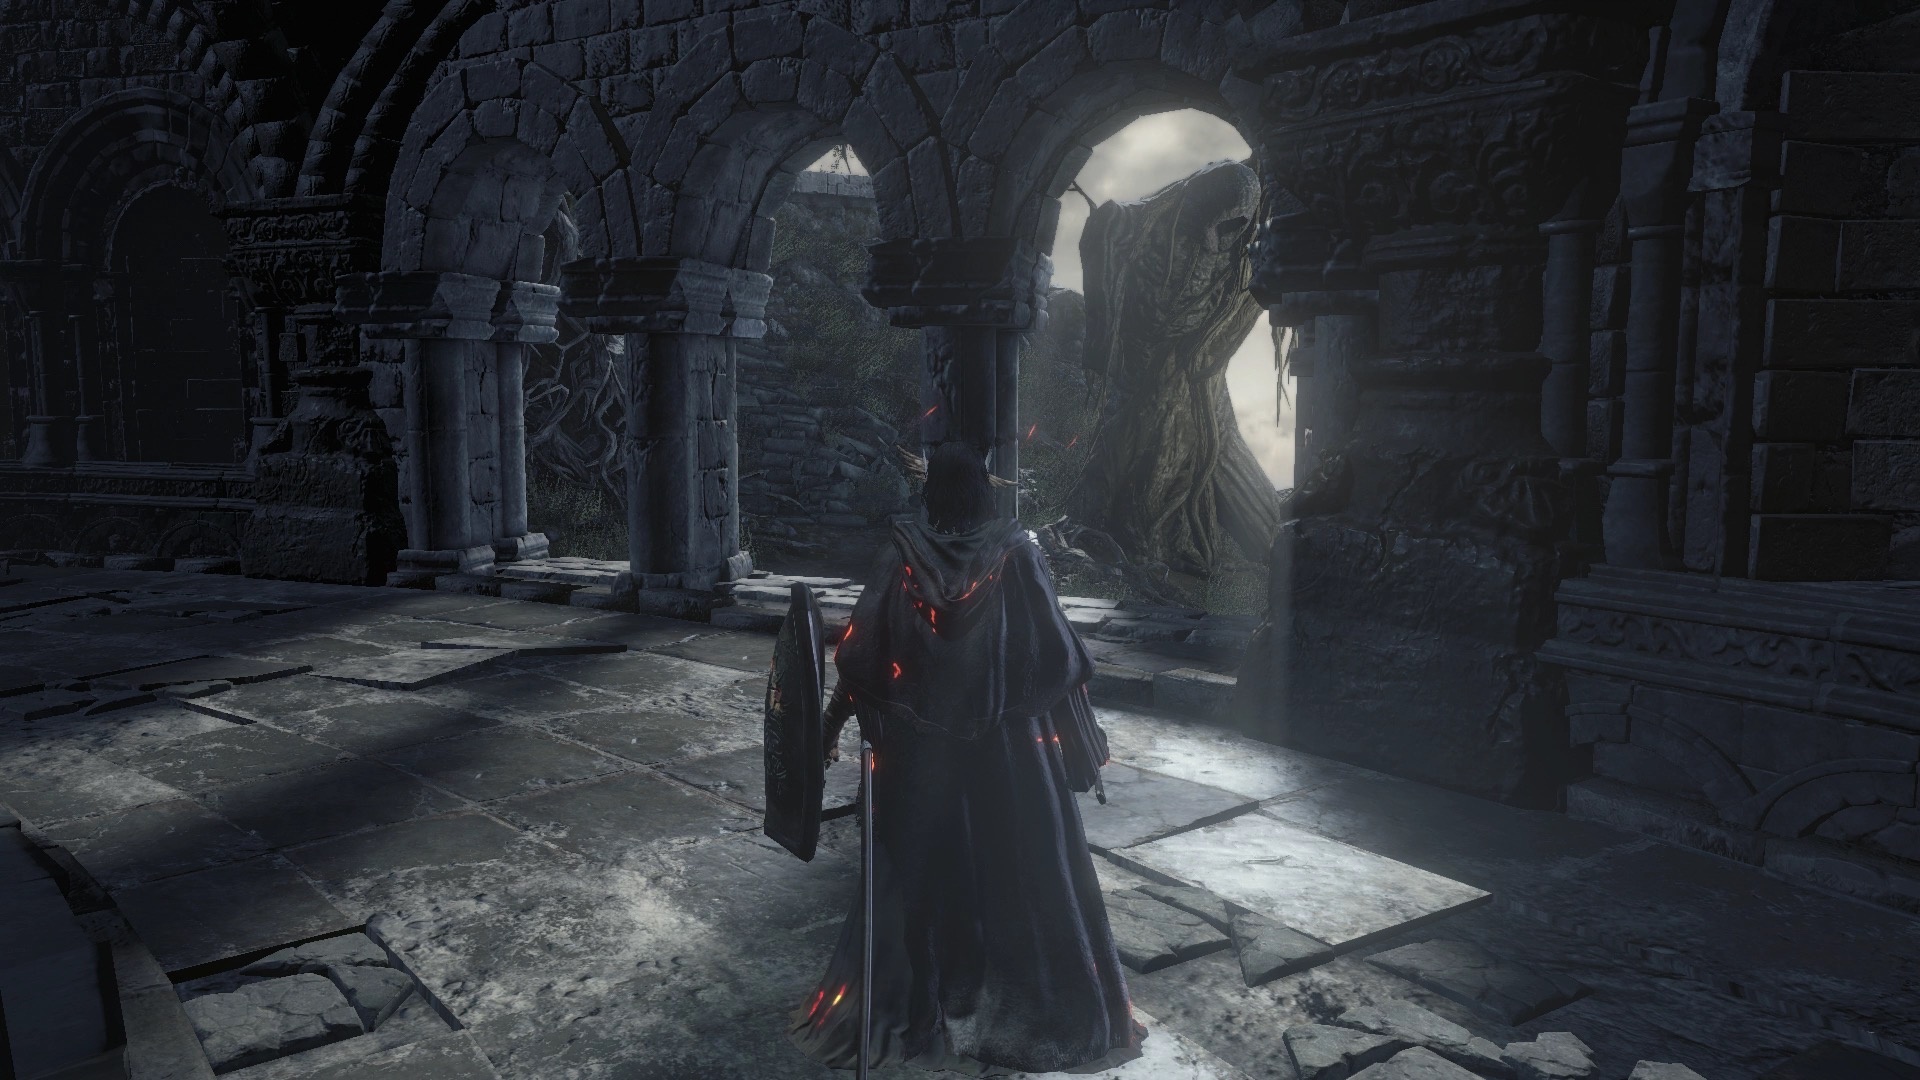
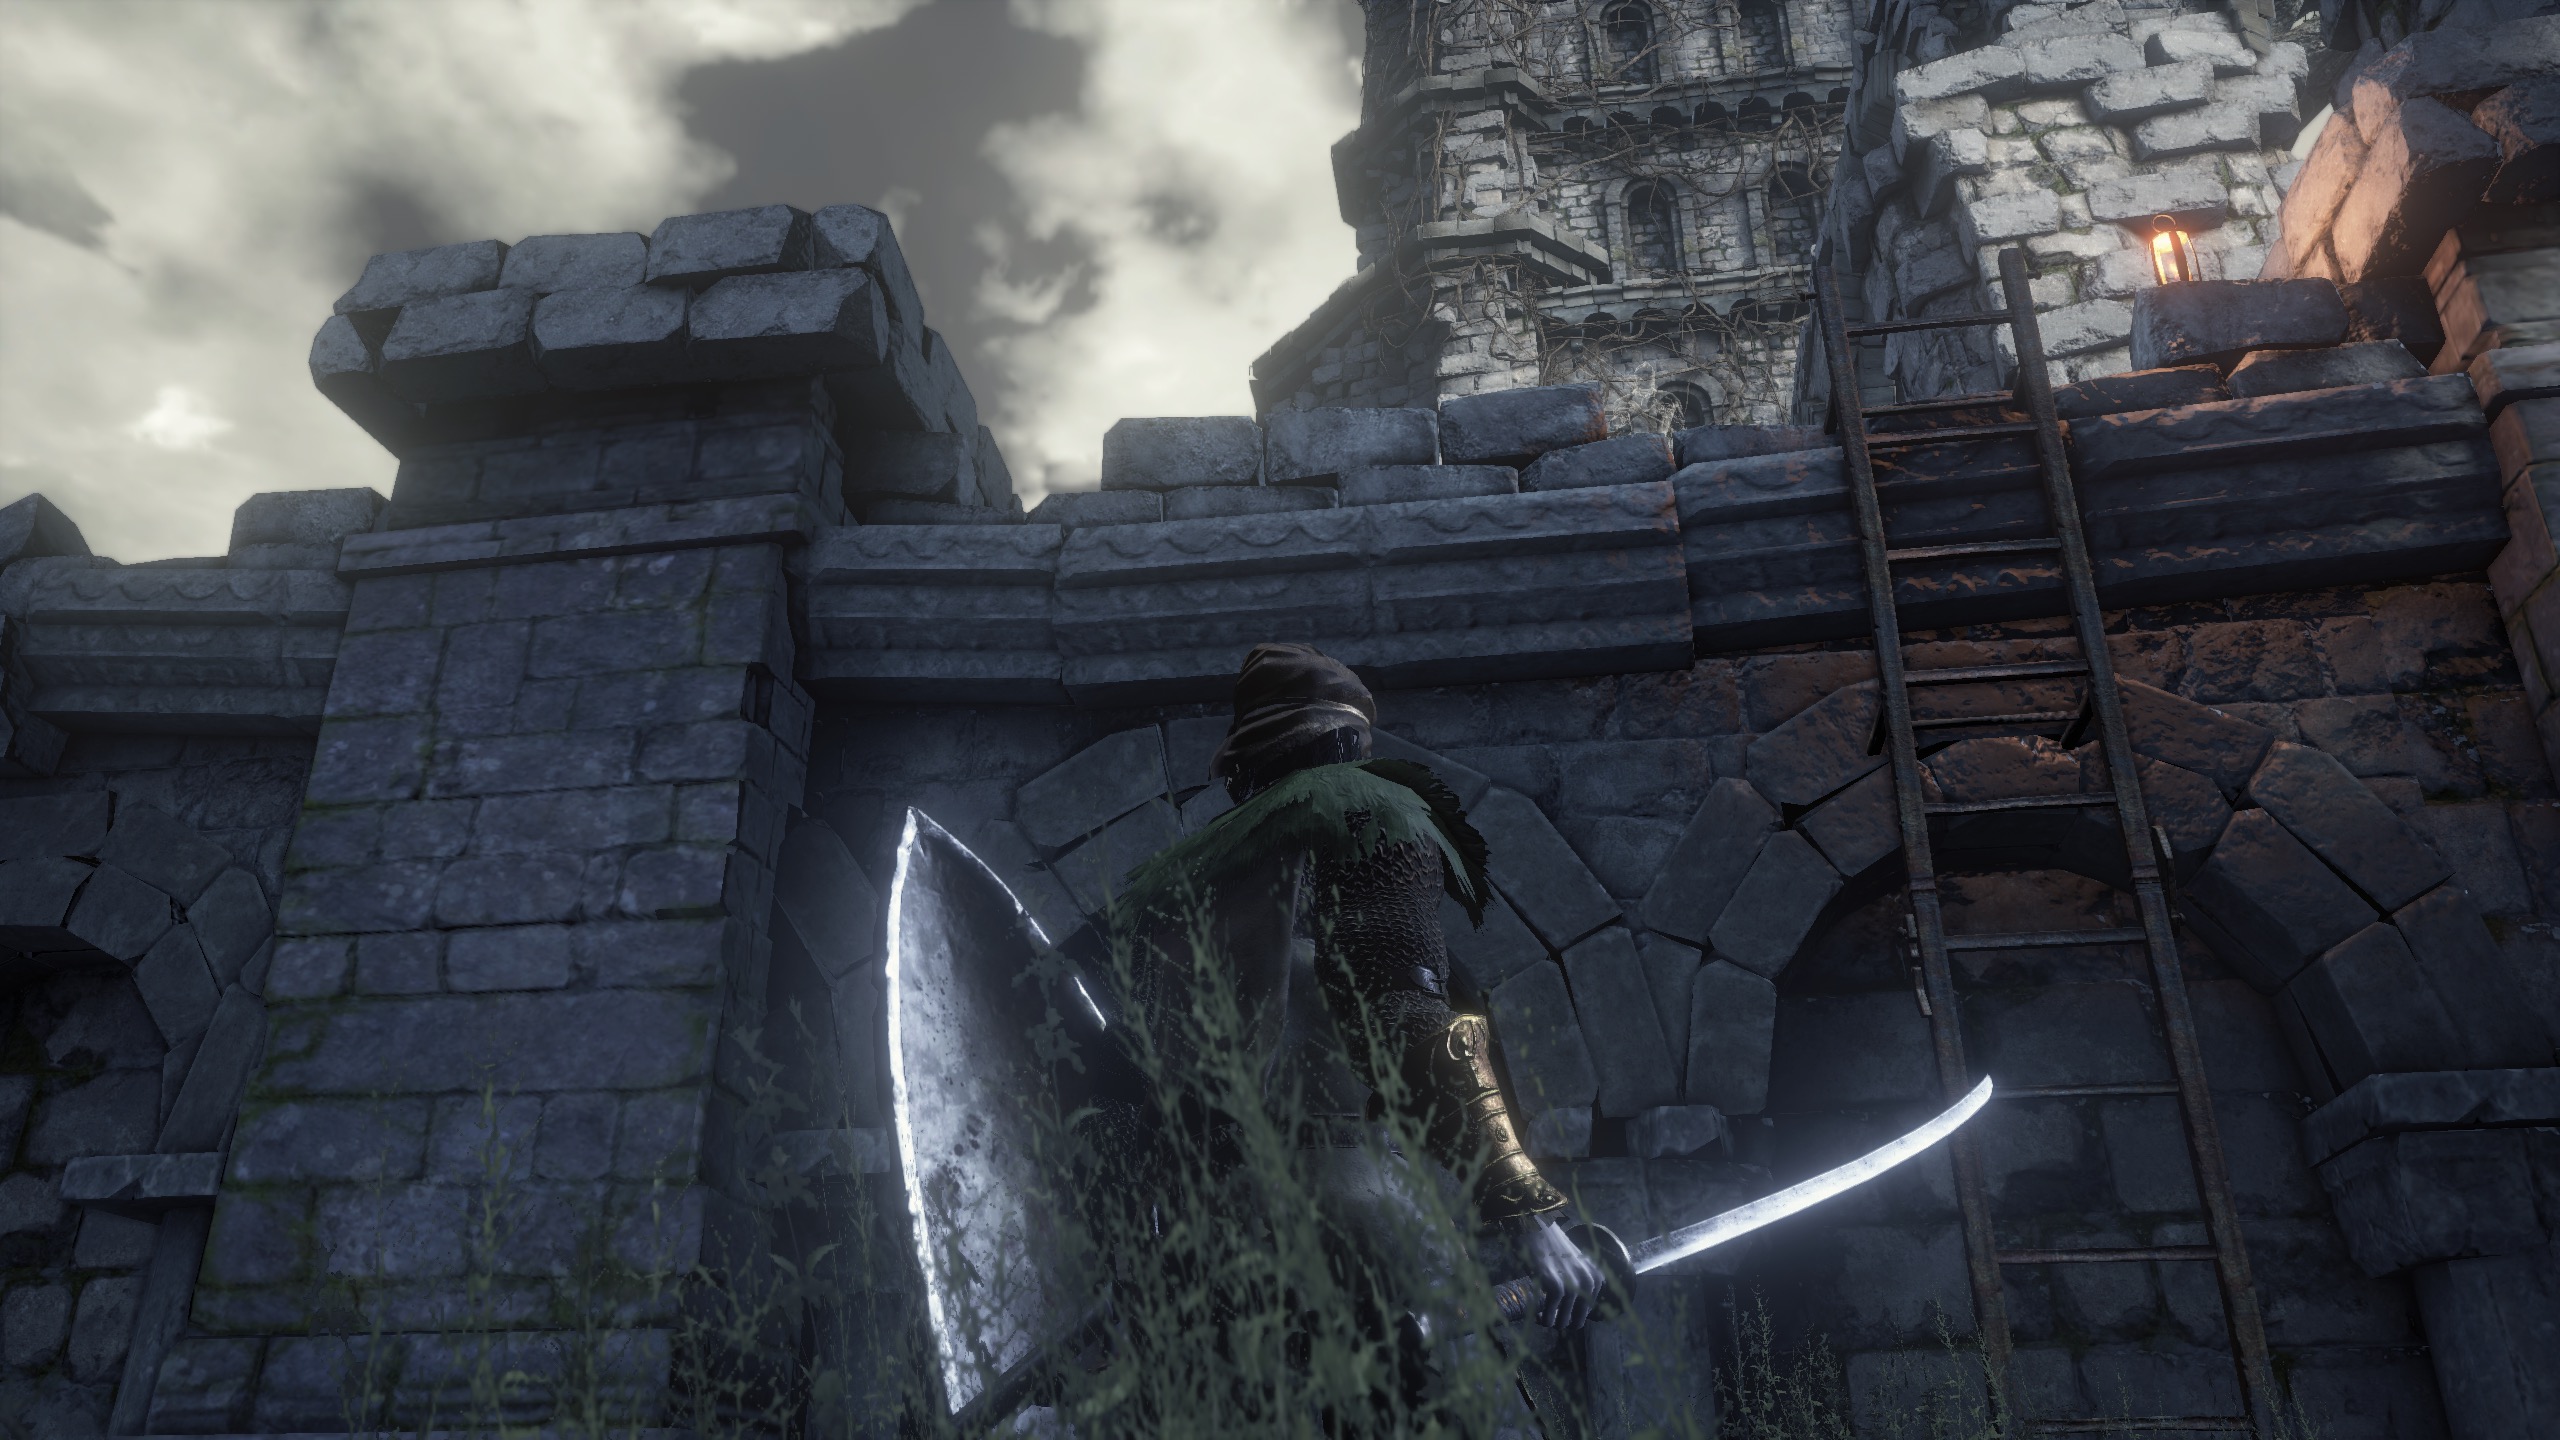
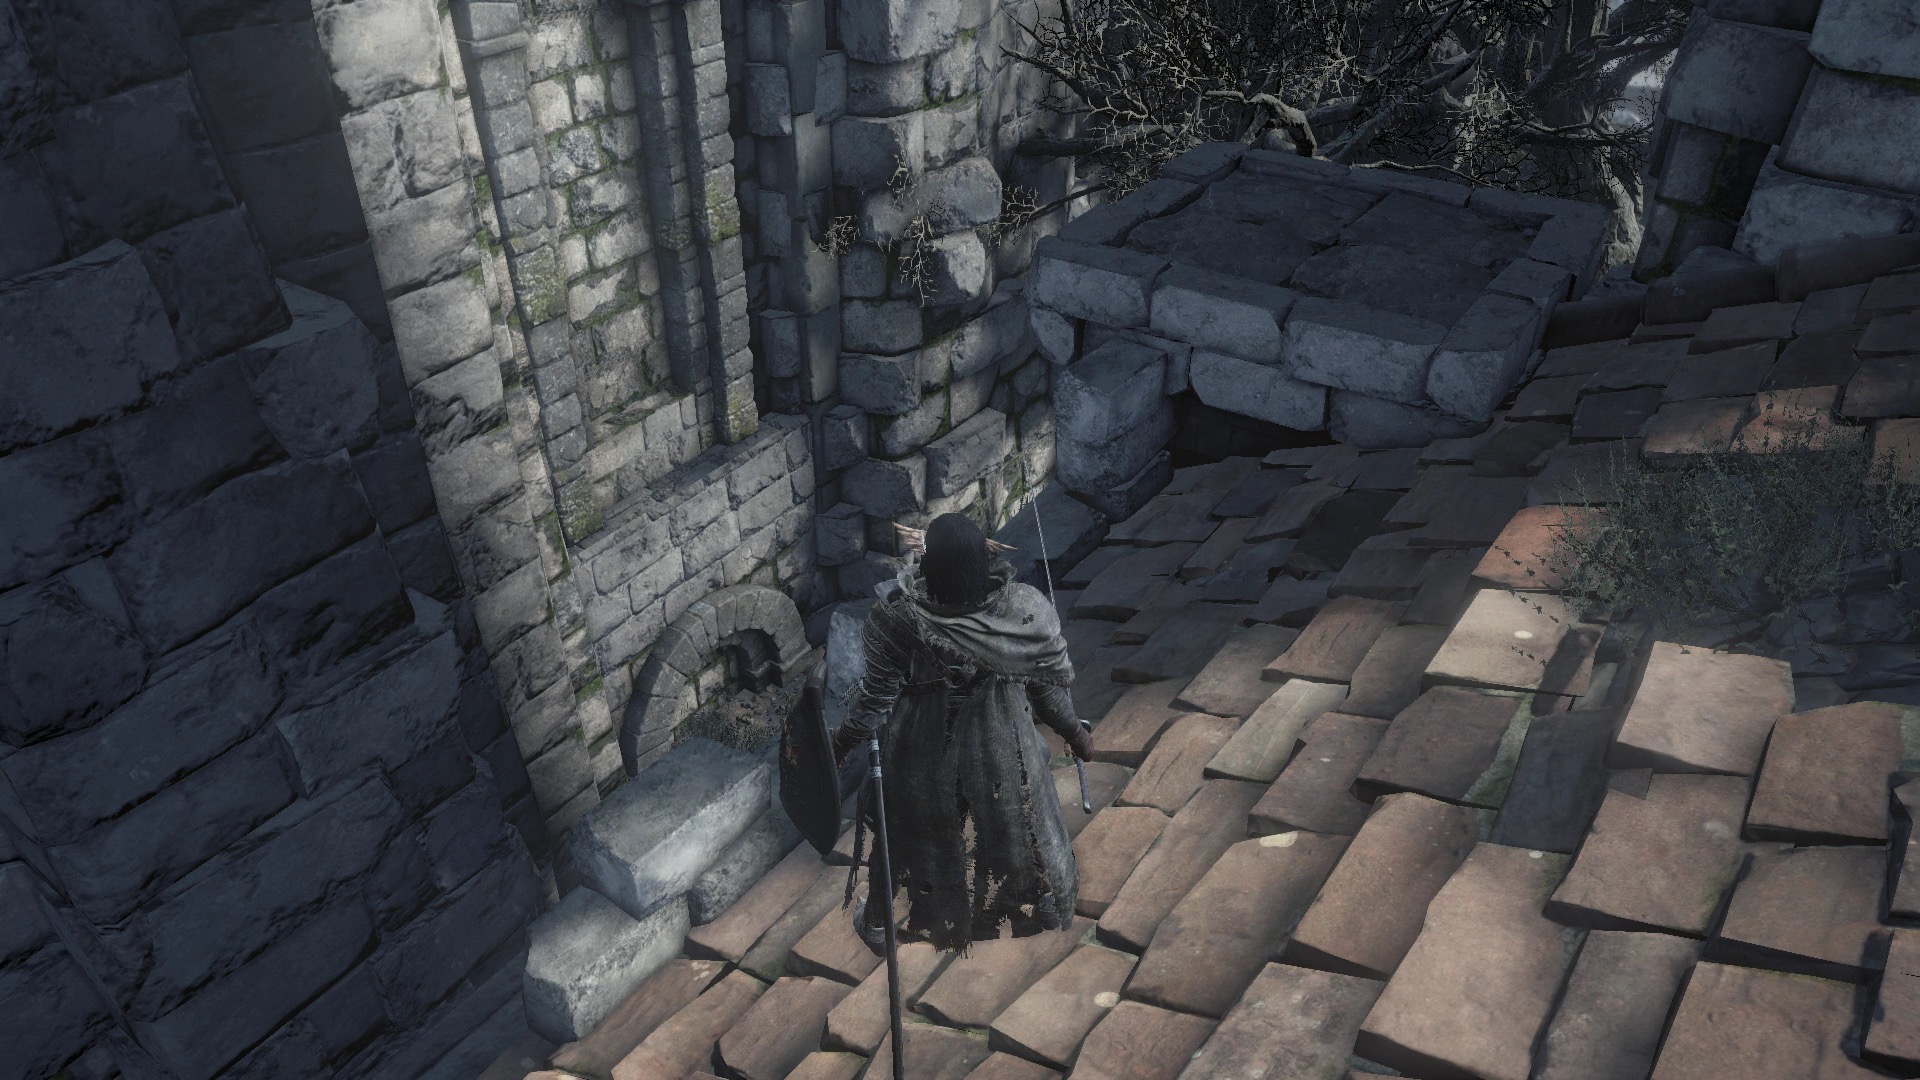
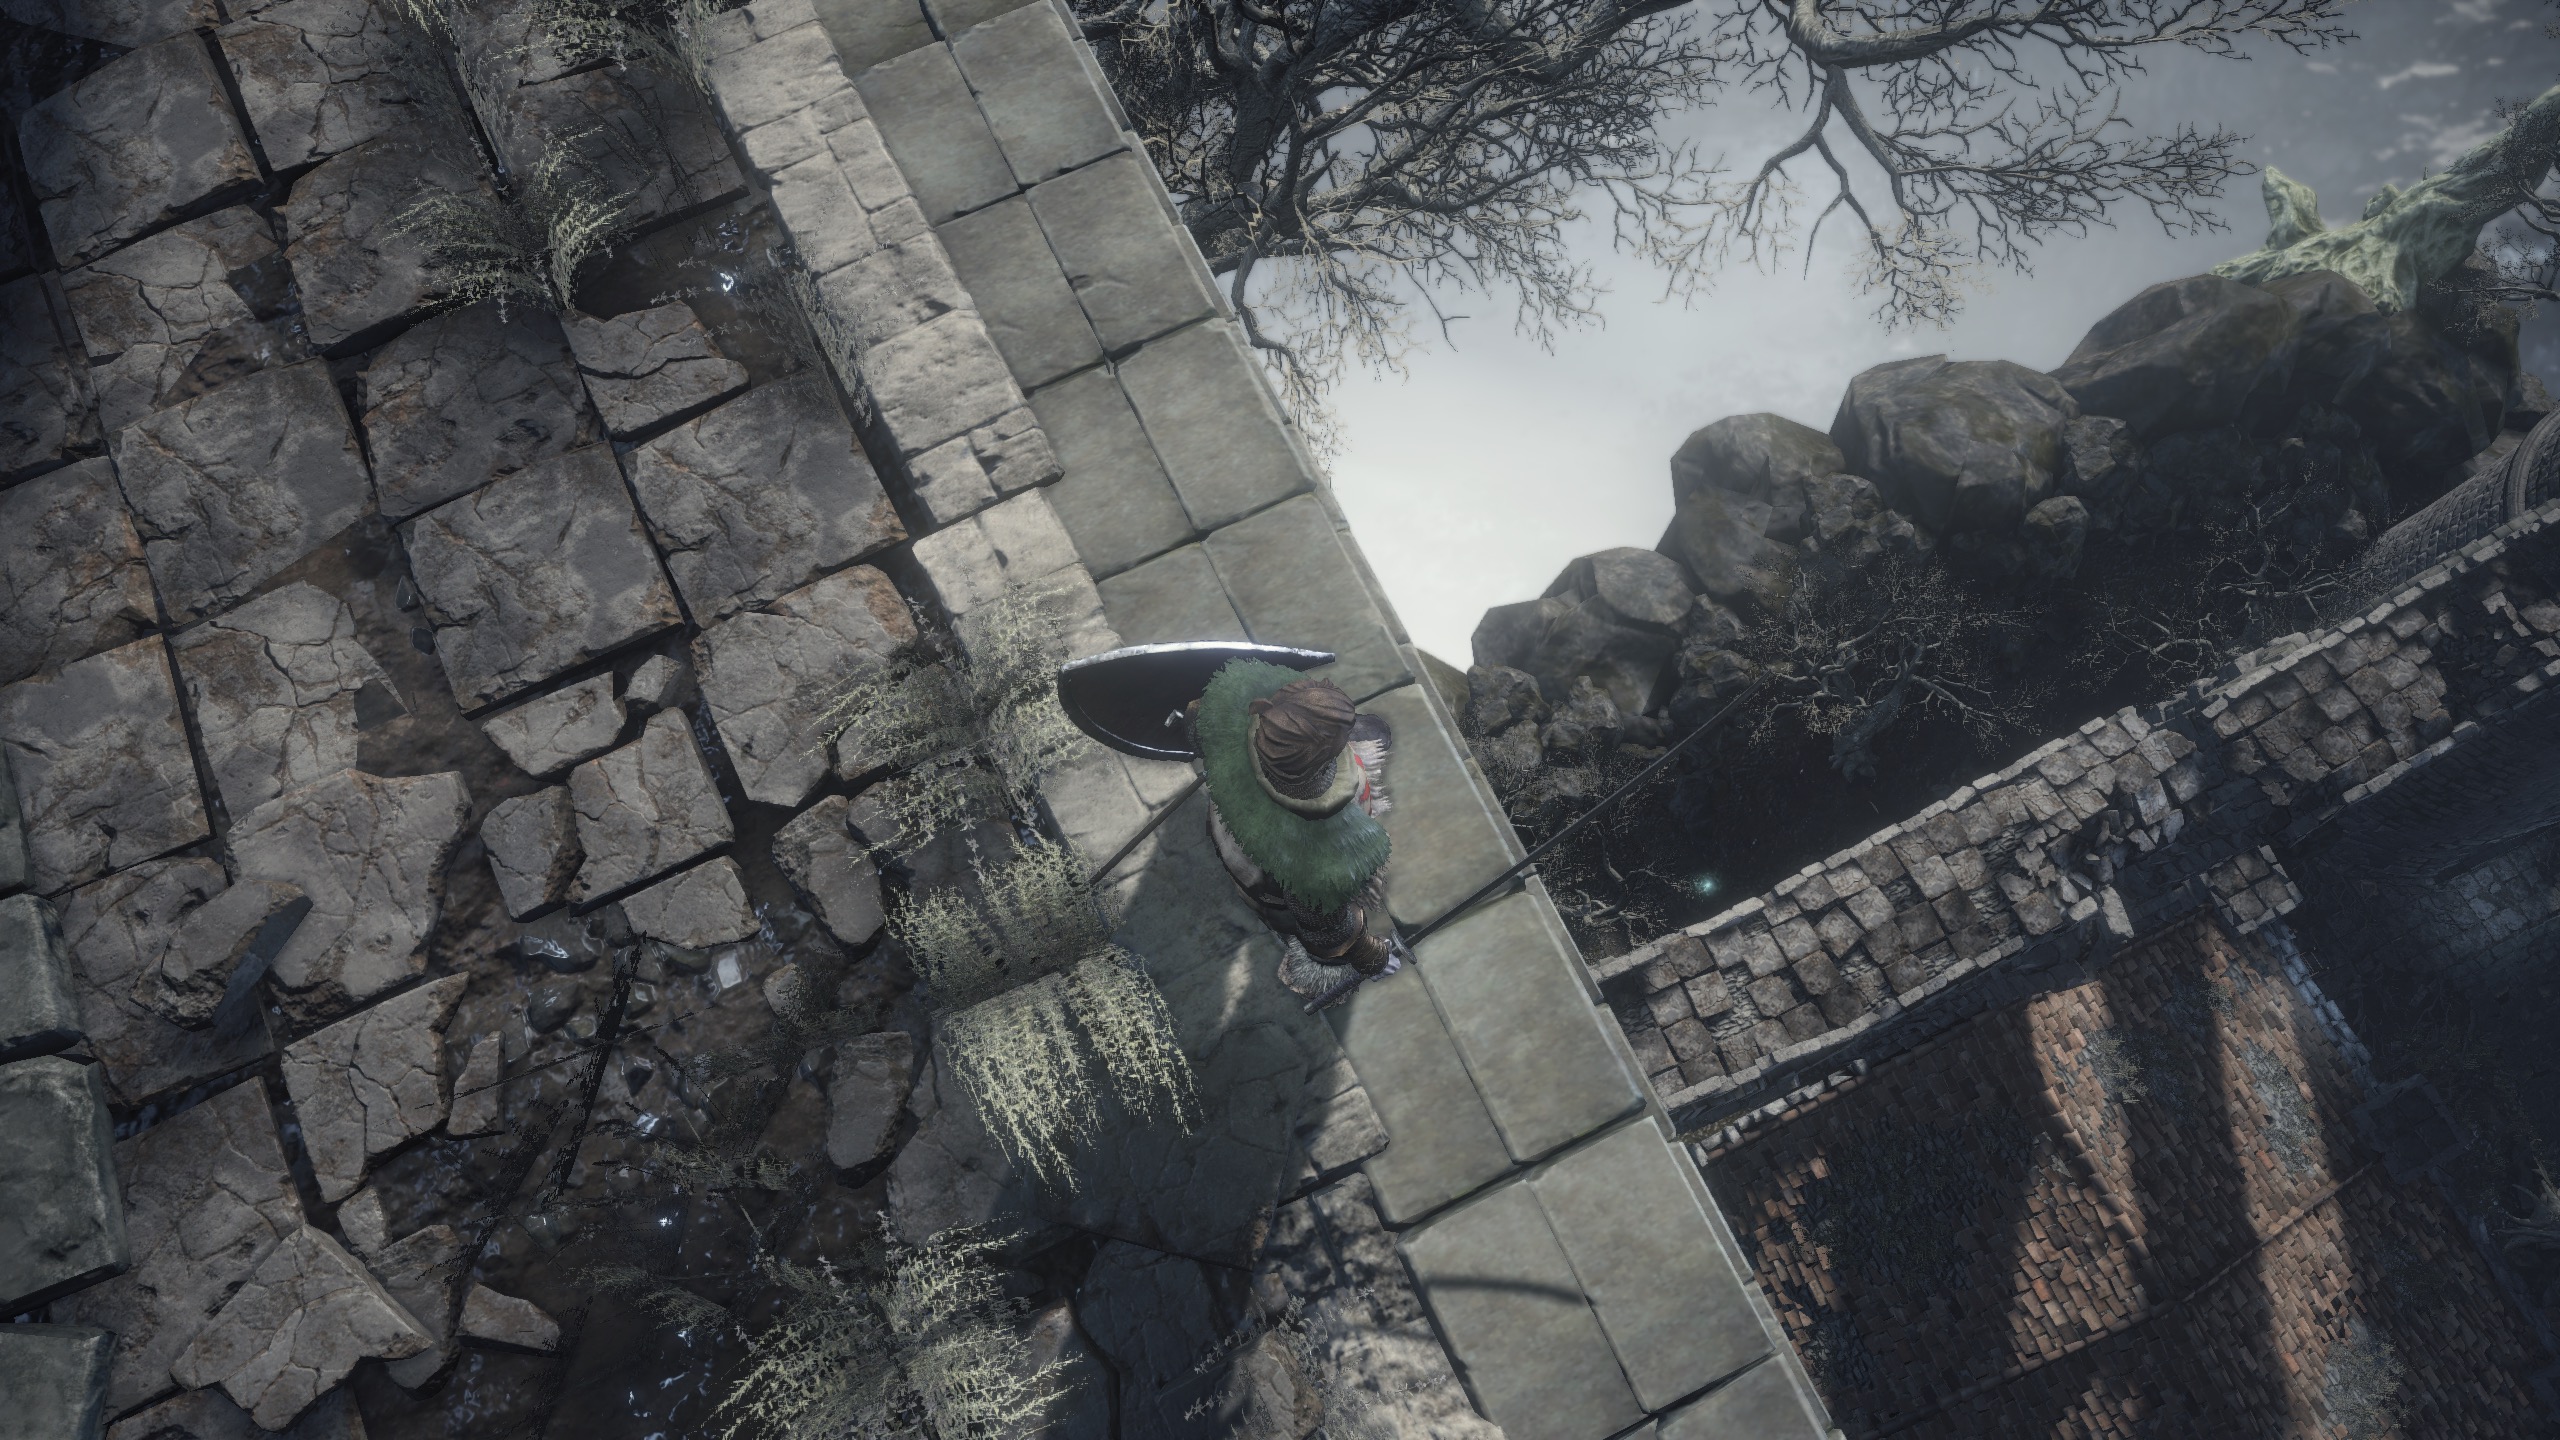
The shrine itself is a safe zone, but the outside area has its share of hostilities. It's one of the smaller areas of Dark Souls 3, yet it still has several secrets and useful items.

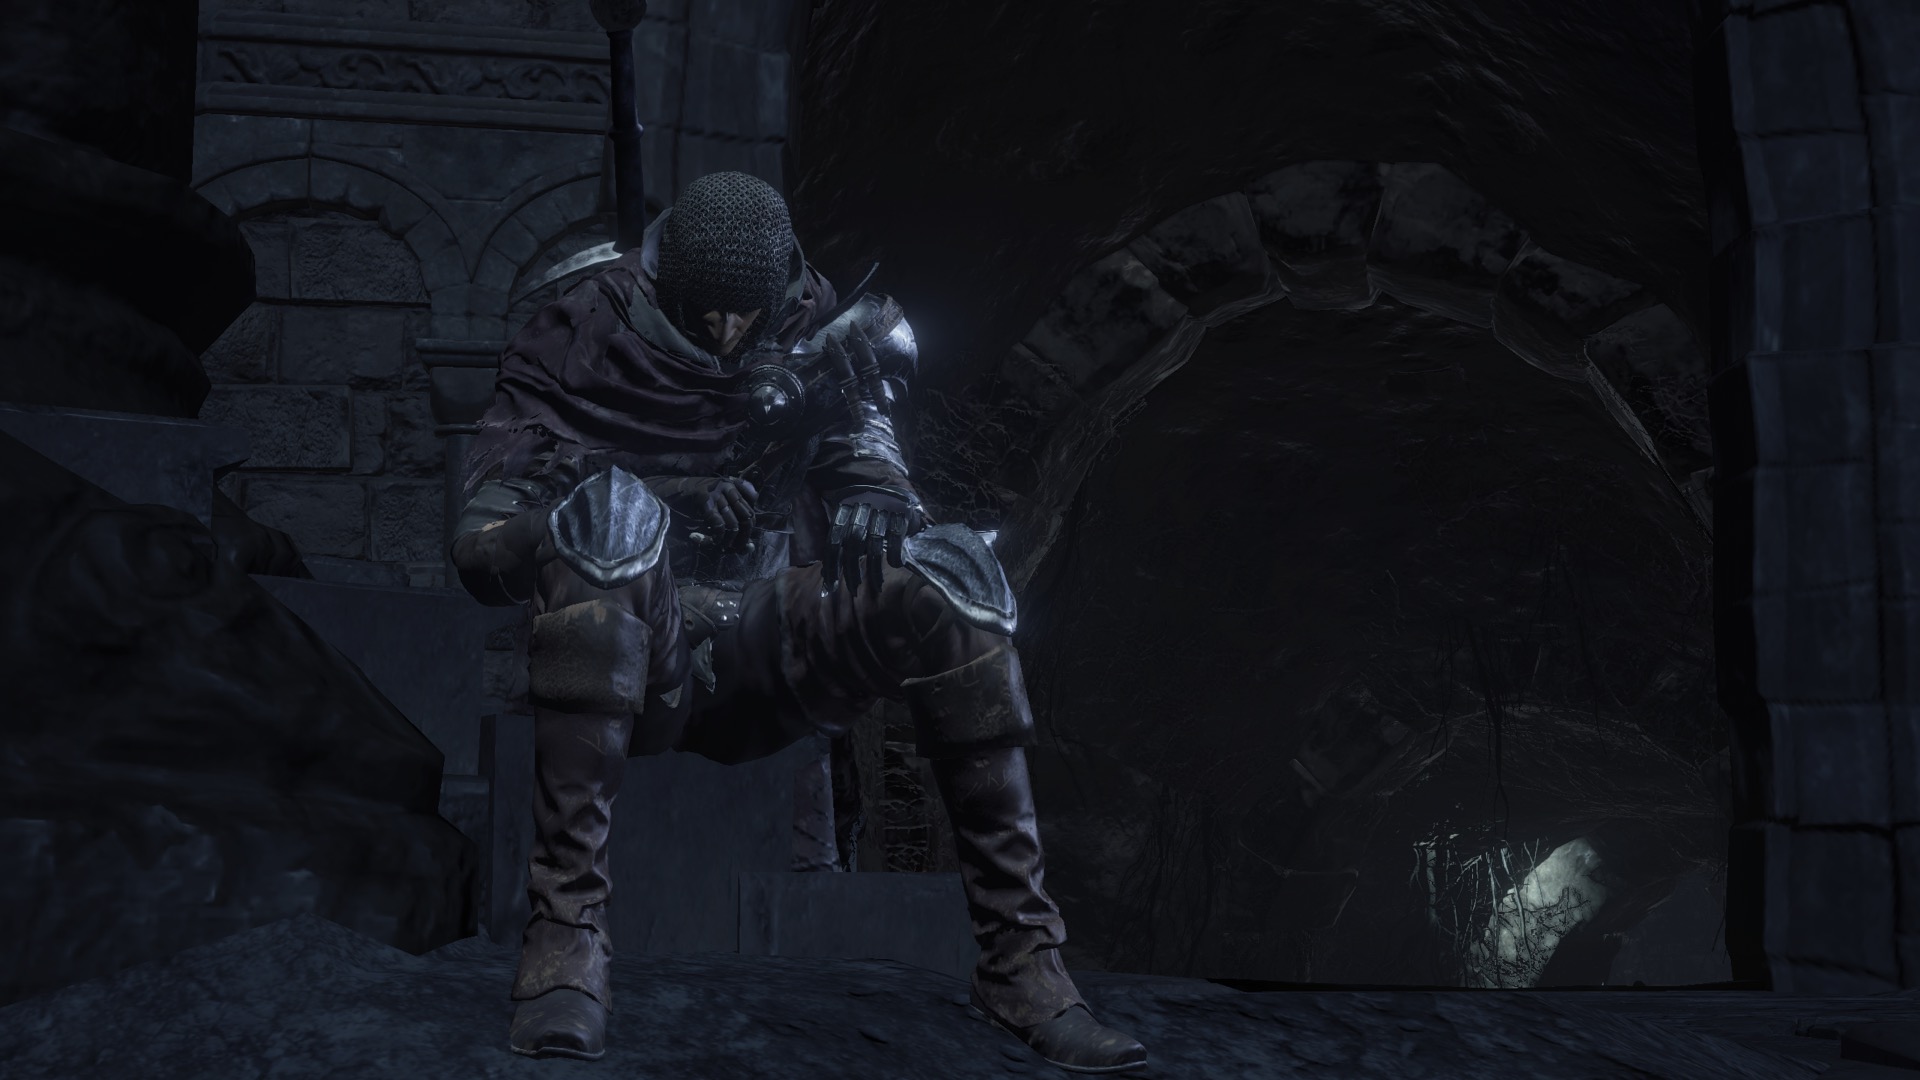
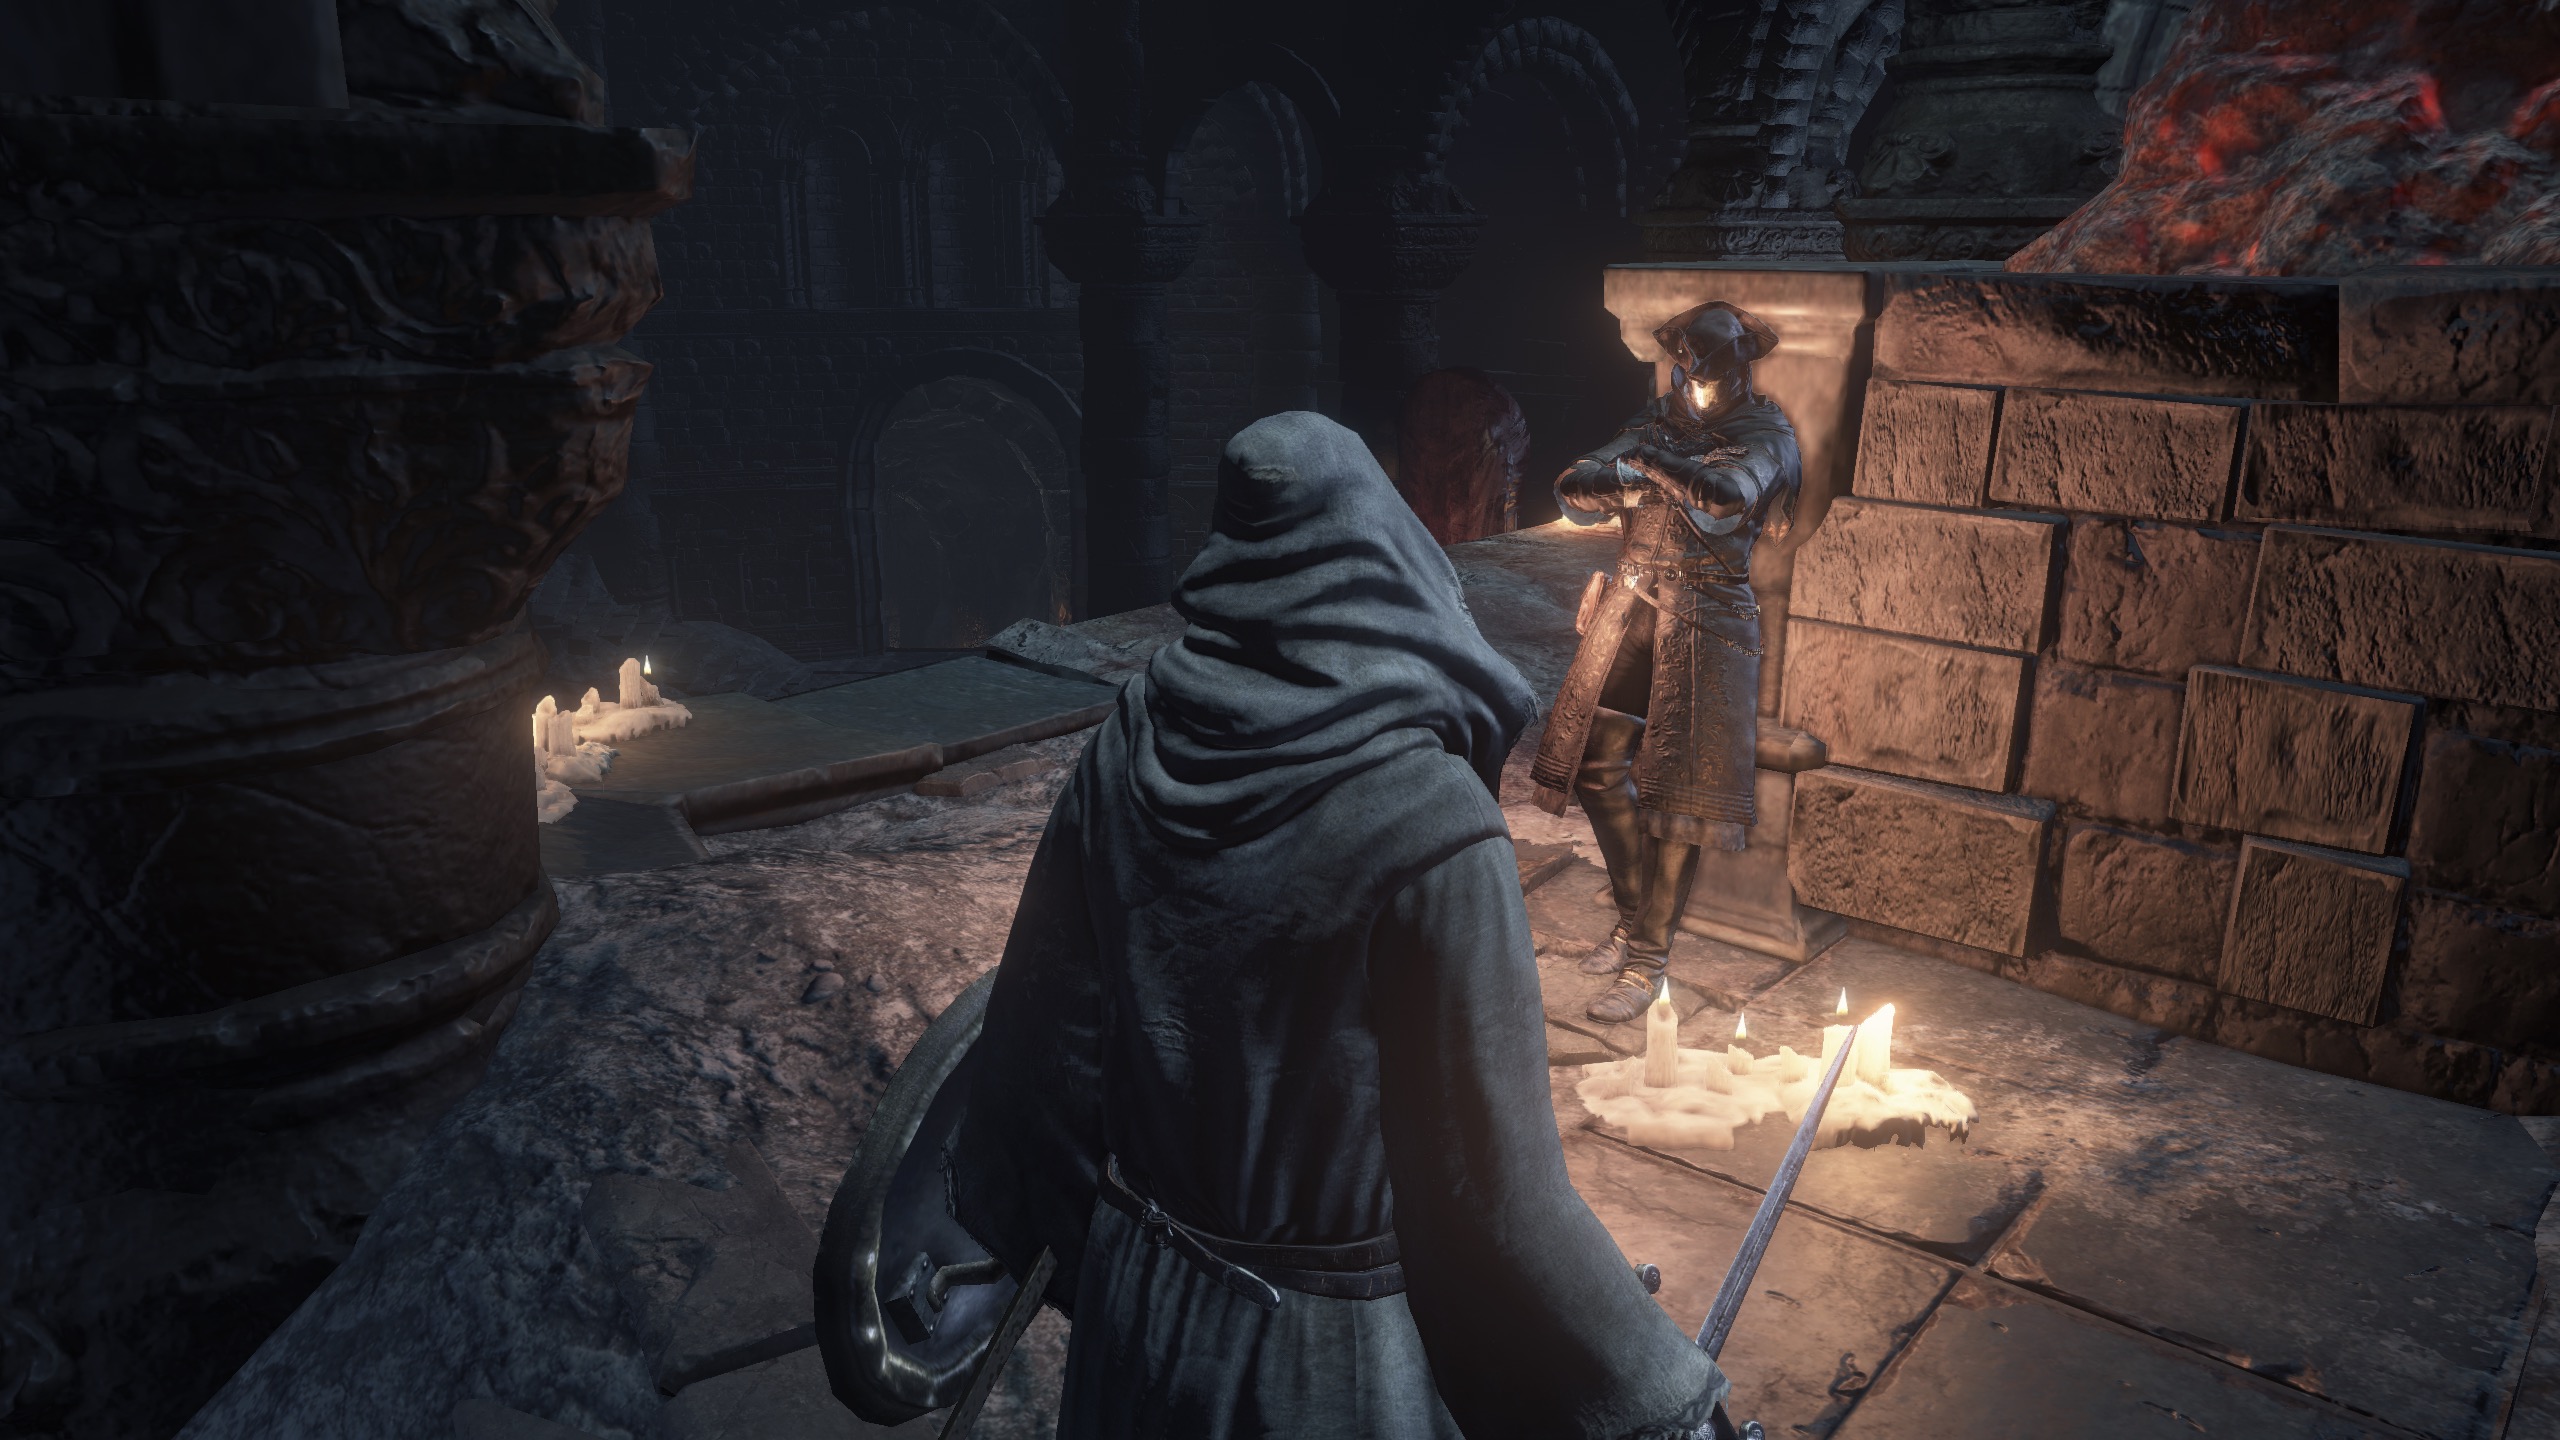
Exit Firelink Shrine and hug the wall to your left, and you'll find yourself on a path guarded by the Master, a long blade-wielding warrior.

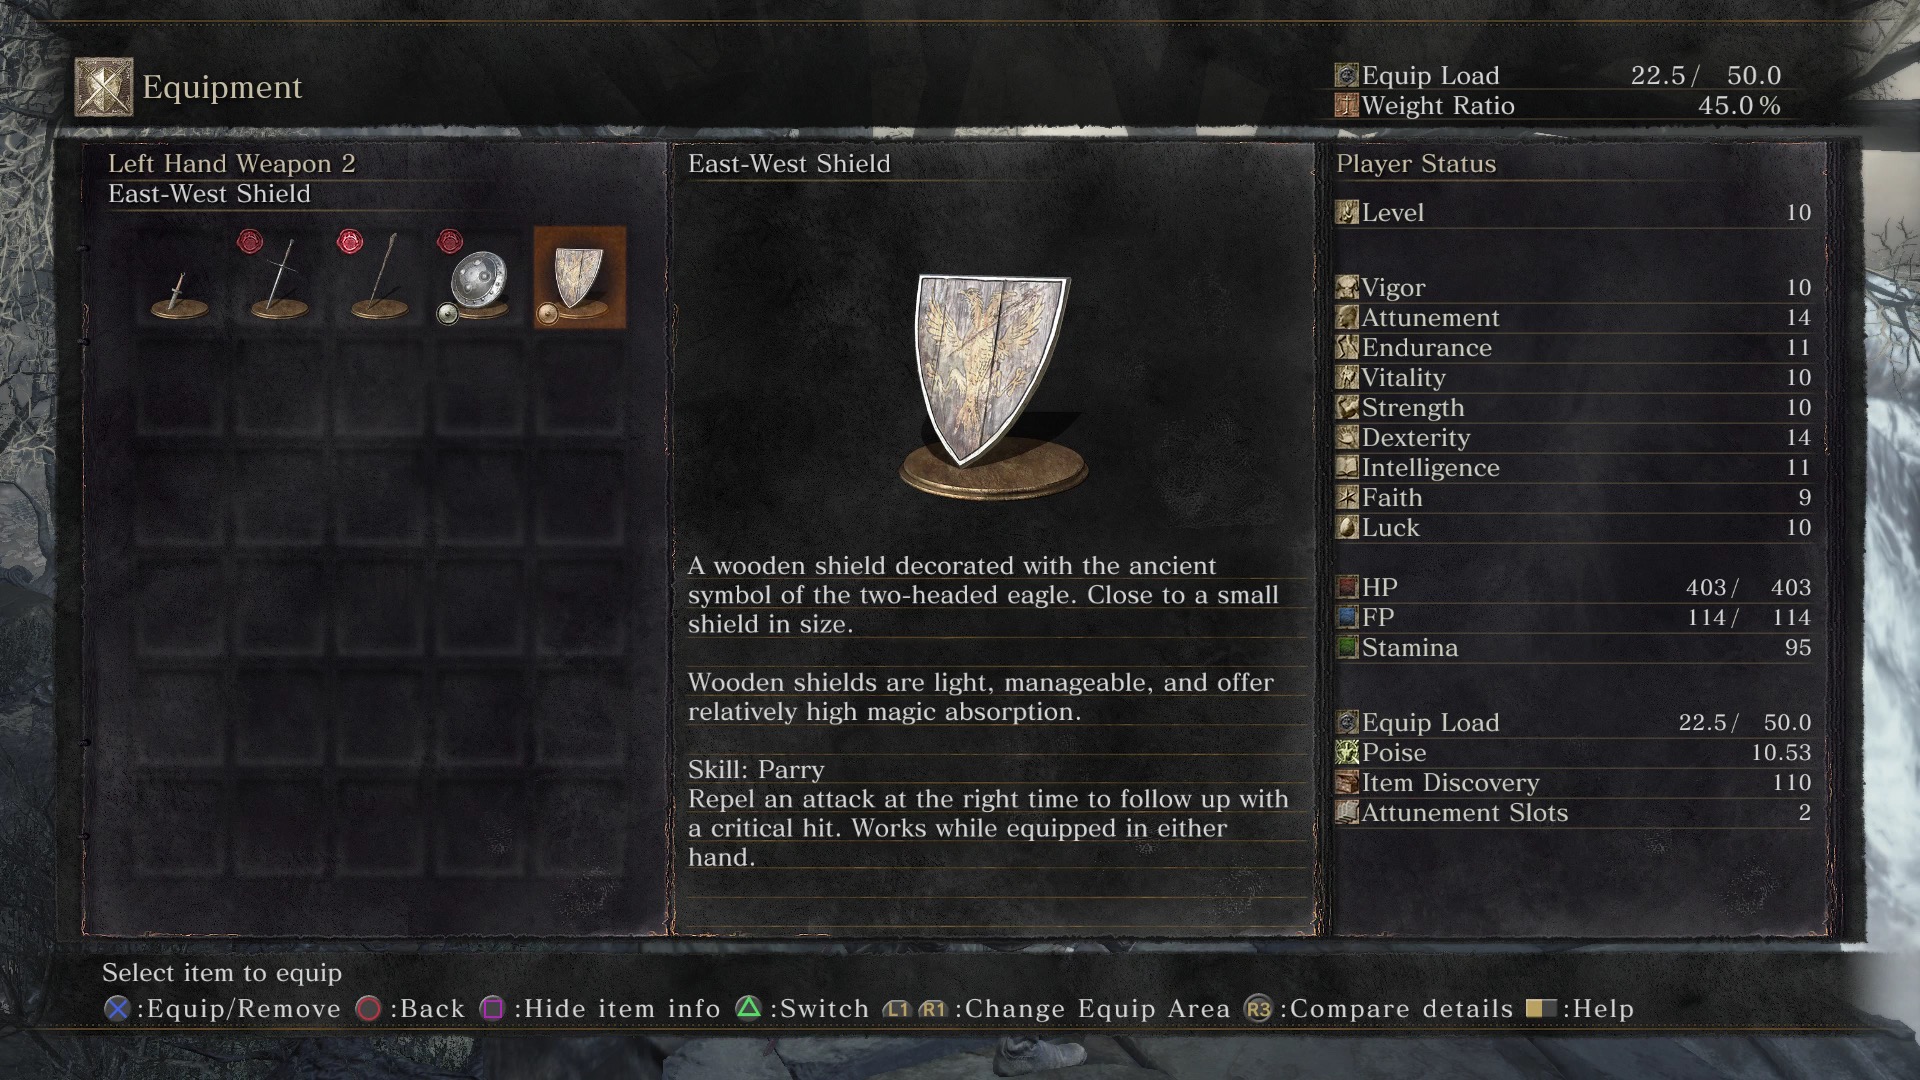
Before you face him (and you should), turn around and you'll find a shield on a corpose on a tree. Pillage it for the East-West Shield.
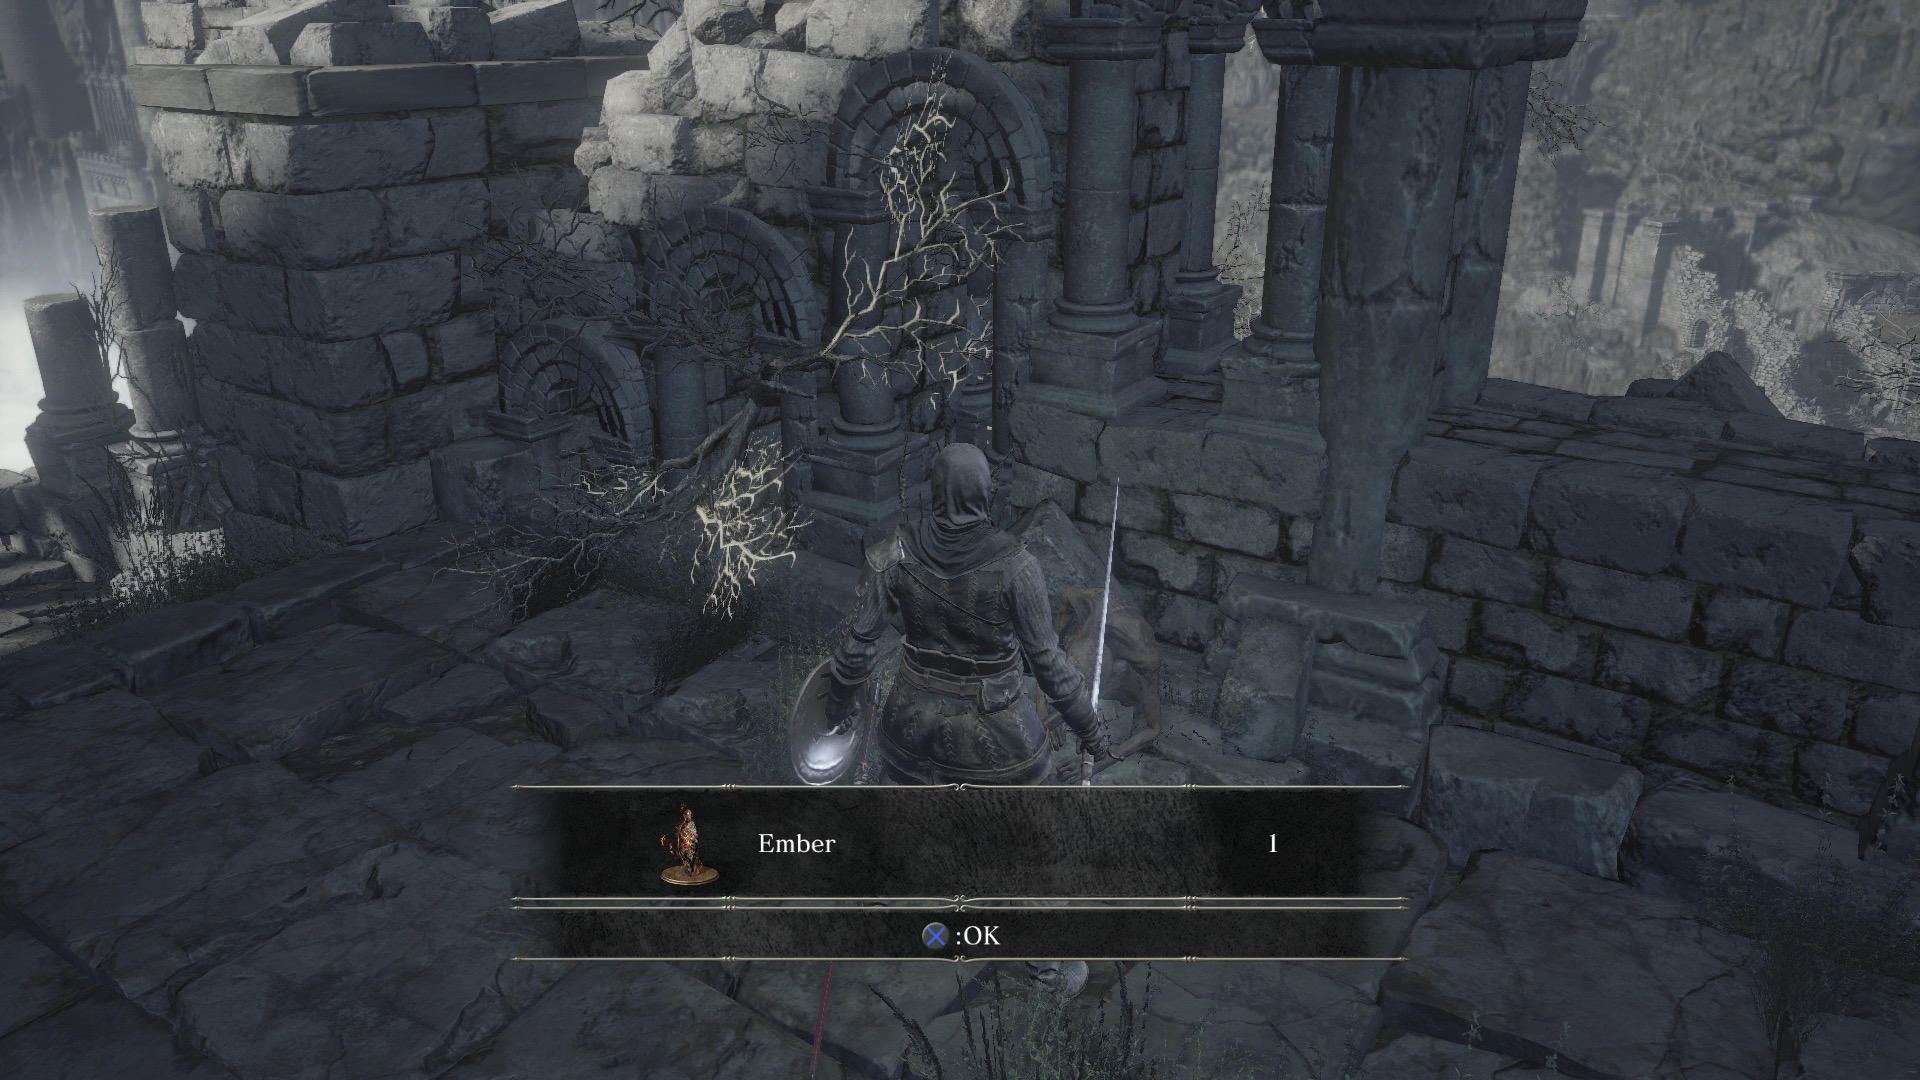
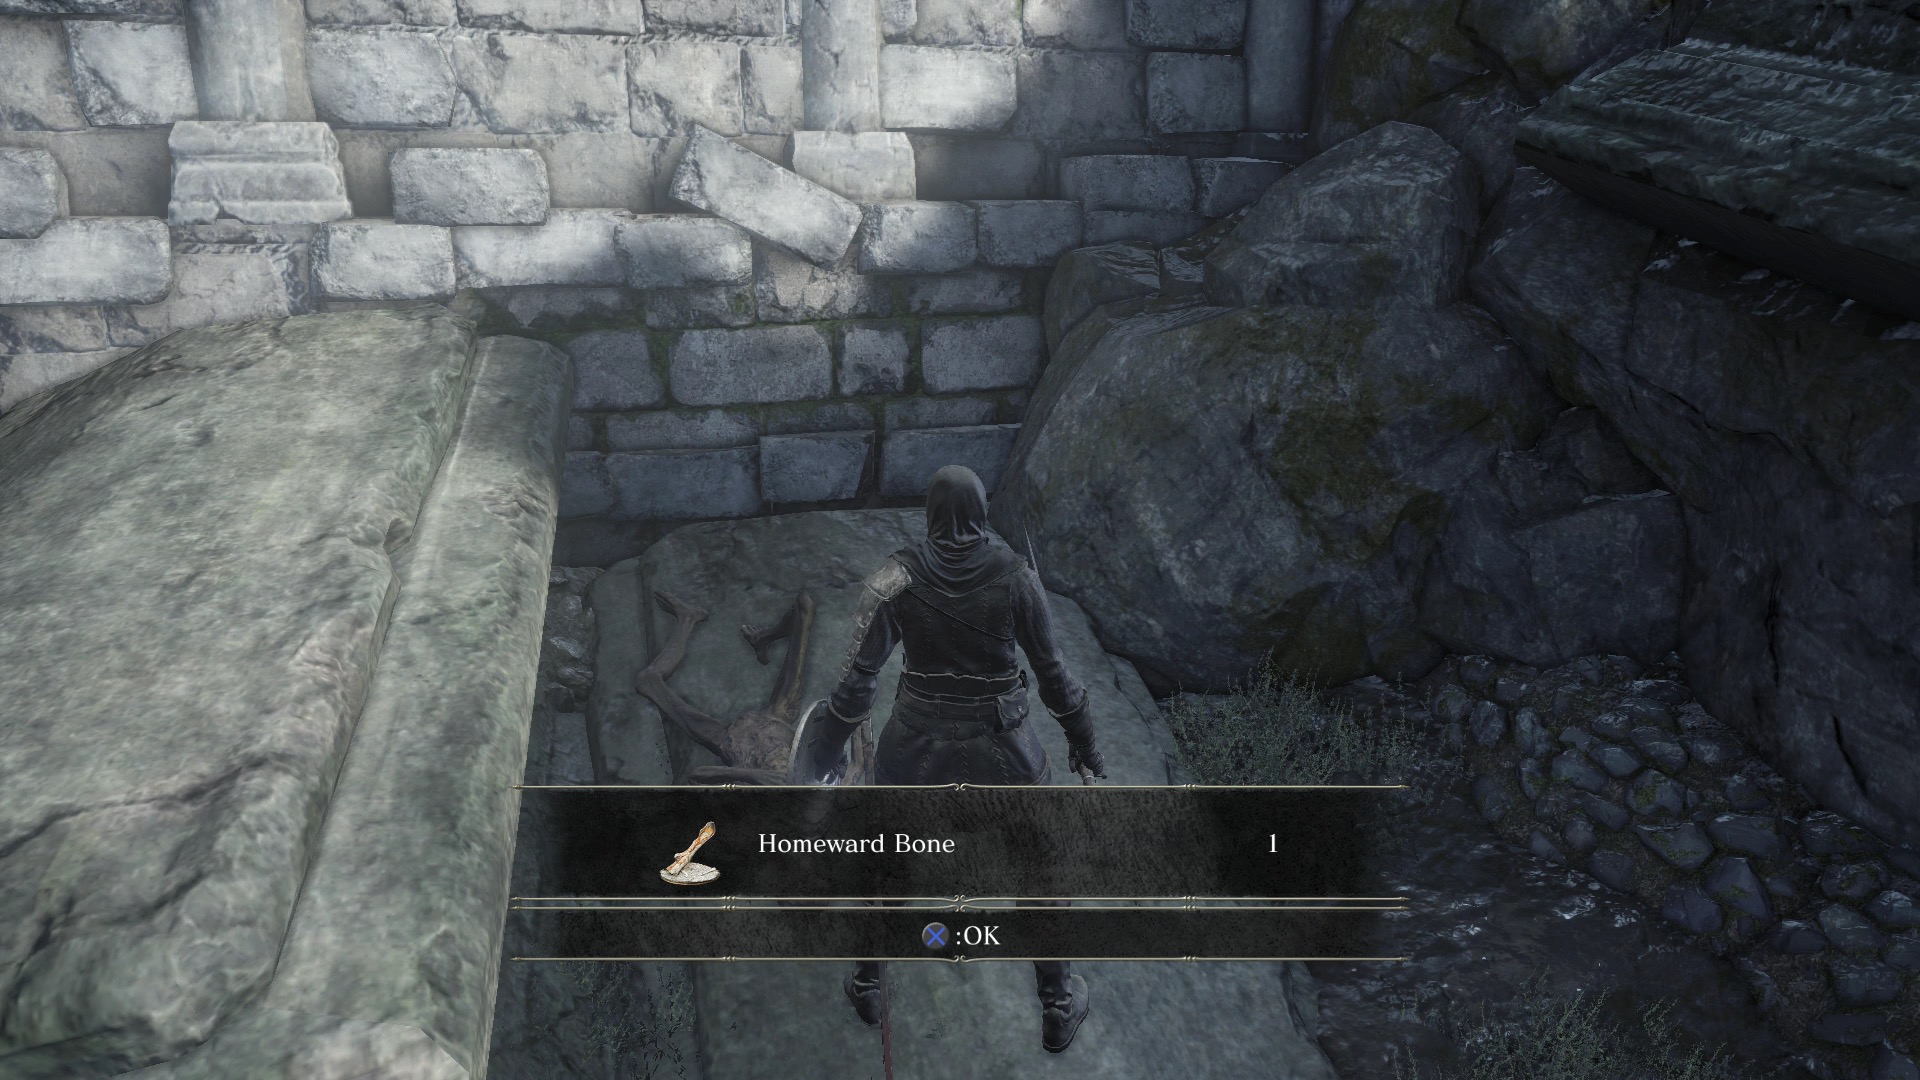
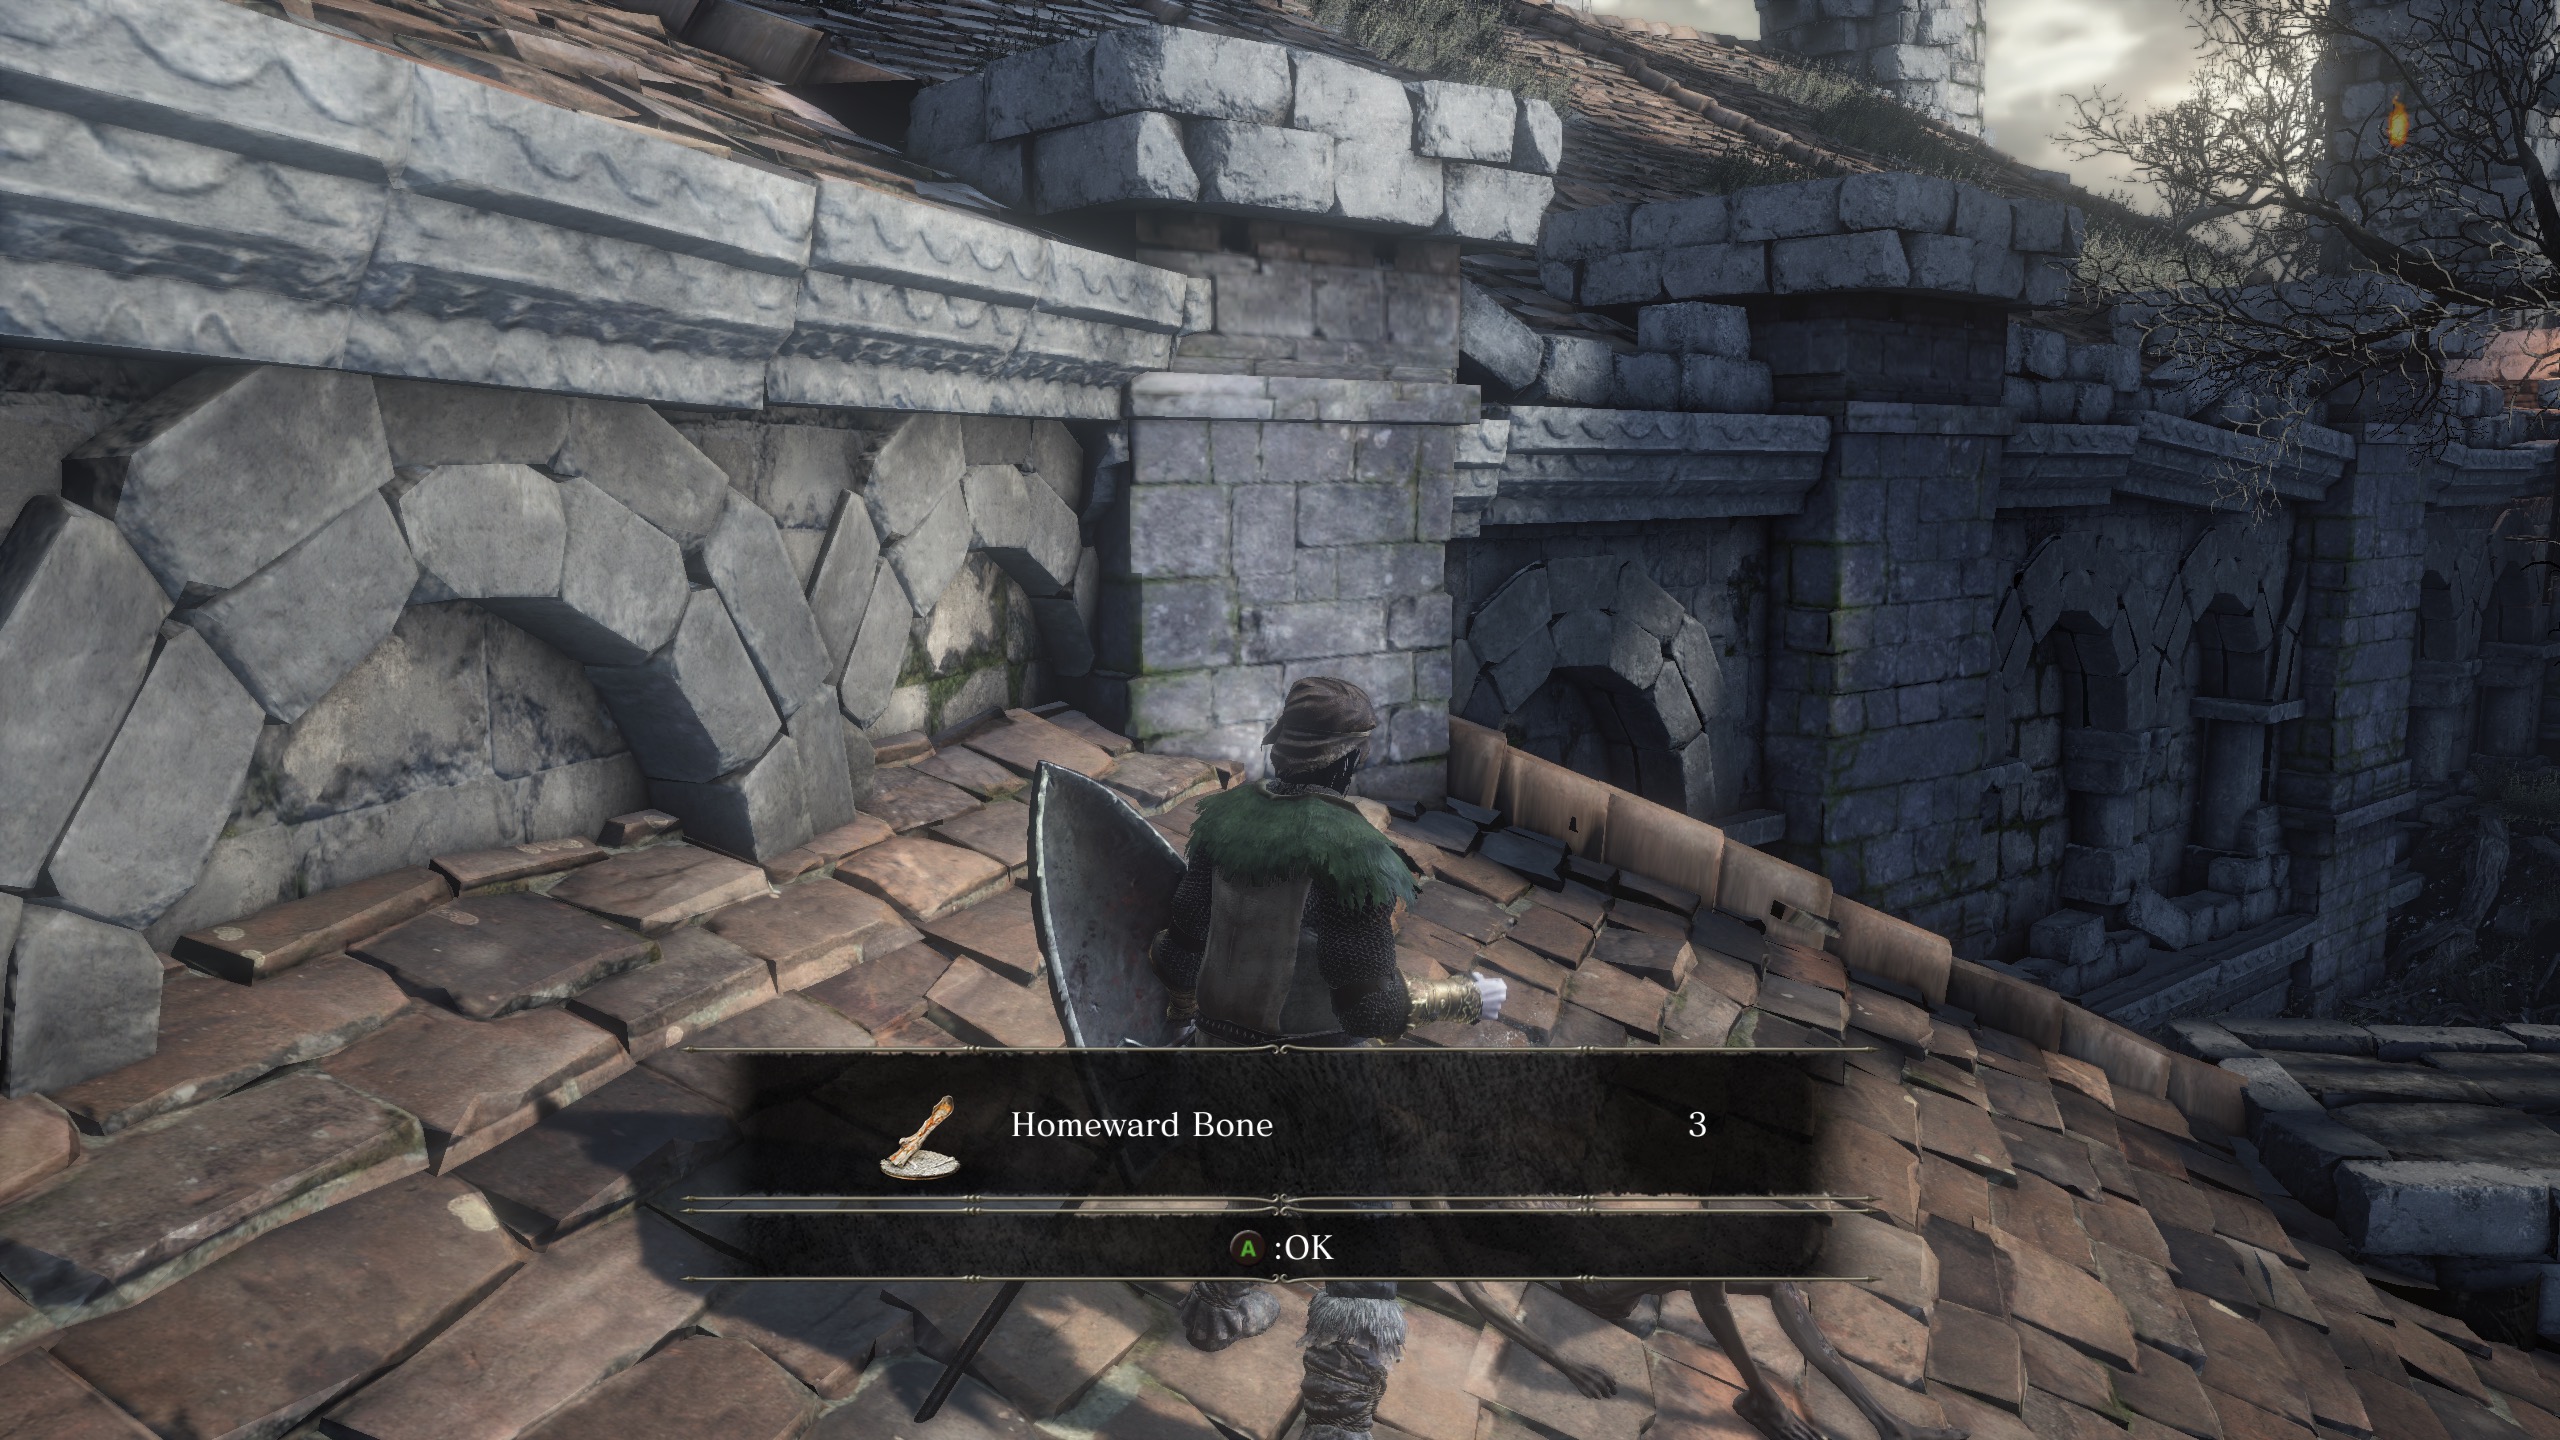
Turn around, head up the staircase and kill the two enemies sleeping there and collect an Ember. Keep hugging the wall and pillage another corpse for a Homeward Bone.
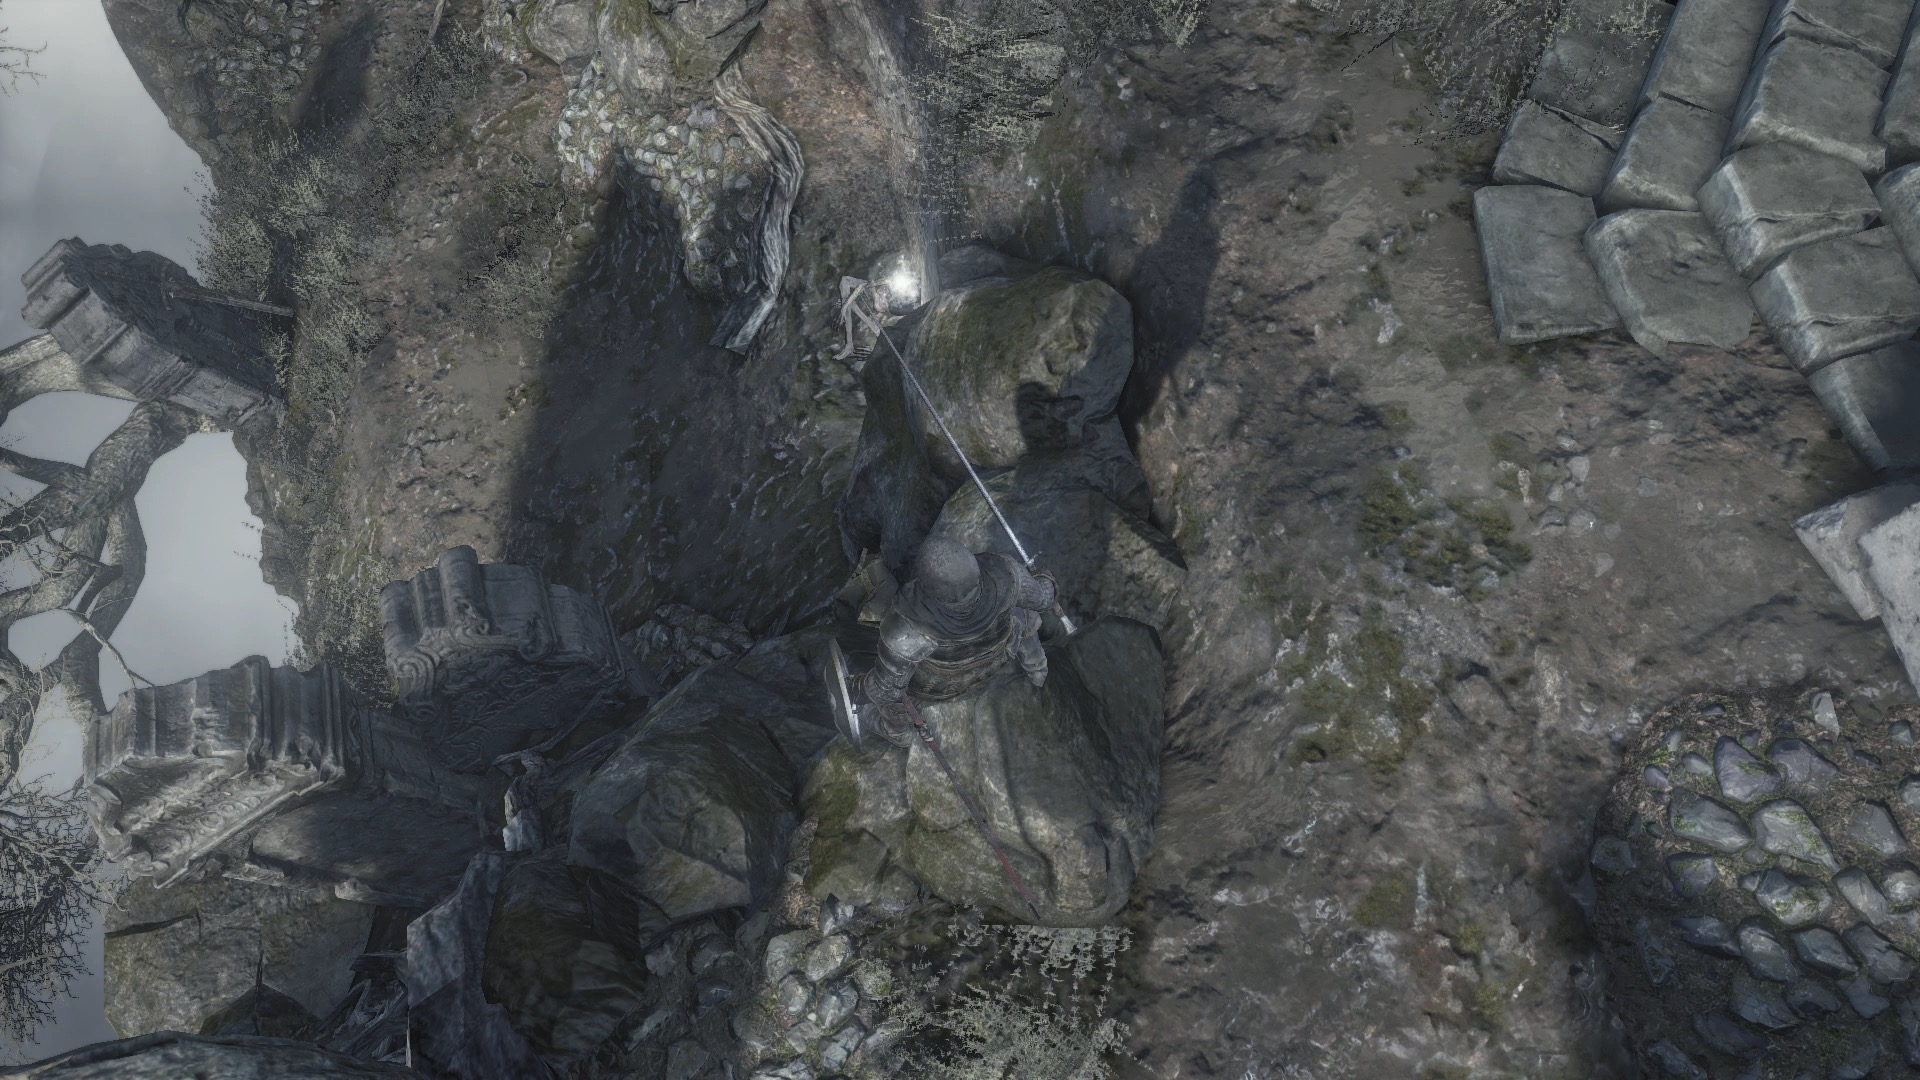
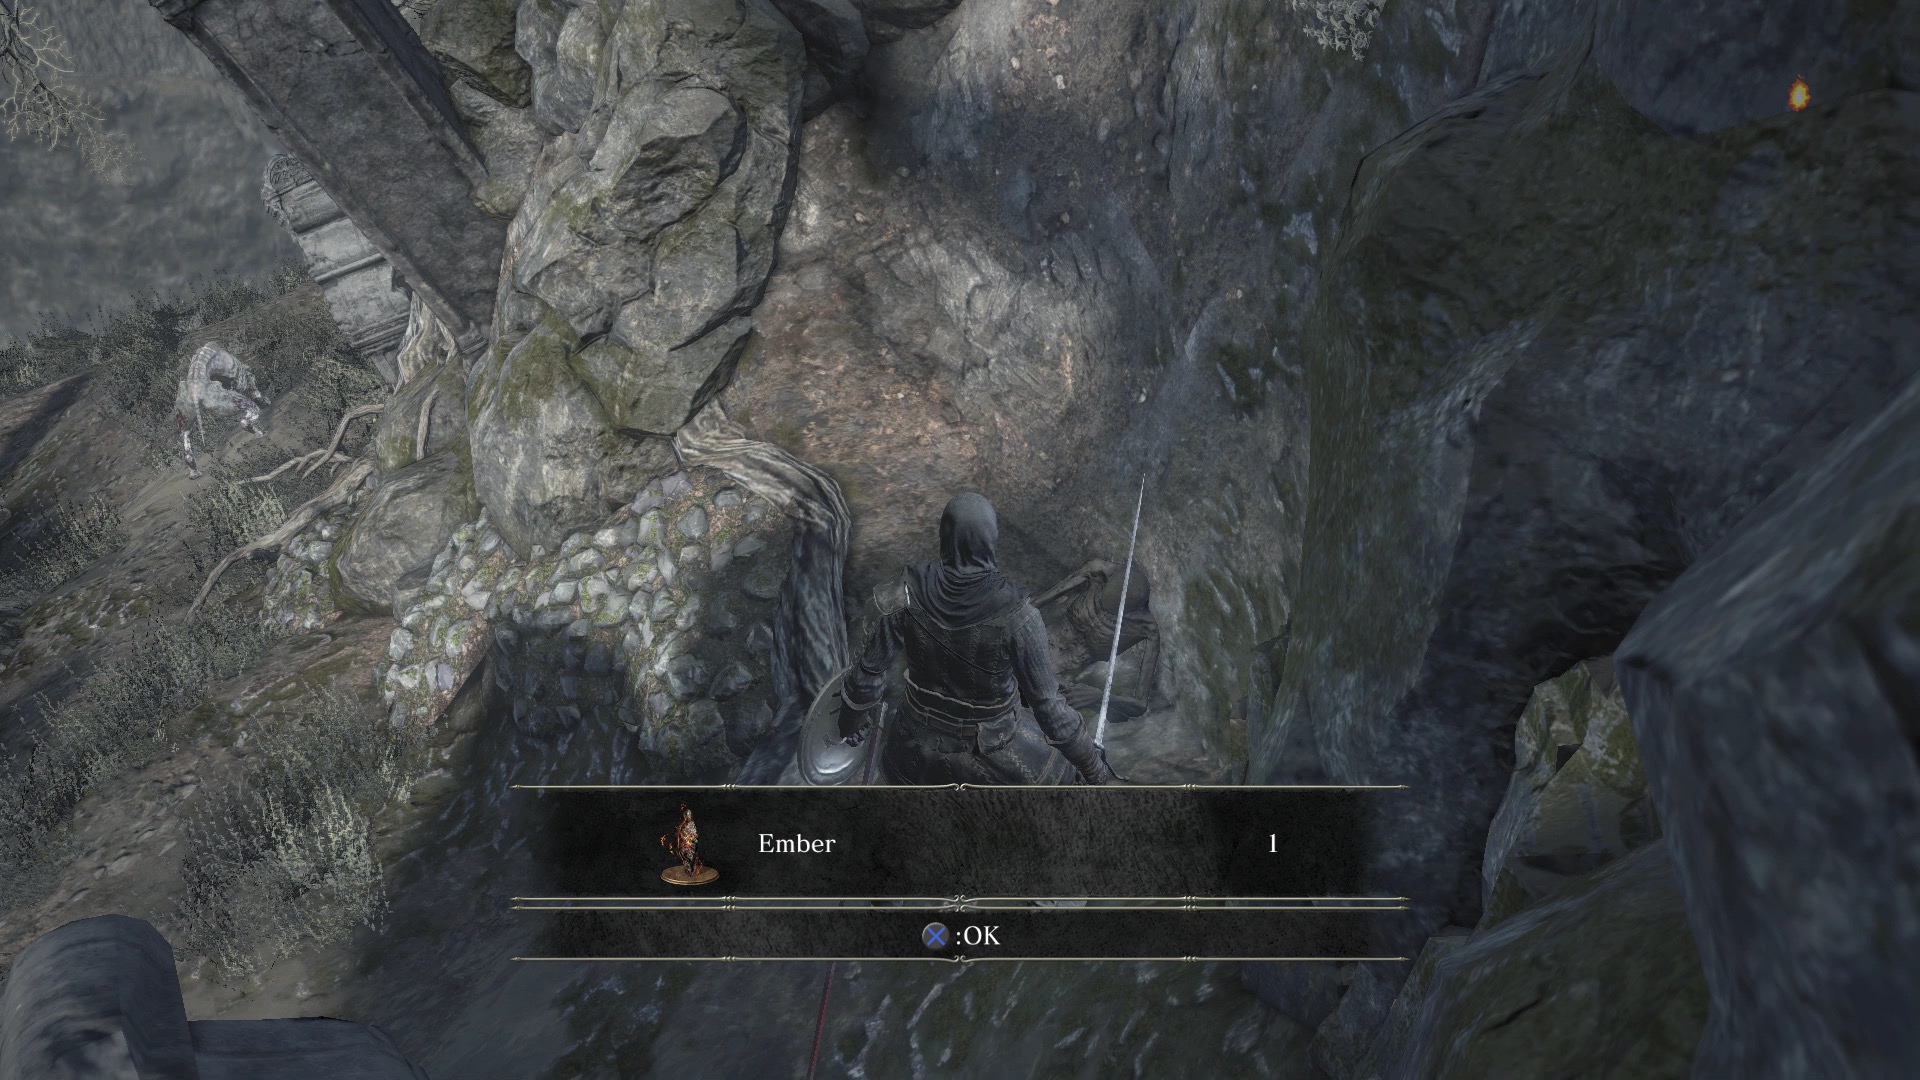
Turn around and hop down the cliff wall, where you can collect another Ember.
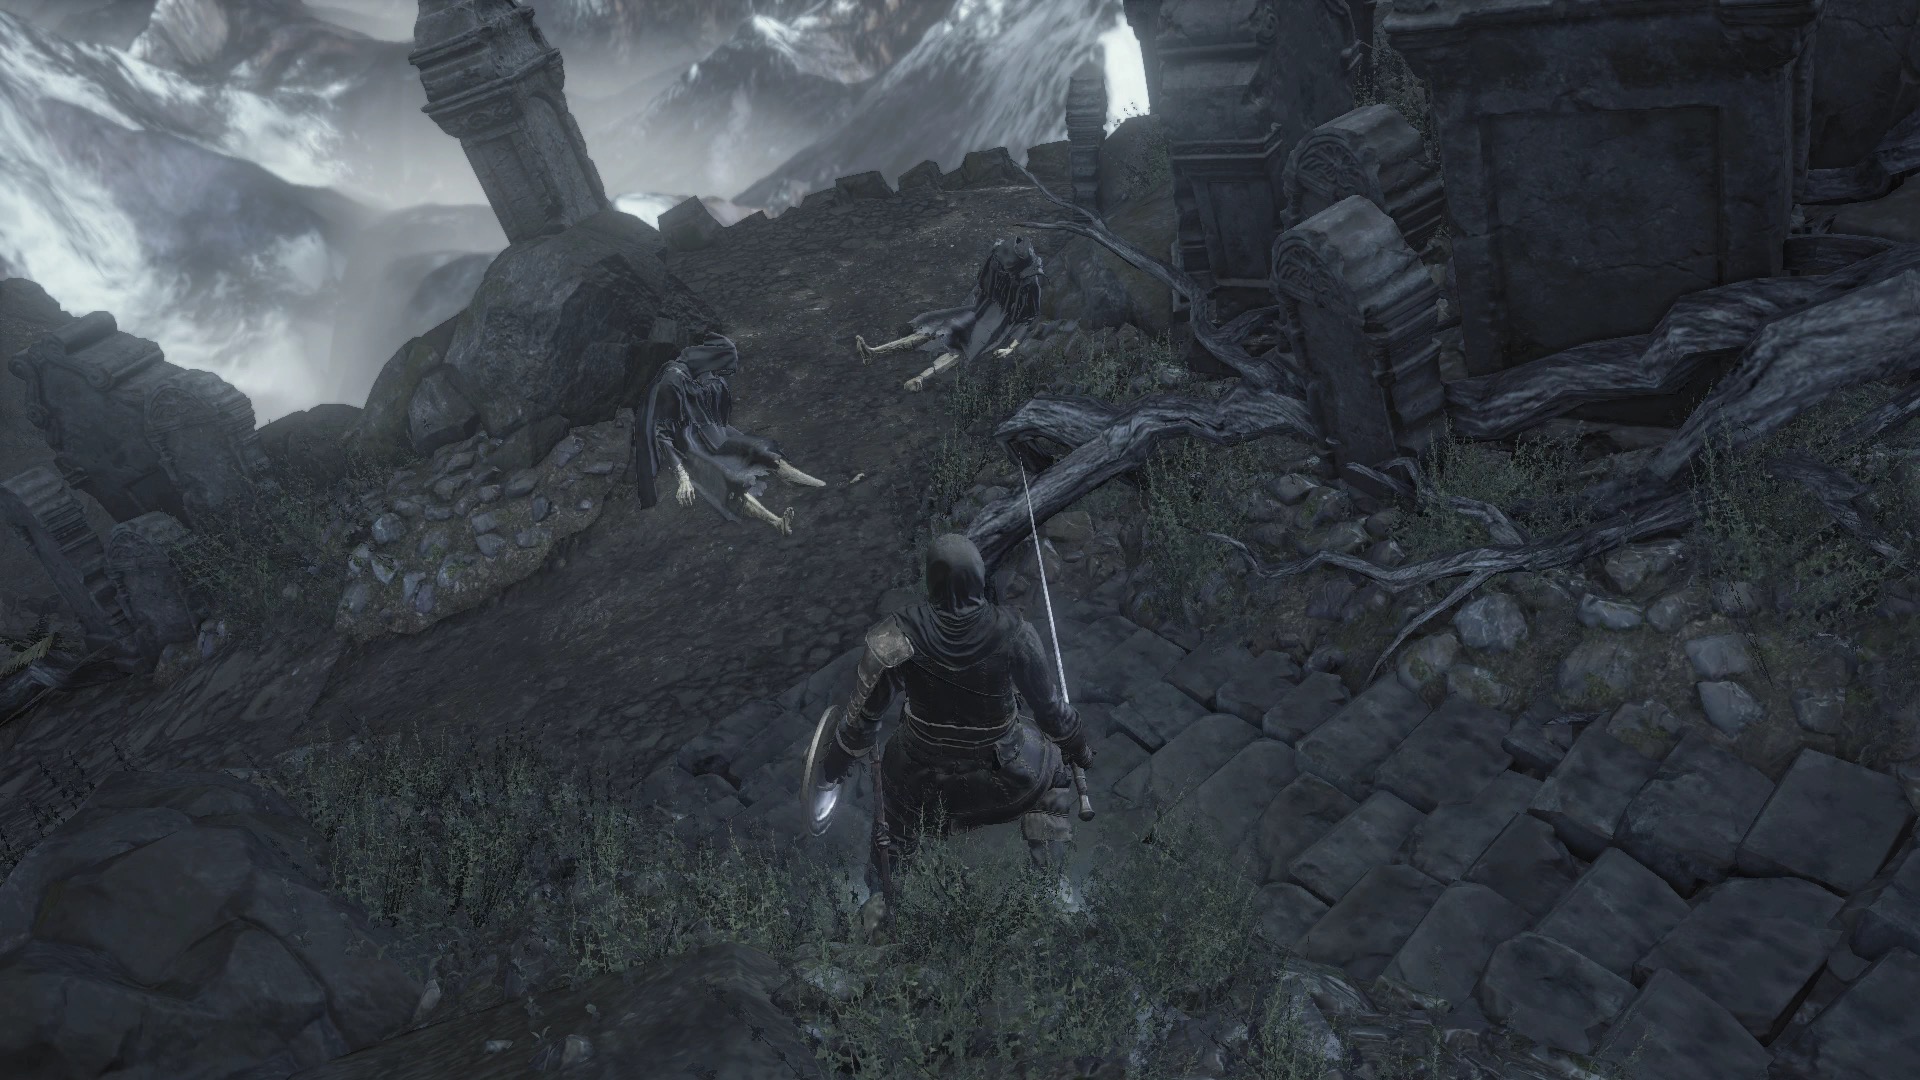
Keep going, kill the dog in your way, walk past the entrance to Firelink Shrine on your right and kill the two enemies sleeping in front of you.
Continue forward, turn left and kill two more sleeping enemies. Walk toward the cliff wall, look down, and you'll find two more enemies — one asleep, one awake. Lock on to the awoken, step off the cliff and performa plunging attack by hitting R1/RB as you fall. Kill the sleeping guy next, turn around and walk to the far end of the path, where you'll collect another Homeward Bone.

The Master
At this stage in the game, he's a very difficult boss for most classes because he inflicts so much damage. He doesn't have much armor, though, and if you're proficient at rolling to avoid his swings and attacking with melee weapons, you can and should take him on. Sorcerers in particular have a huge advantage here, because they can lock on to him at a distance and blast away until he's dead.
Also, if you're feeling cheap, there's a chance that you can knock him off the cliff for an easy win. If you defeat him this way, go back to the Firelink Shrine bonfire, rest and return to where he dies. You'll find his drops there.
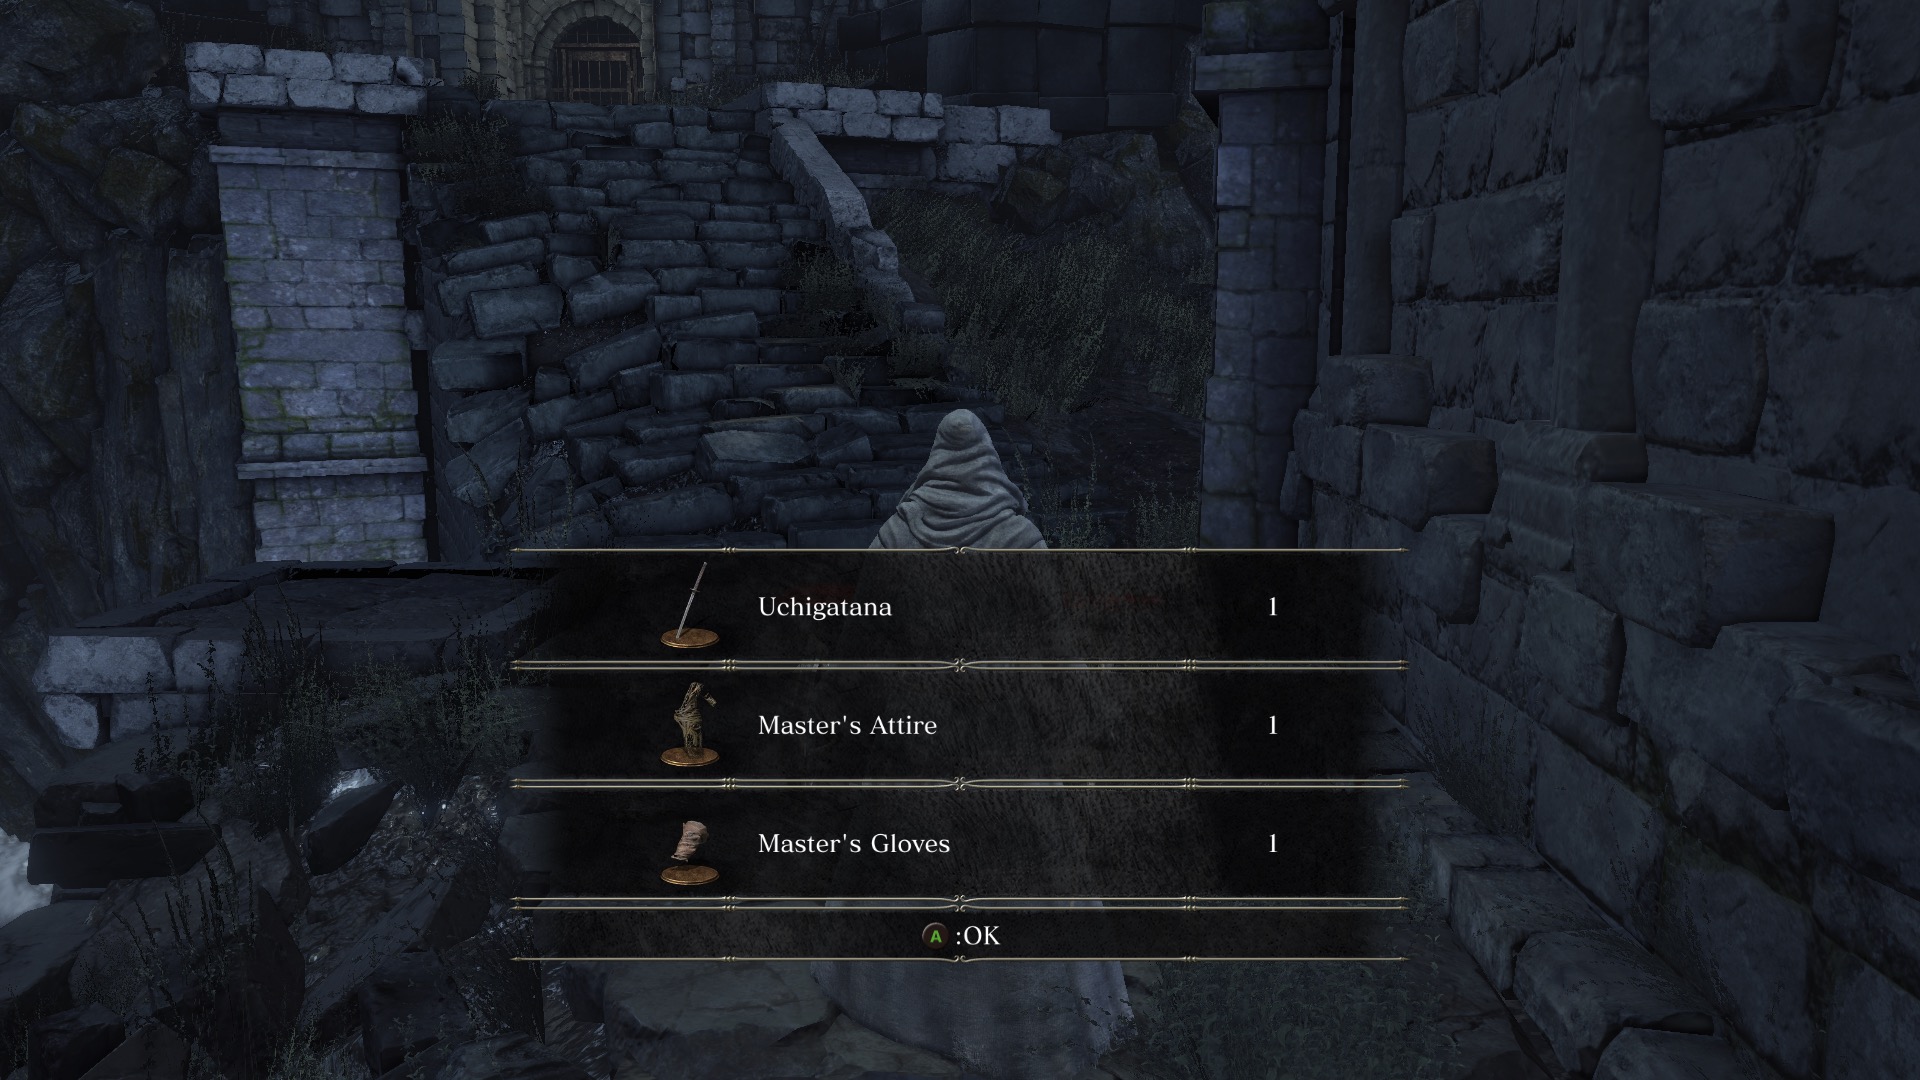
For defeating him, you'll receive the Master's Attire and the Master's Gloves. They weigh nothing and protect just about as much. The Master poured all of his energy into being strong in sword and nimble in attire. It's one strategy. It didn't work so well for him.
More importantly, you'll also receive the Uchigatana, a powerful samurai sword that scales with Dexterity. Equip that this early in the game, and you'll have a huge advantage.
Defeating the Master will make him available as a phantom partner against a later boss.
Firelink Shrine Tower
Take the first right after you enter Firelink Shrine, head up the staircase and walk outside.
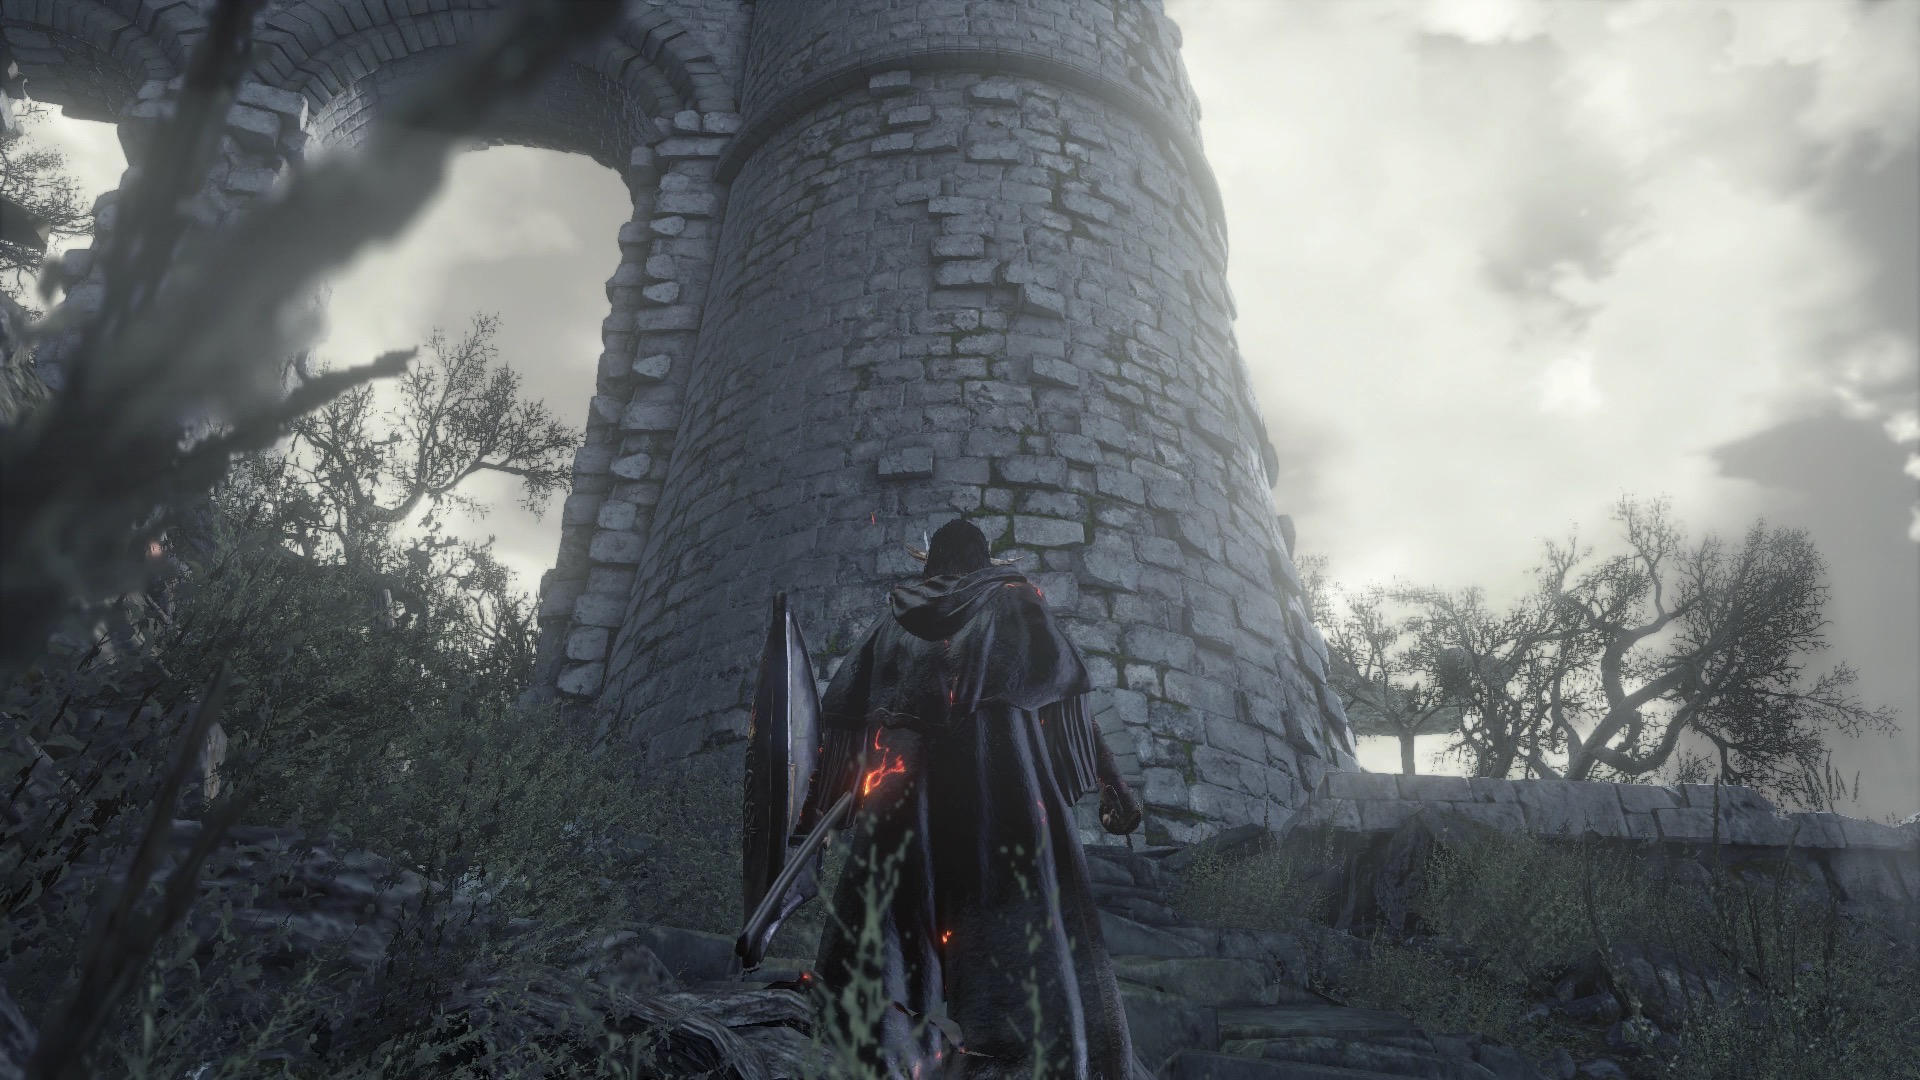
This leads to the Firelink Shrine Tower, but the door in is locked and inaccessible until you purchase the Tower Key from the Shrine Handmaid for 20,000 souls.
Unlock the door, ascend the staircase and walk onto the bridge. Your journey forks from here.
Up to the bell
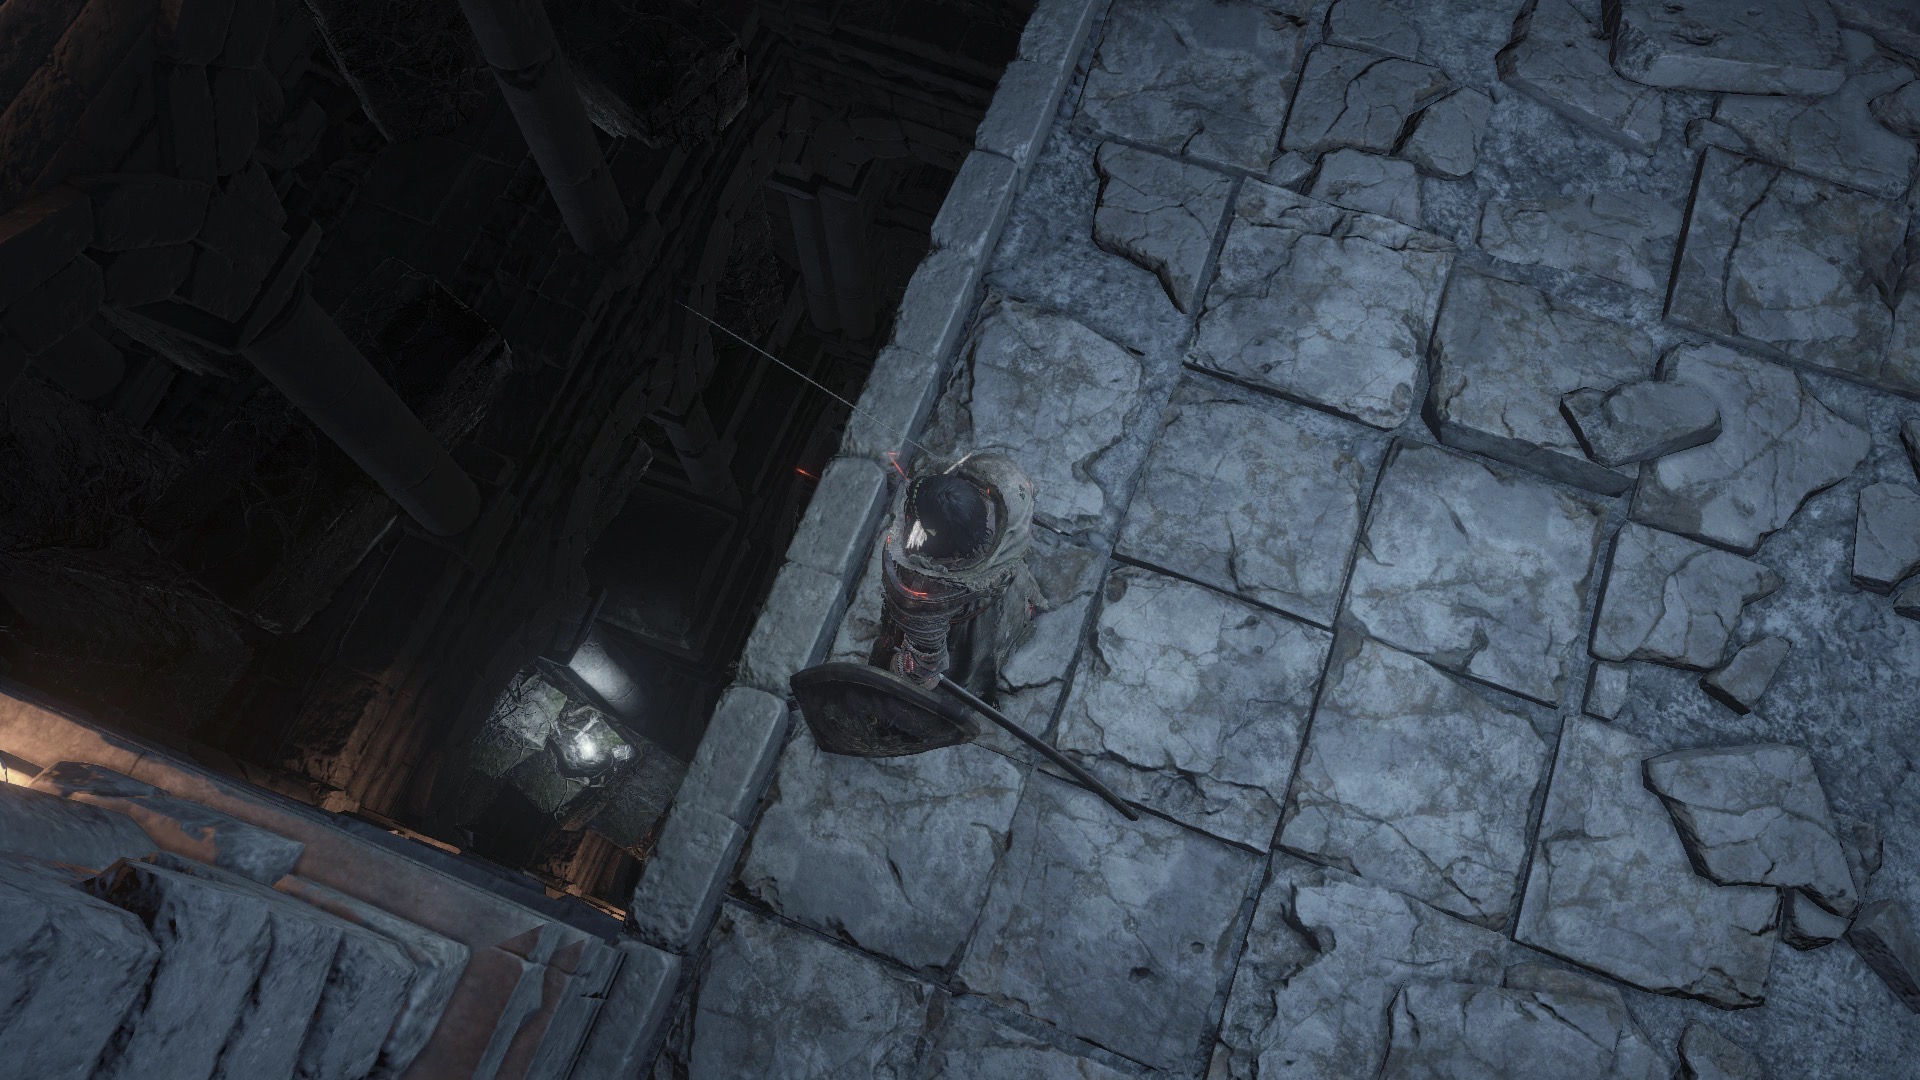
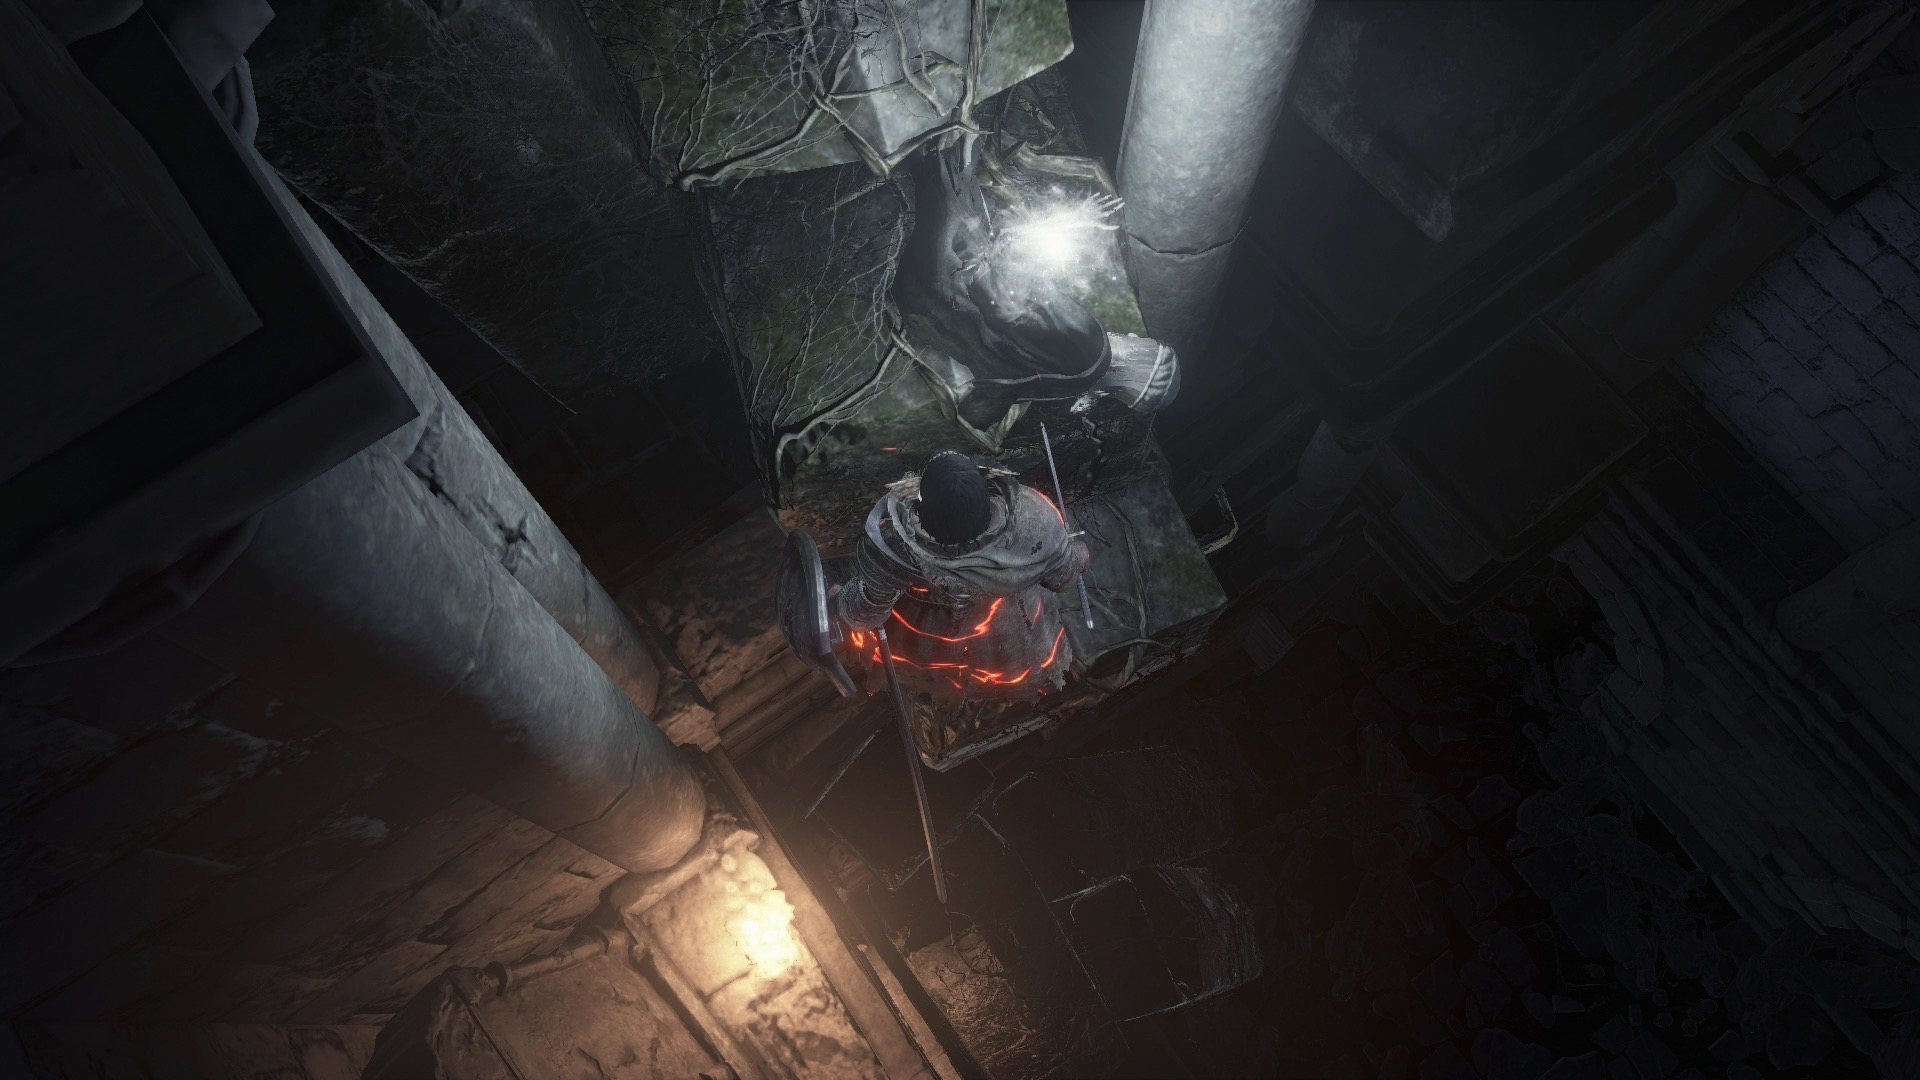
Continue along the bridge, enter a second tower, cross another bridge and take the elevator up to the top of the bell tower. Here, you'll find a Fire Keeper Soul, an items that, after you give it to the Fire Keeper, allows her to heal the Dark Sigil, a curse you obtain for leveling up through Yoel of Londor.
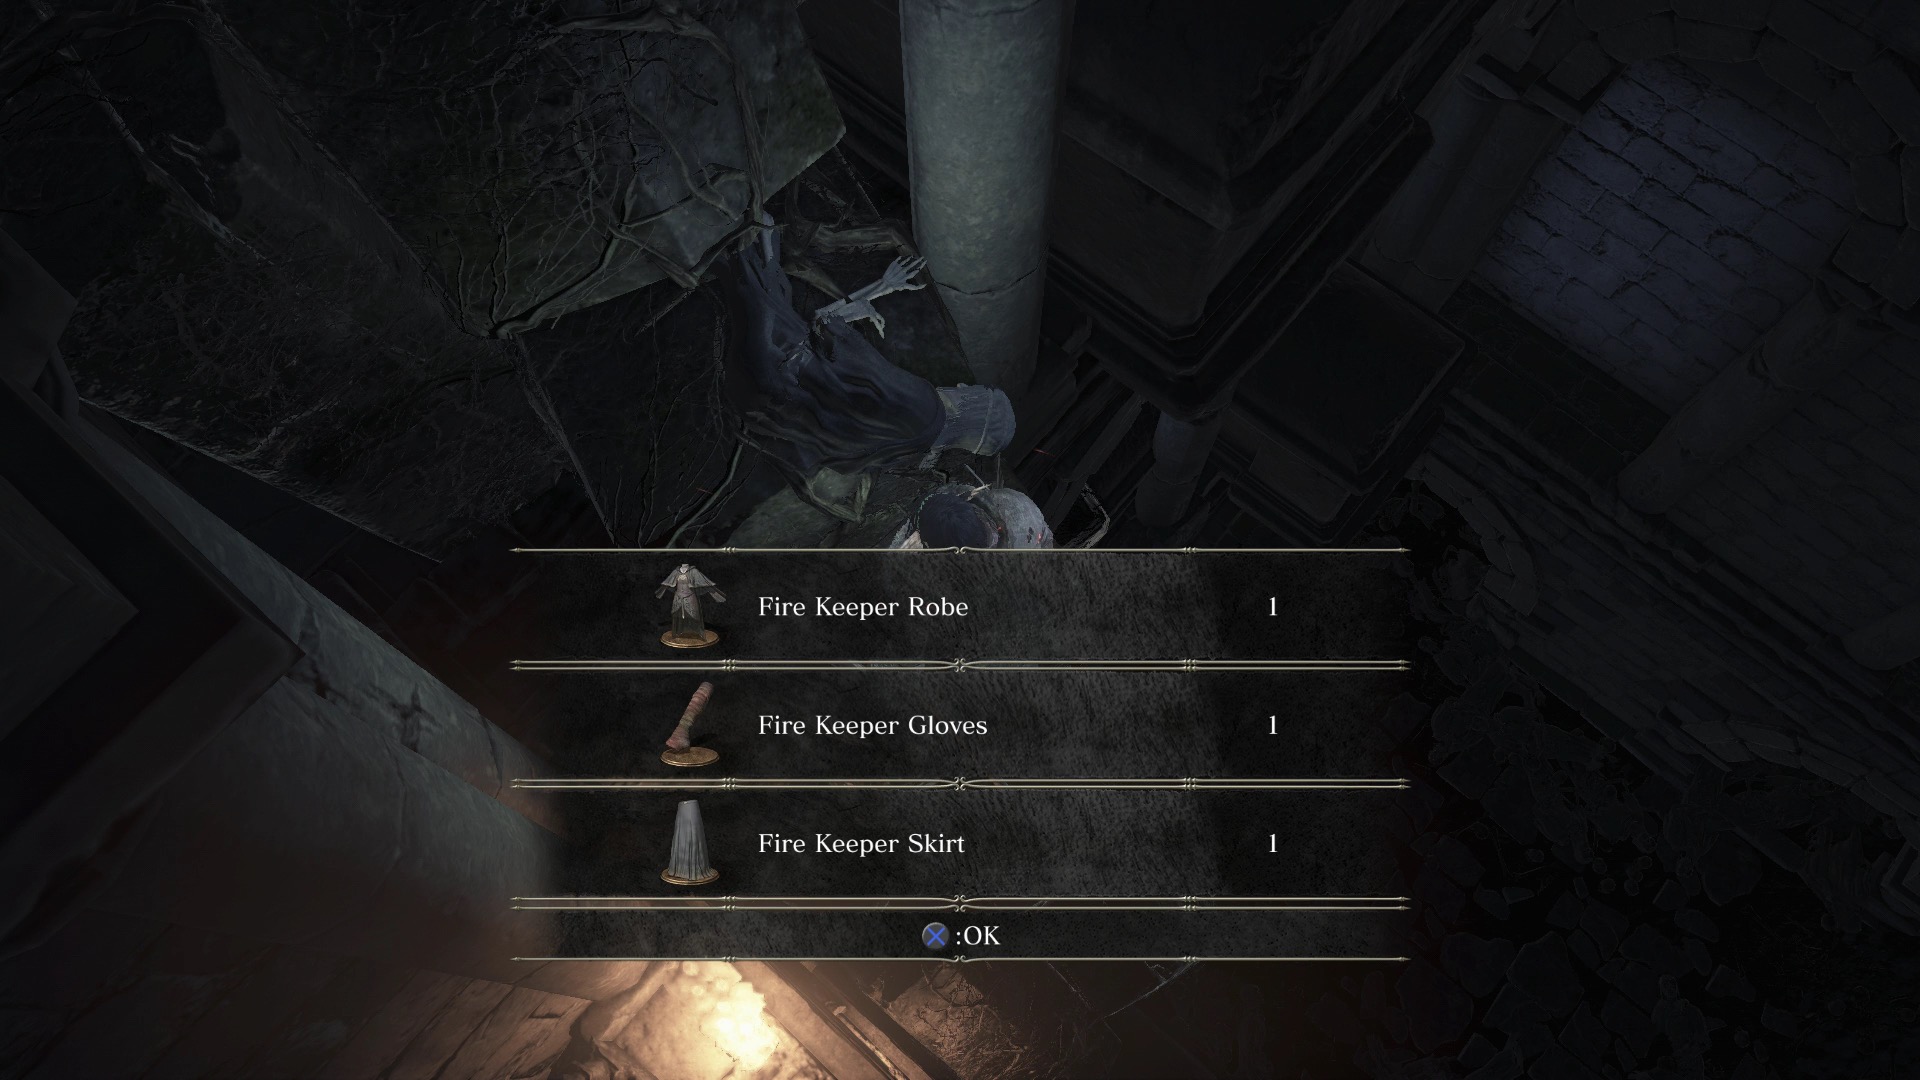
Go back the way you came, and stop on the bridge after exiting the lift. Peer over either edge, and you'll see glowing items. You can hop down on the coffins jutting out from each side to collect the glowing items below. On one side, you'll find Fire Keeper armor.
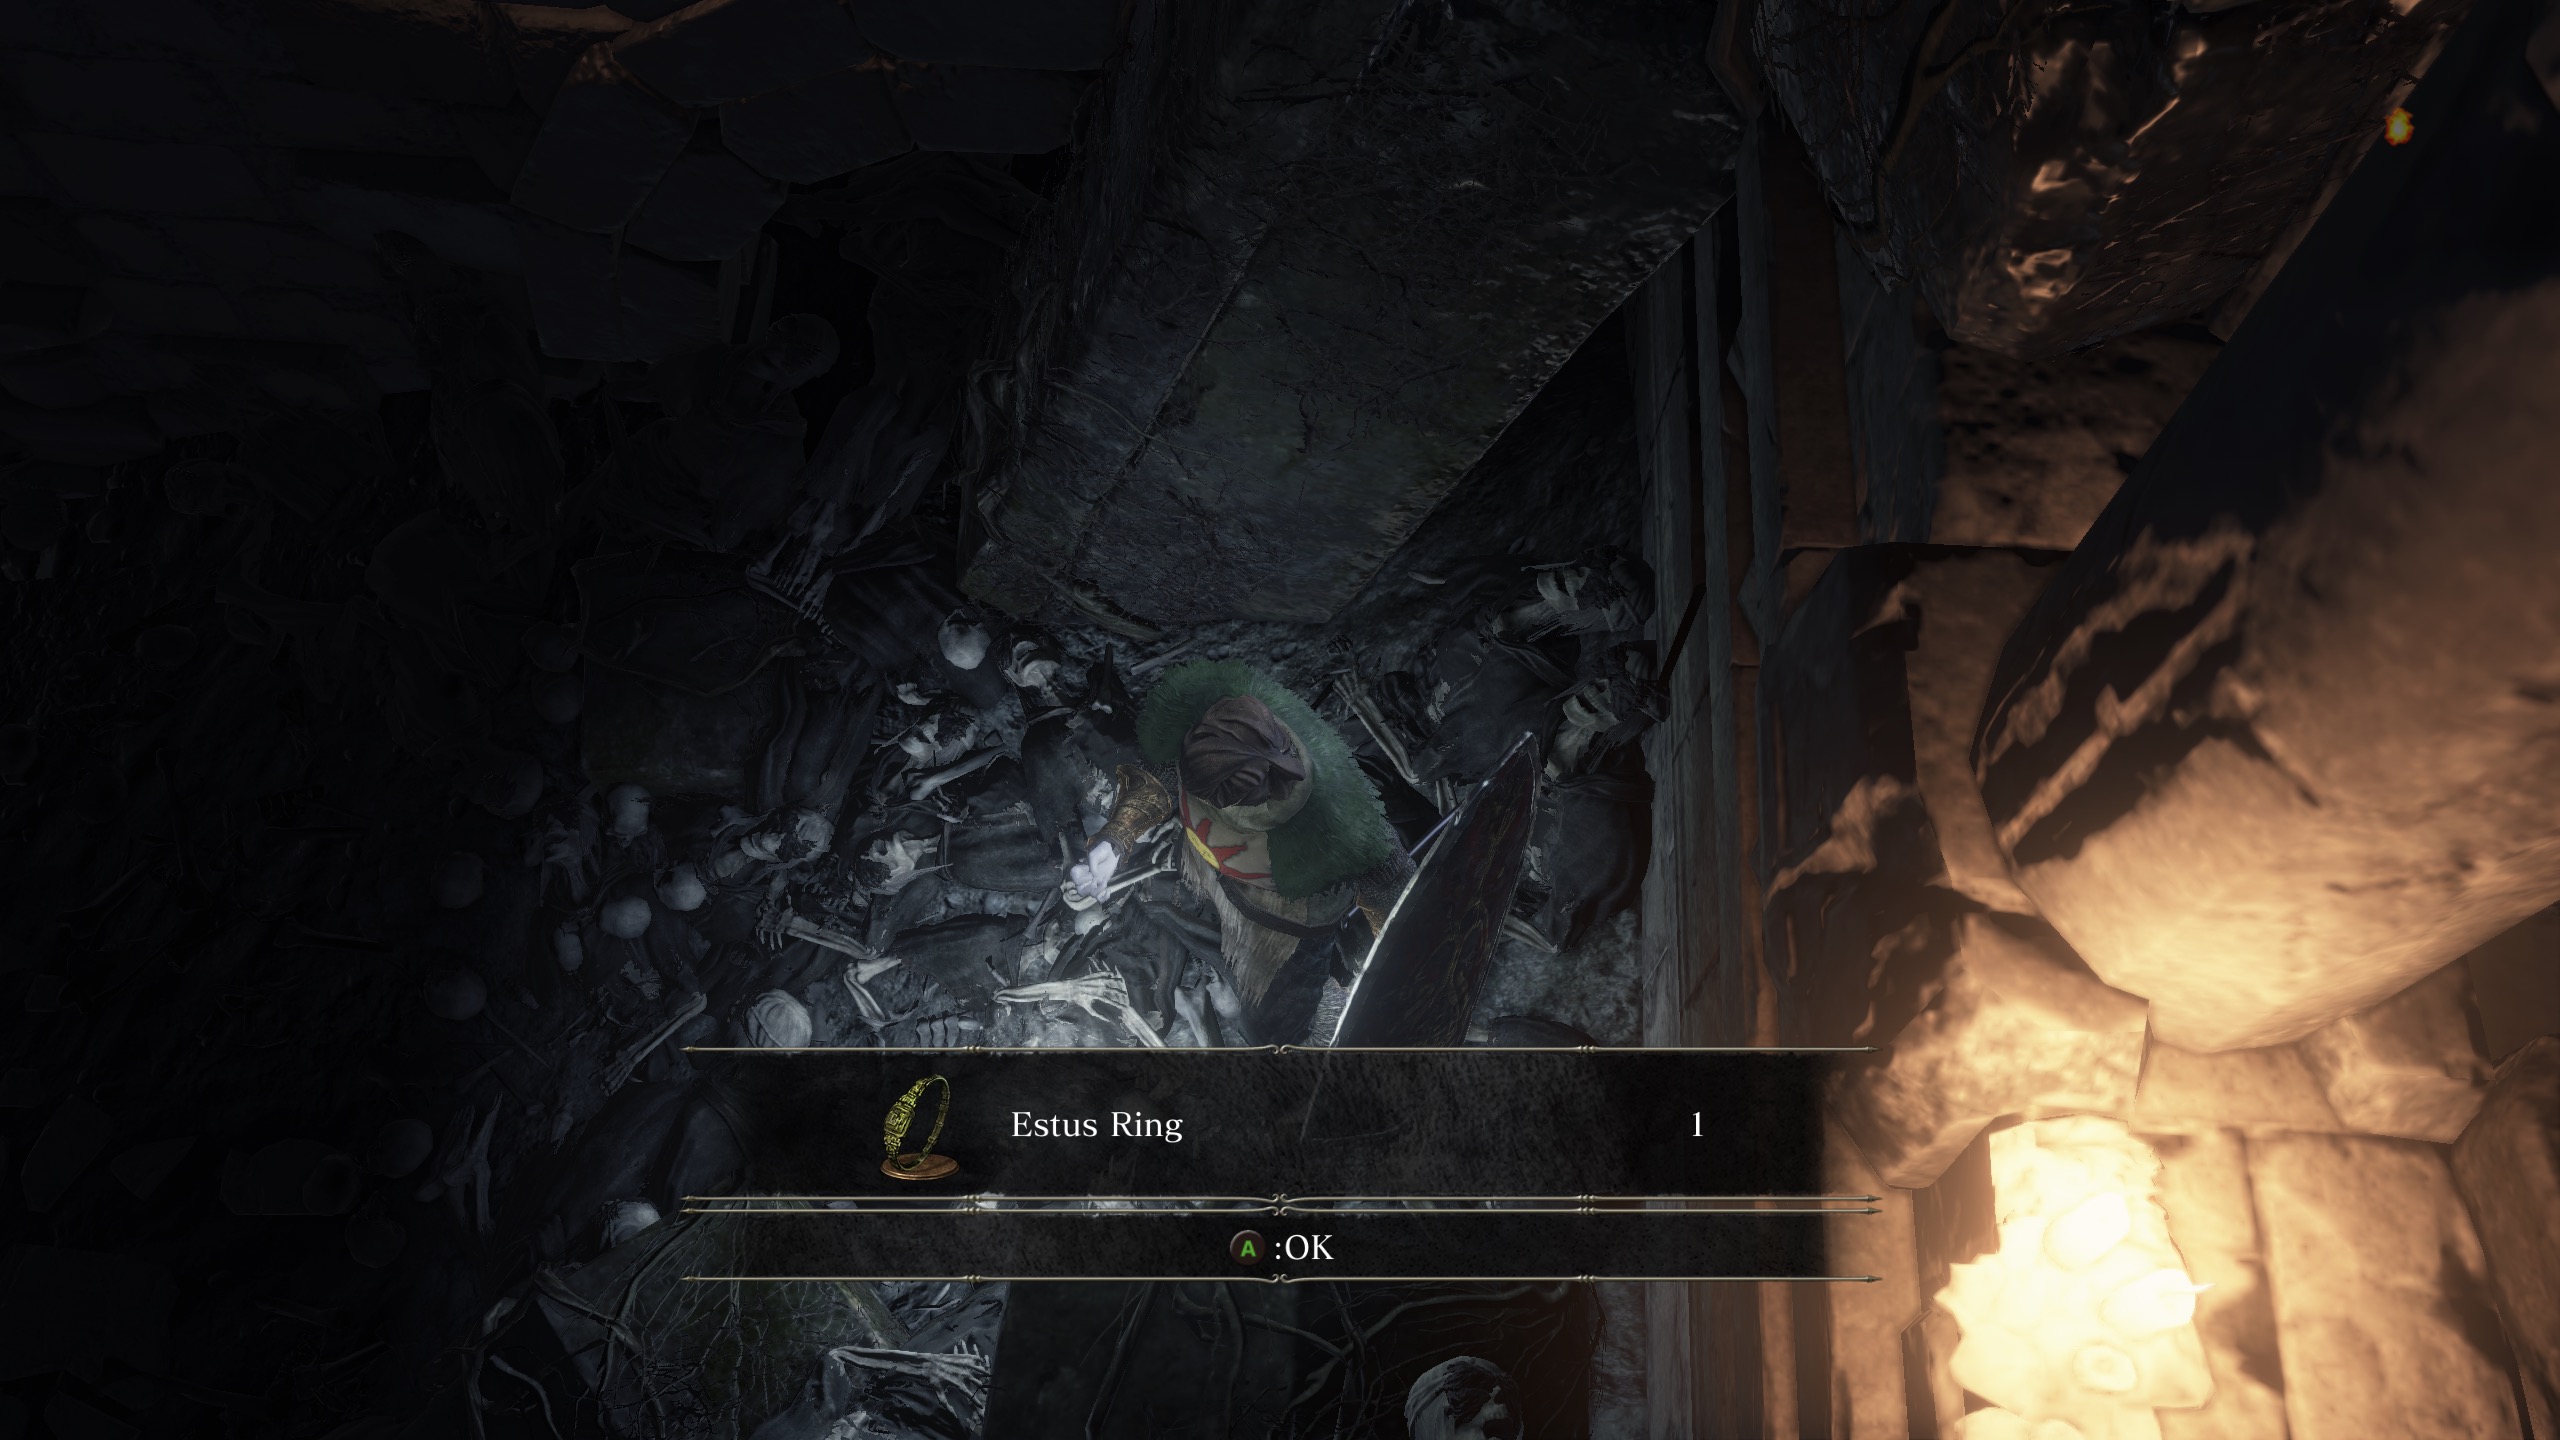
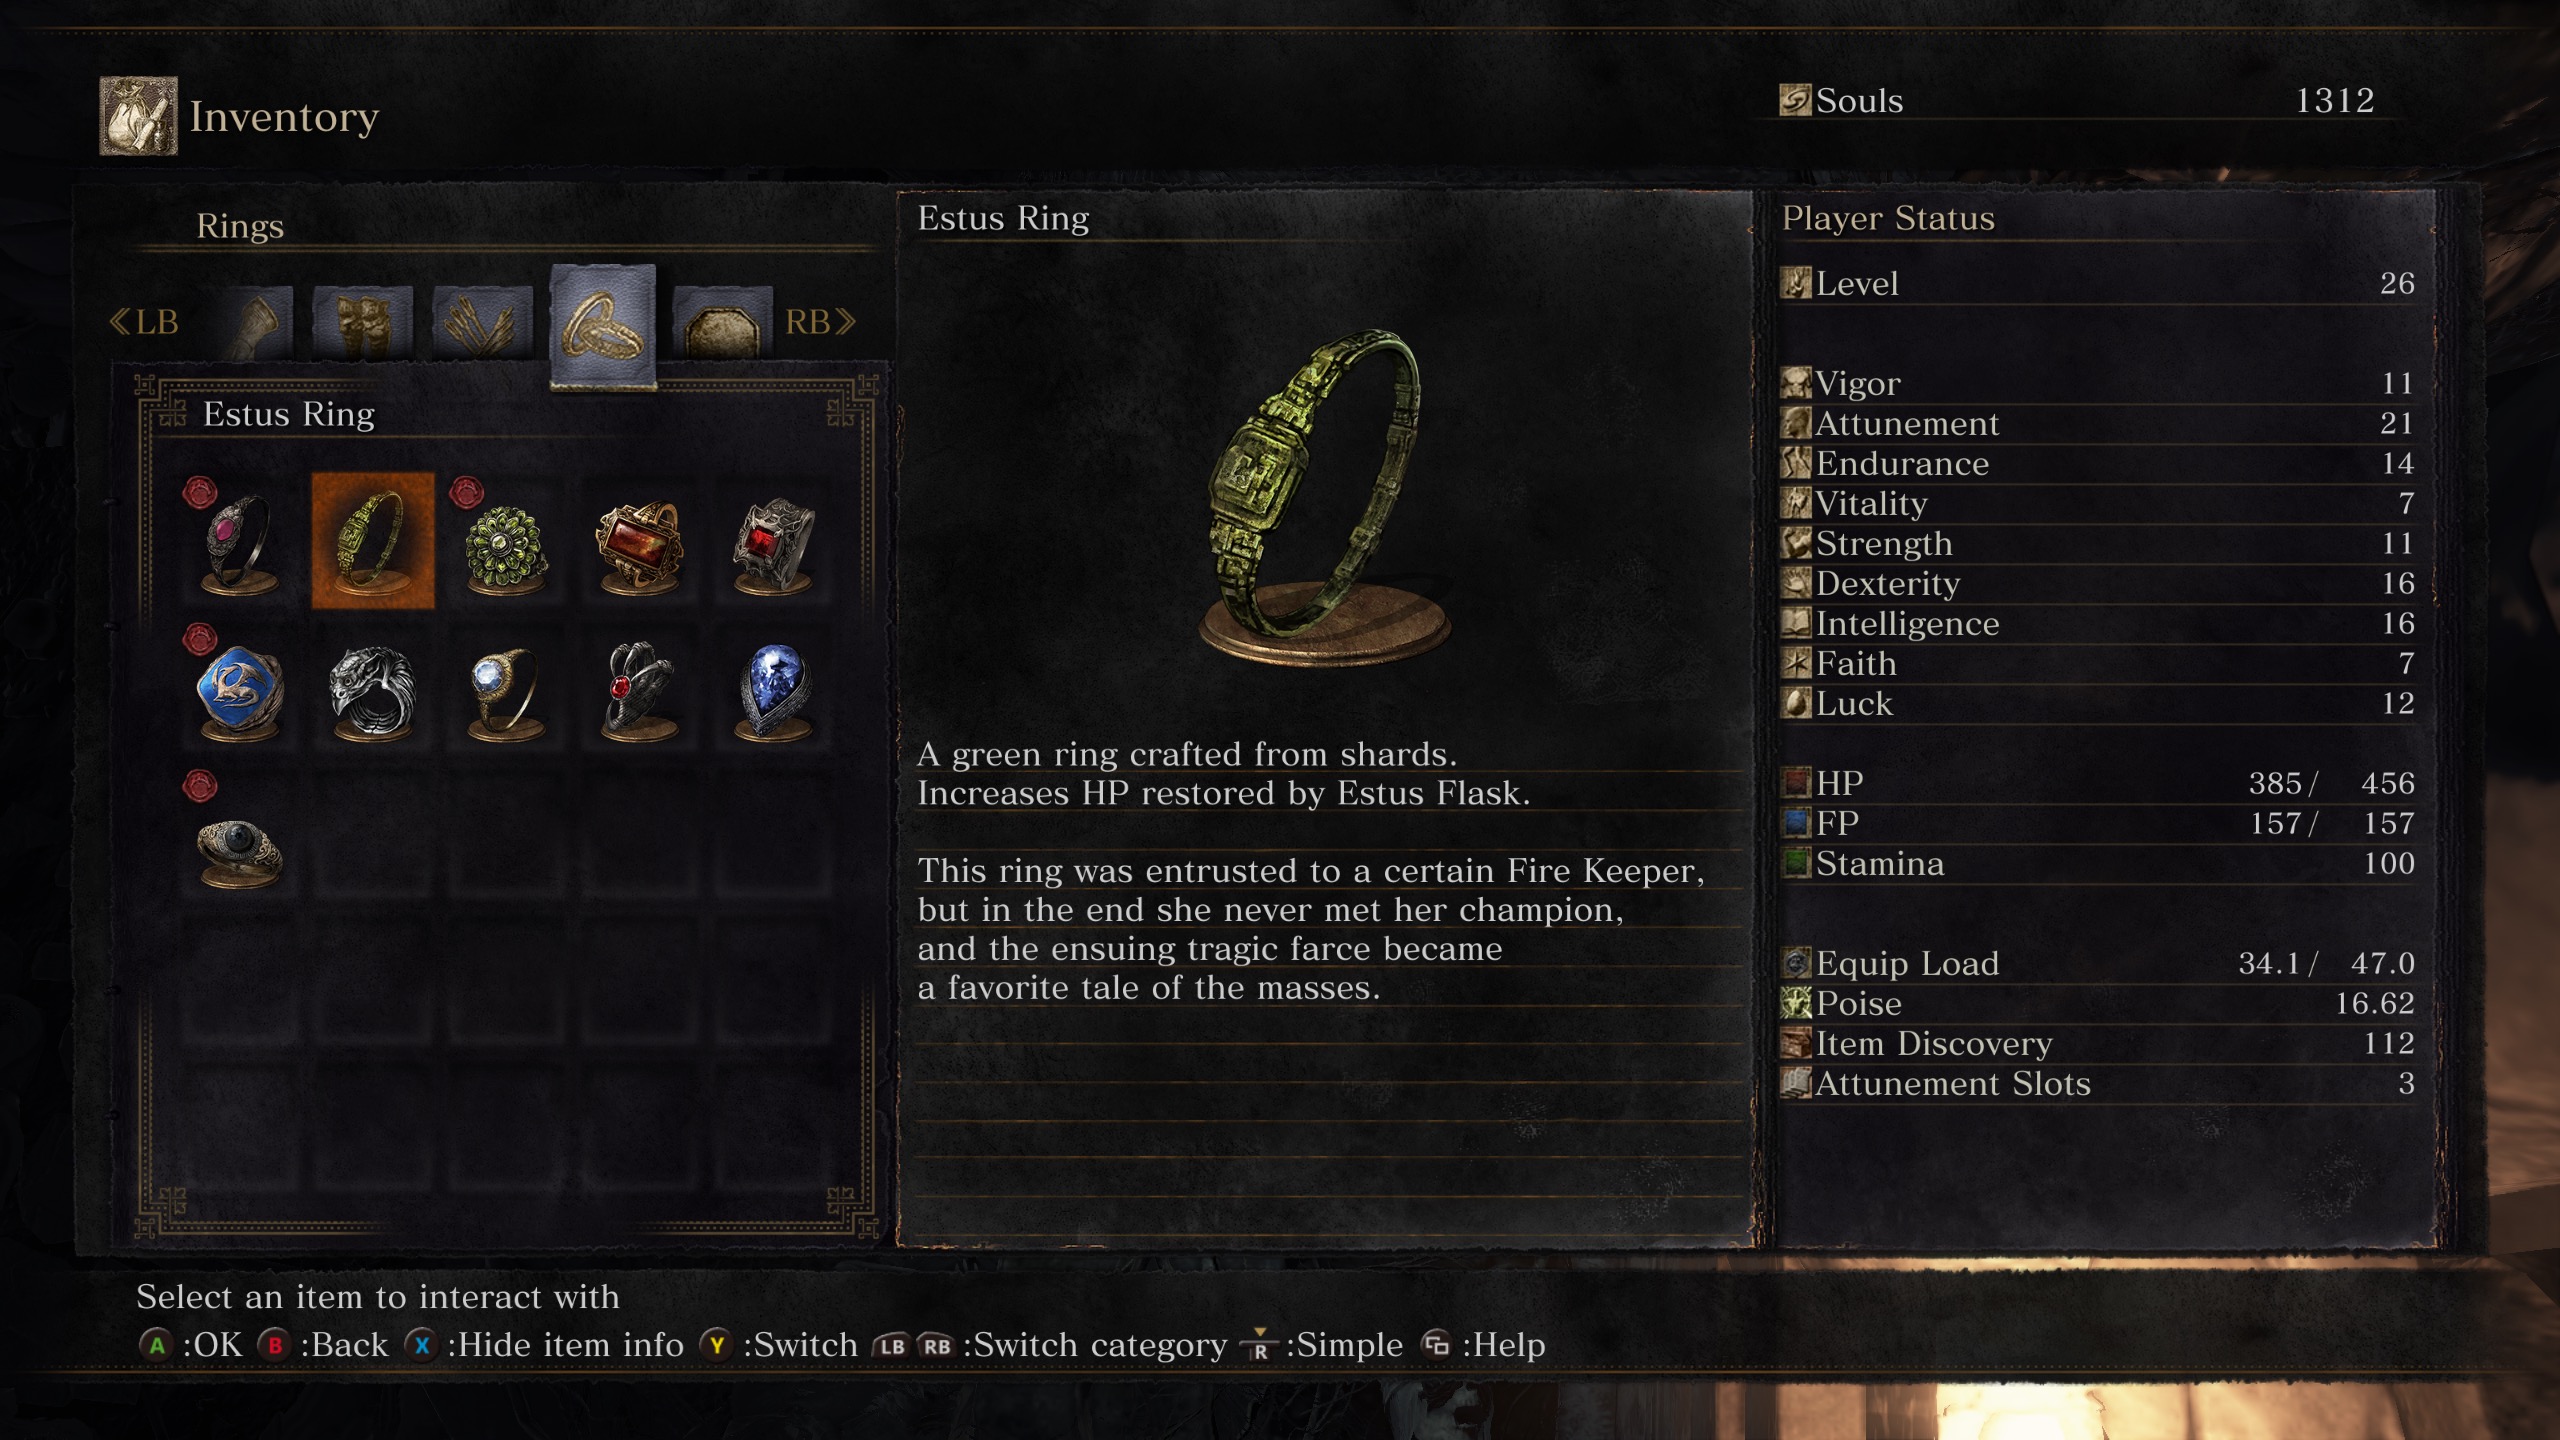
When you reach ground level, you'll find the Estus Ring, which increases the amount of HP each sip on the juice restores.
Exit by opening the door, and you'll find yourself in the area surrounding Firelink Shrine, behind where the Master hangs out. It's time to head back up to the tower and uncover more secrets.
Down to Firelink Shrine's roof and rafters
Head through Firelink Shrine and up the tower, stopping on the first bridge. Halfway across, you'll see that the bridge is crumbling on the side facing the shrine's roof. Turn toward the roof and hop off onto the ledge below, then drop once more to land on the roof.
Turn left and look for a ladder. Approach and kick it, and you'll unlock a shortcut directly to the roof. You won't have to hop off from the bridge anymore.
Explore the rooftop, and you'll find a nest at its apex. Approach it, and you'll hear the disembodied voice of an unnamed NPC — Snuggly the Crow or her relative from Dark Souls — speaking nonsense. We'll need to get inside to make her actionable.
Before going inside, collect three Homeward Bones on the rooftop. Hop down another level, and follow the path around the perimeter until you can enter the rafters his atop Firelink Shrine. Pillage a corpse for an Estus Shard.
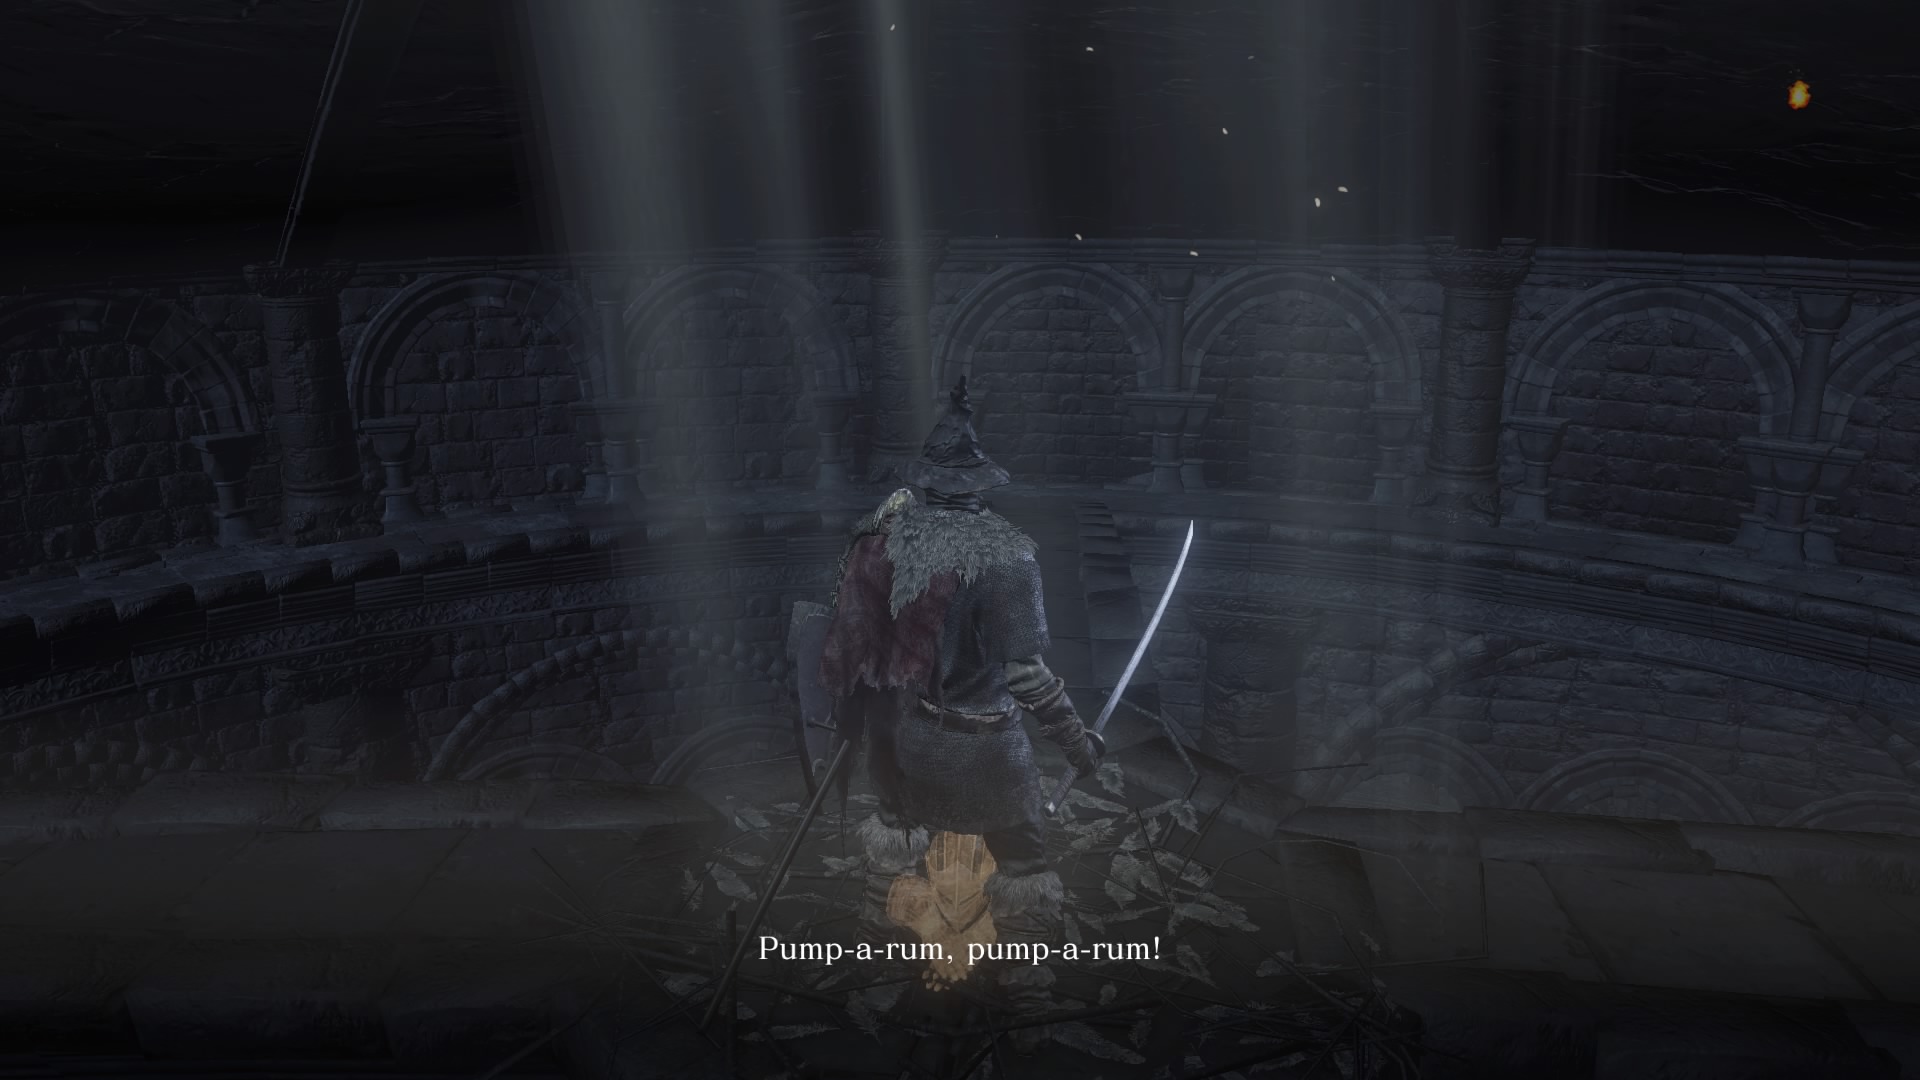
Follow any of the rafters to where they meet in the middle, and you'll be able to interact with Snuggly the Crow. It works much the same way that it did in previous Dark Souls games, where she expresses her desire for things — "You! You! Me, me pickle pee. Me, me pump-a-rum." — and you drop items into her nest. If she likes your gift, she'll give you one in return.
Illusory wall

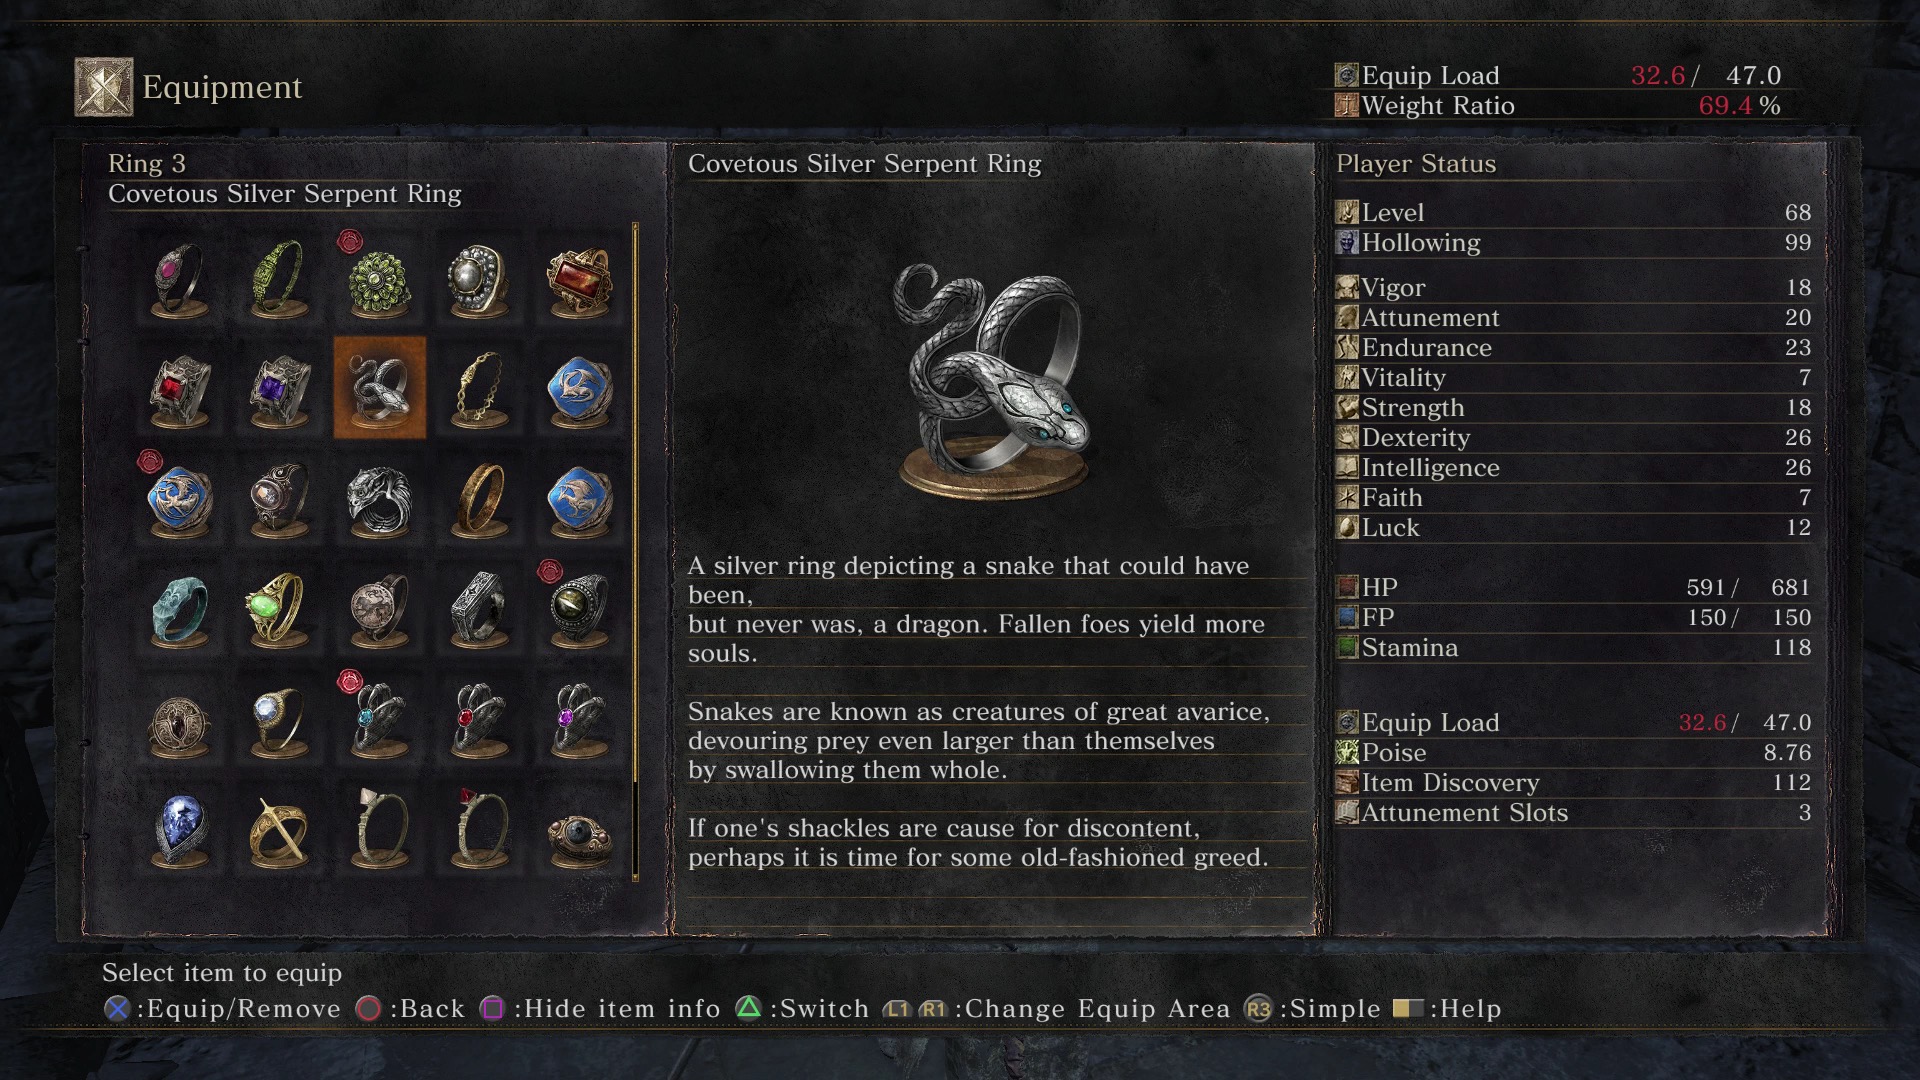
Before you leave Snuggly, walk on the rafters that take you directly away from how you walked in. Swing at the door, and you'll uncover an illusory wall. Follow that path, drop down and turn to find a chest. Inside is the Covetous Silver Serpent Ring. Wear it, and you'll get more souls for each enemy that you kill.
Crystal Lizard
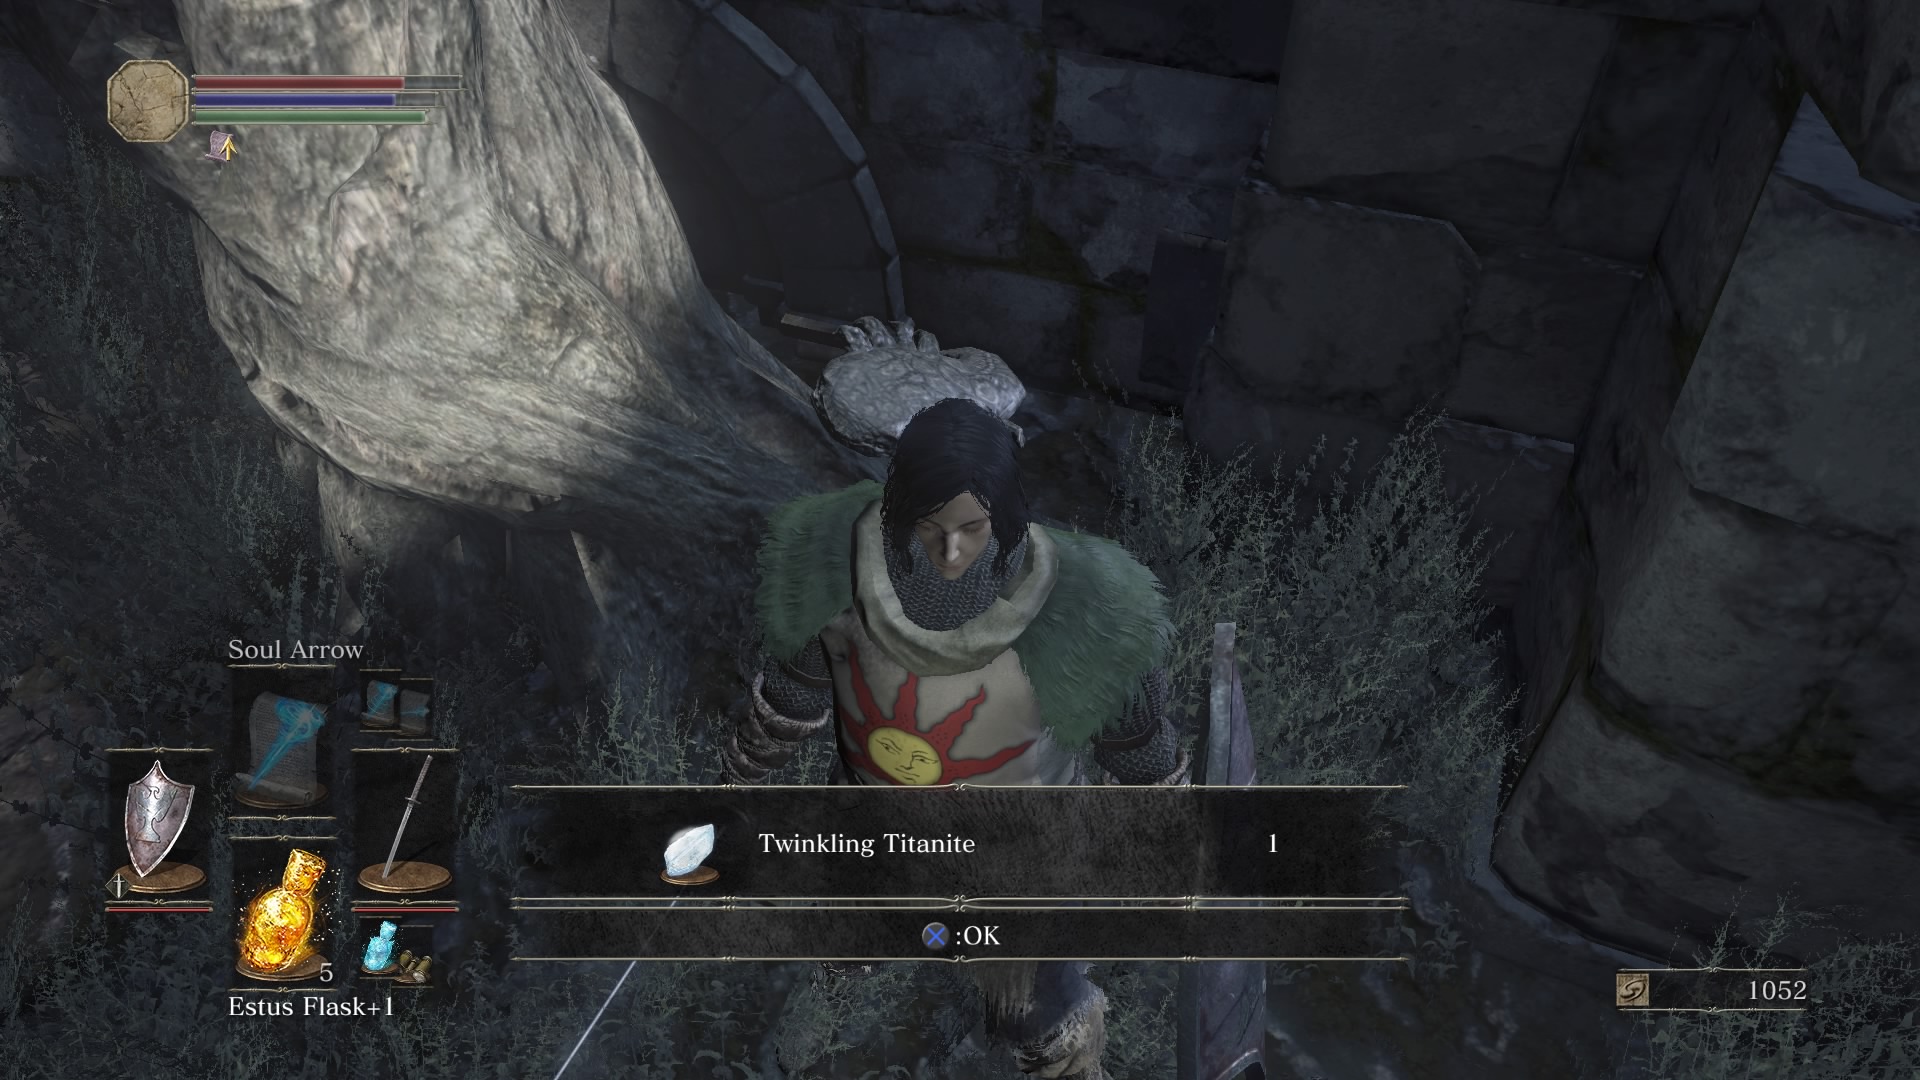
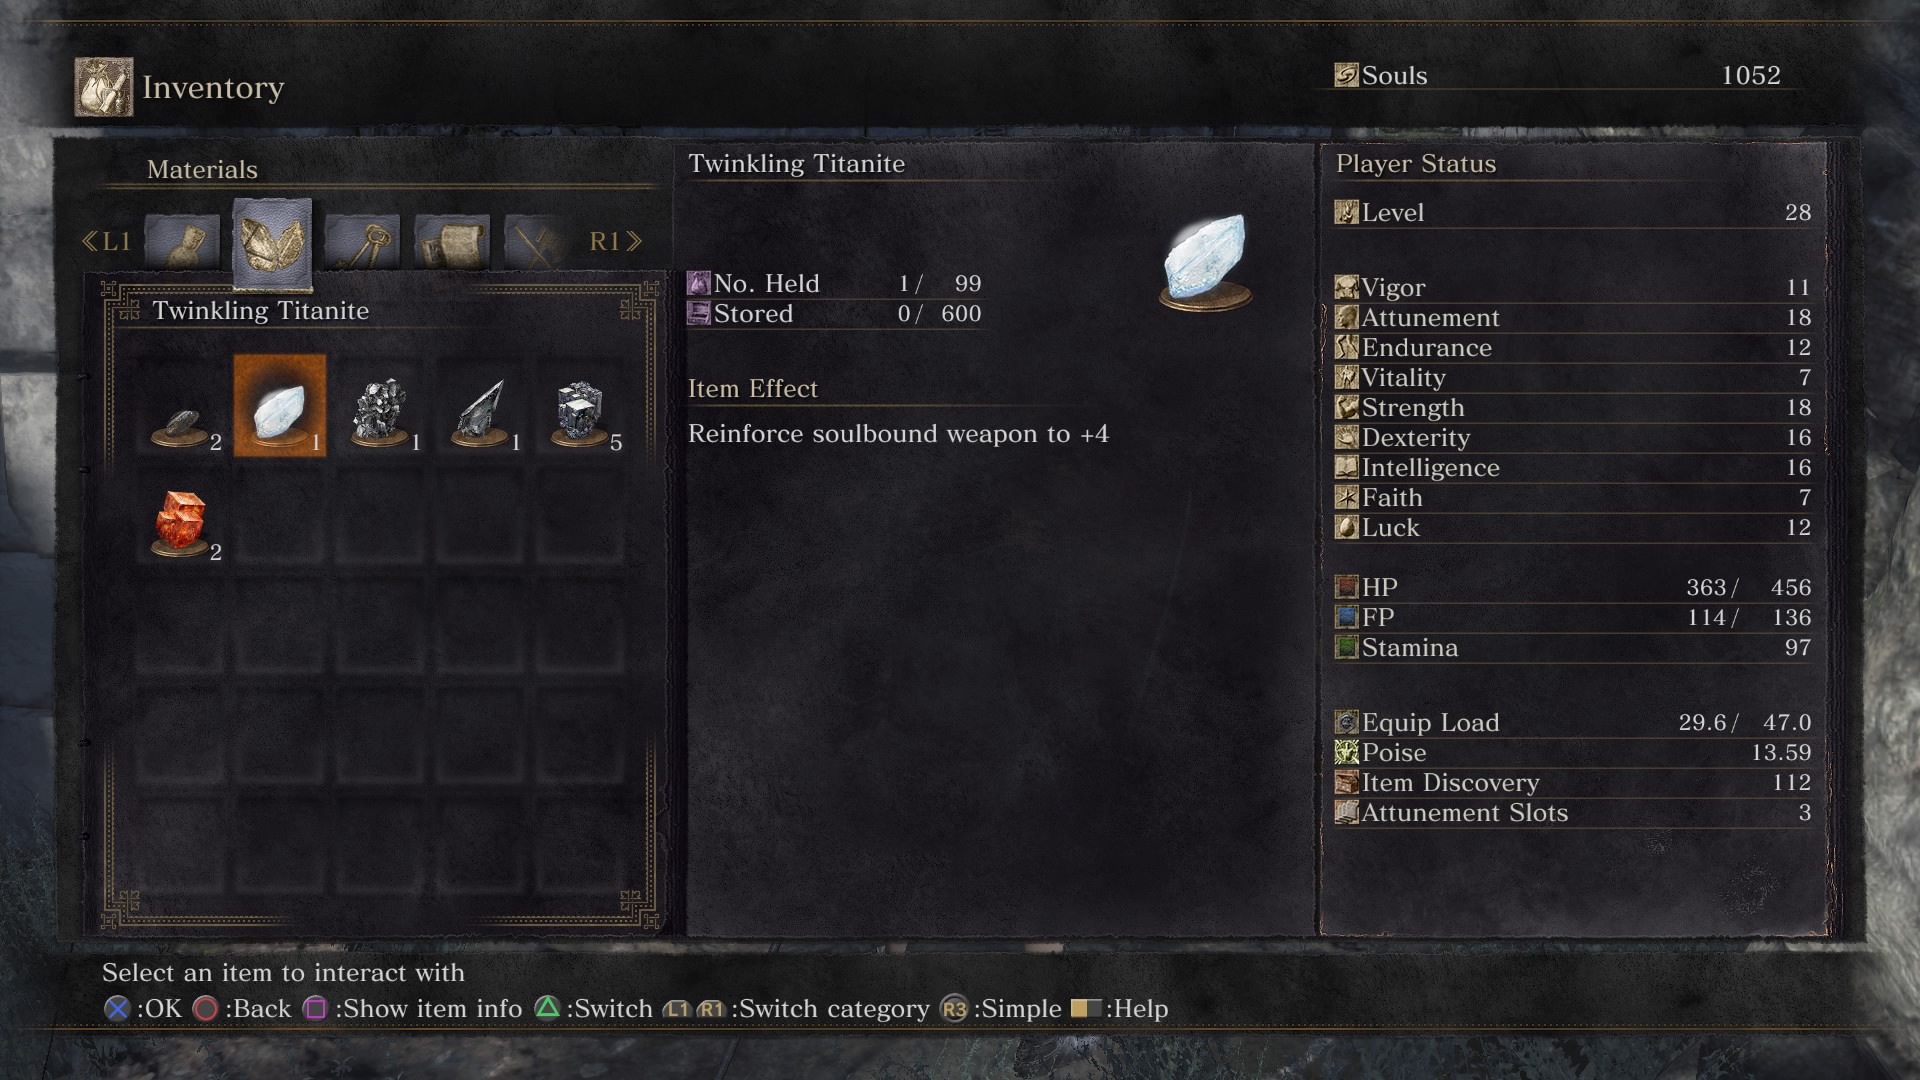
Return to the roof once more and walk to the side farthest from the ladder. Hop down onto the ground and turn right until you're under the bridge. Here, you'll find a Crystal Lizard to defeat and Twinkling Titanite to earn.
Source: https://www.polygon.com/2016/4/12/11405320/dark-souls-3-firelink-shrine-walkthrough
0 Response to "Dark Souls 3 Gettin Ppd Again"
Post a Comment